5 Things I Learned from Building a Bike
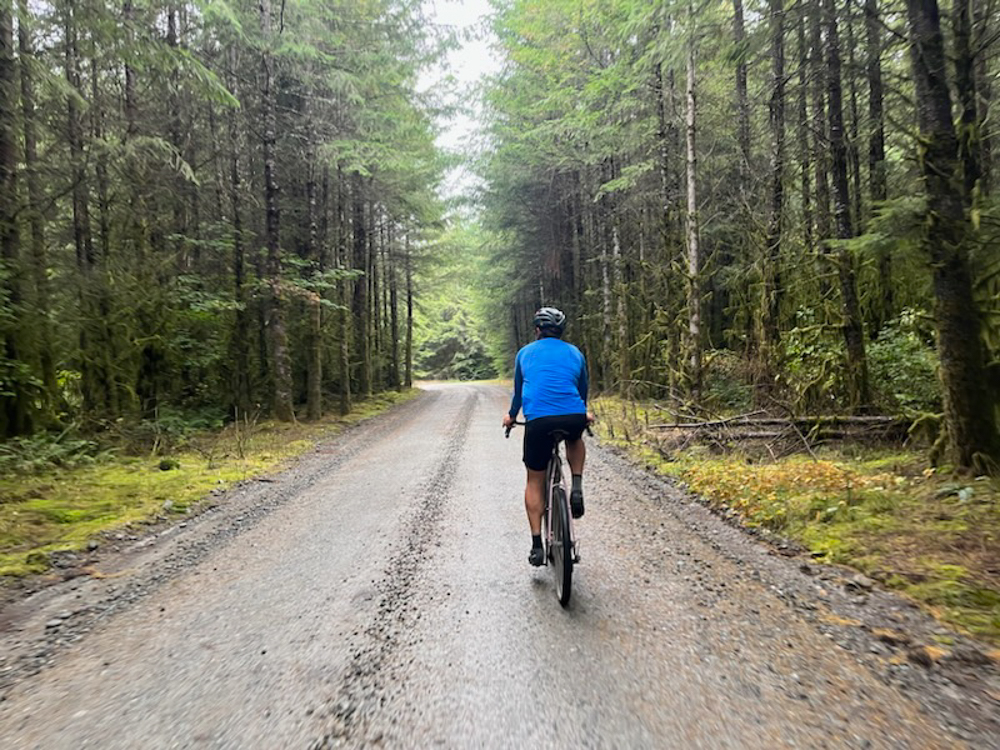
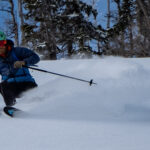
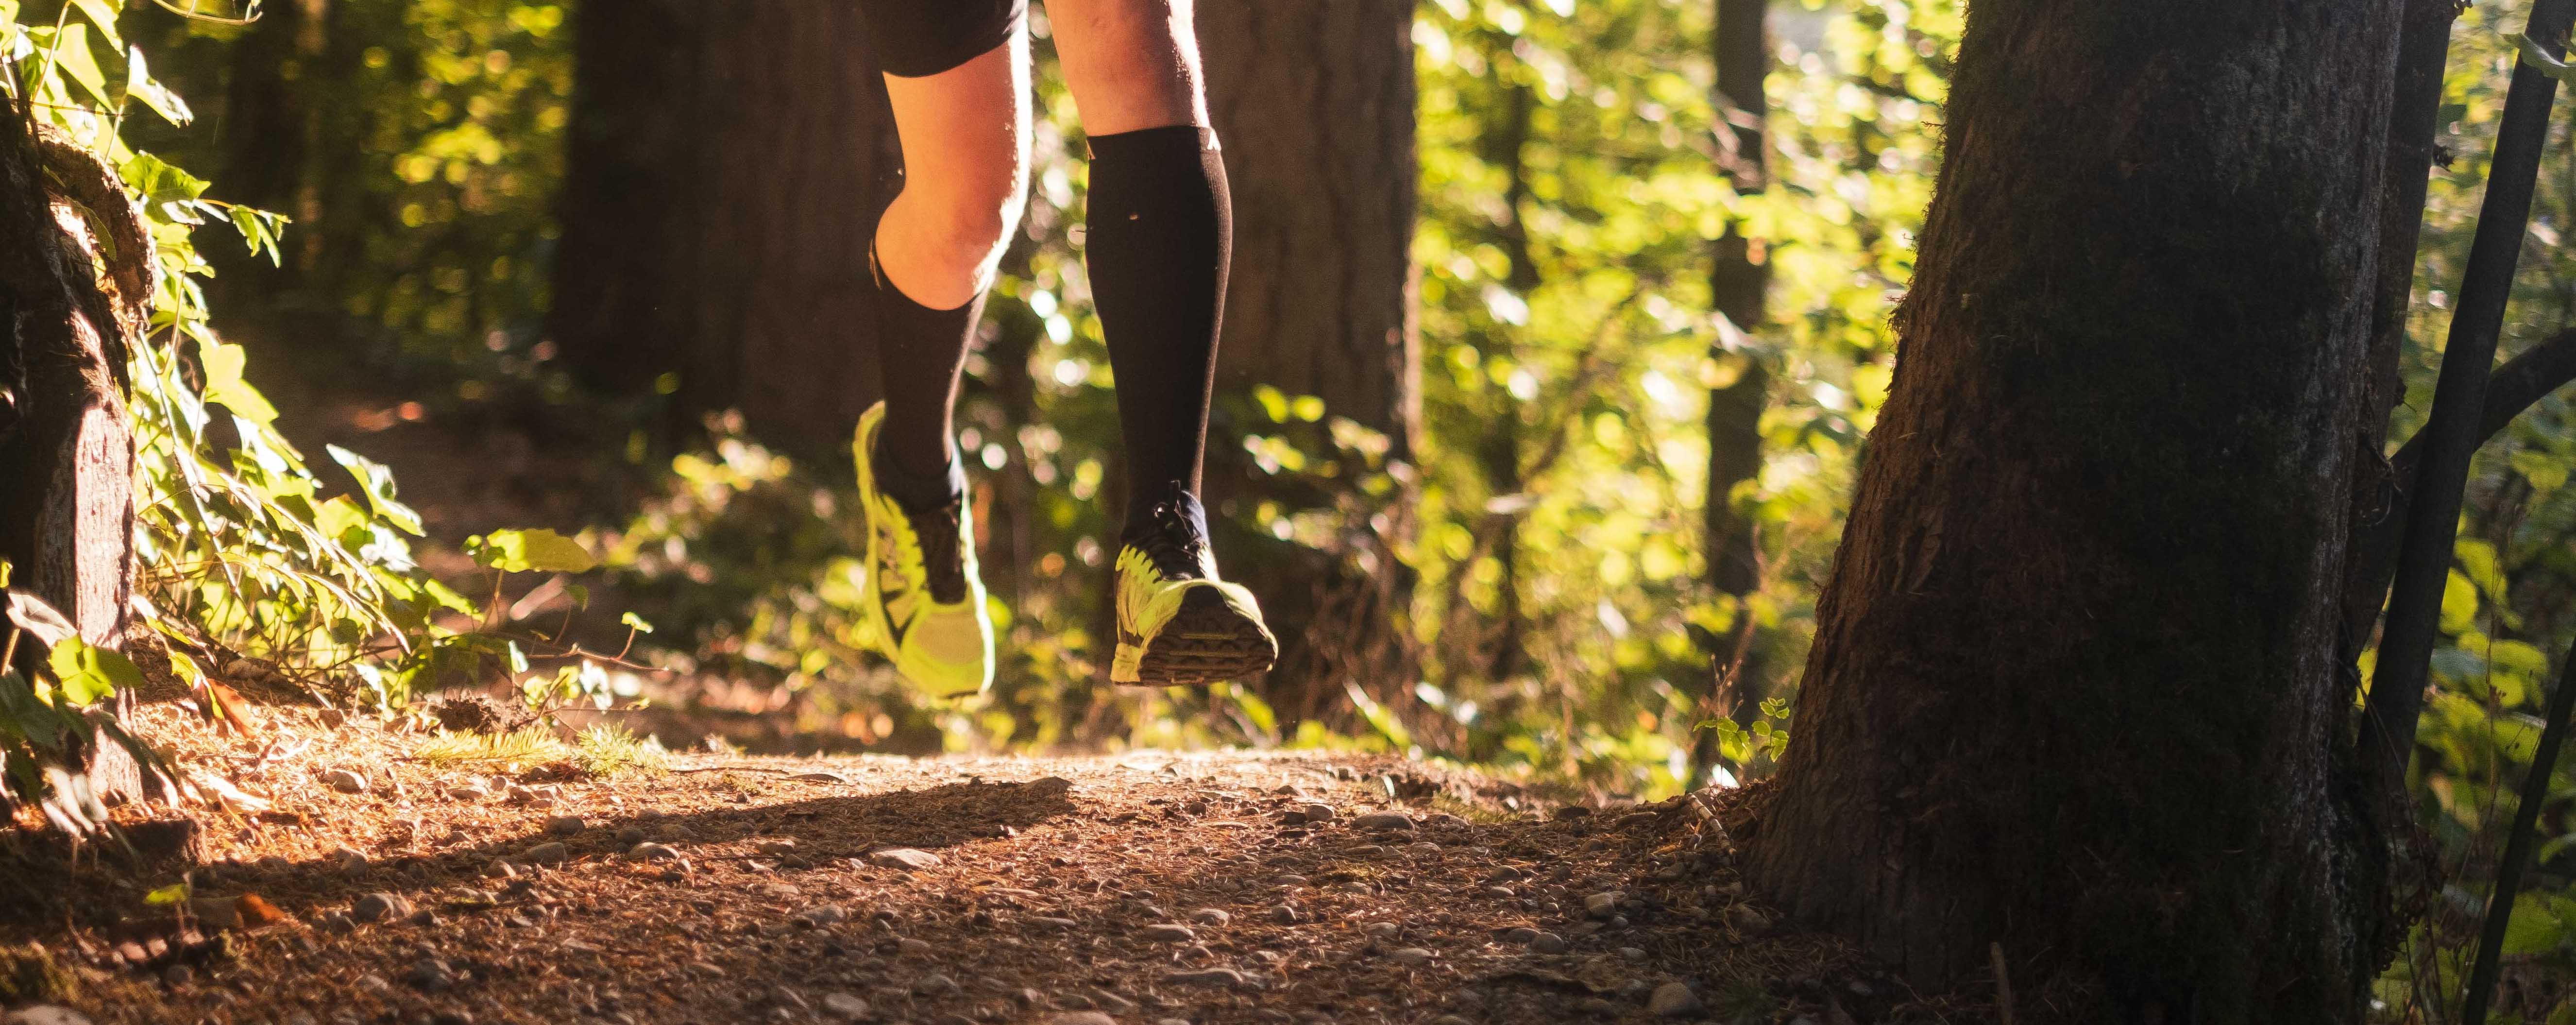
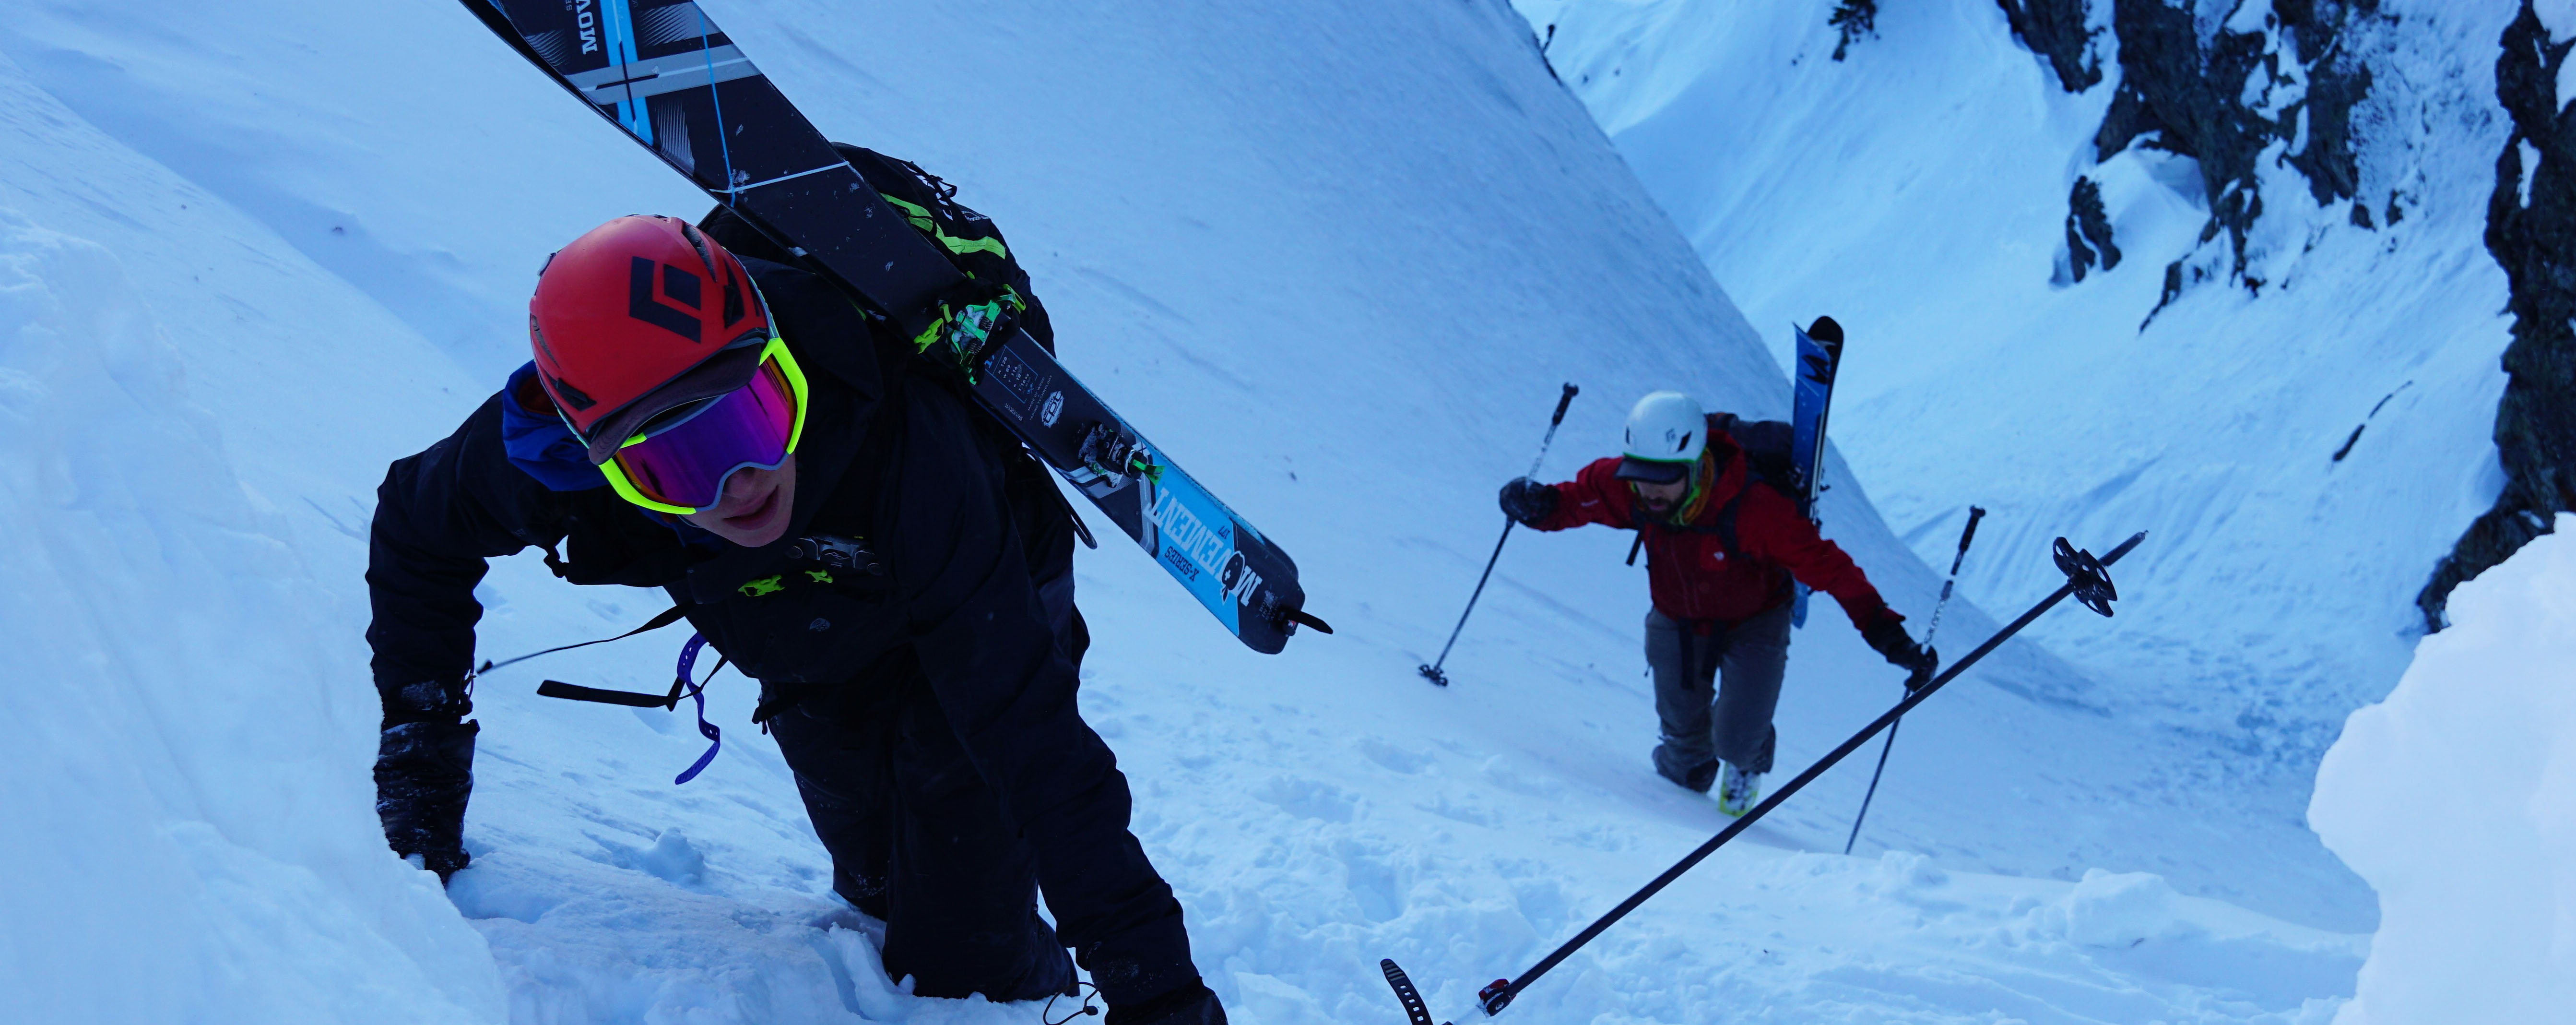
Summer is coming and with it comes sun and time for gravel riding! My outdoor pursuits are quite seasonal: winter and spring are dominated by backcountry skiing, summer and fall are dominated by gravel biking and trail running. Gravel biking is a relatively new activity for me, really in the last two years. Last year I had shoulder surgery to repair a torn labrum and gave myself a ‘recovery project’: build myself a gravel bike.
I have not always been a bike person. I’m not the kid that rode around on a small BMX bike, hitting jumps and spinning around the neighborhood. I knew how to ride a bike, yes, but until a few years ago it really wasn’t a sport that I participated in much. I picked it up when I moved to North Bend, WA, which has awesome gravel riding right out the front door. It was a great way to give my joints a break from mountain running.
Building my own bike was honestly a very fun project, but it did have its trials and tribulations. It wasn’t smooth and I learned a lot; I ultimately ended up with a bike that I LOVE and ride all the time. It wasn’t cheap and took over a month, but I’d do it again in a heartbeat.
So, what did I learn?
1. Get All Your Components Before You Start Assembling
This is going to be the hardest part of your bike build: identifying what you need and want. This article isn’t going to be all-encompassing or a gear guide, so I’ll focus on the lessons learned about bike components.
First, bike components are very specific in their compatibility with one another. Your chain needs to be compatible with your drivetrain, which needs to be compatible with your frame. Your brakes need to be compatible with your frame. In short, everything fits together like a puzzle and if one piece doesn’t fit it’s not going to work. I found this to be the most challenging and frustrating part of the whole process. There’s a lot of nomenclature, acronyms, and nuance in bike components. My advice: phone a friend if you have one, look at a bike build online and take notes, and as a last resort call a local bike shop and ask them if what you’re putting together will work.
I bought numerous components that didn’t fit together and had to return them. Thankfully I was able to recoup my money, but it cost me time and lots of effort. I am based in the PNW and really liked ordering components from Universal Cycles. They have great customer service, quick shipping times, and a great return policy.
2. Get a Proper Bike Fitting
You can have all the best components but if your bike doesn’t fit your body’s geometry it will be uncomfortable to ride. A bike fitting is worth your time, money, and effort. A bike fitter will dial in your seatpost height, your lean angle to the handlebars, your pedal position, etc. And while many of these measurements may result in minor, small tweaks, when you add them all up it makes a HUGE difference.
Before I got a bike fitting I could spend maybe 2-3 hours before my shoulder blades and lower back began to ache and fatigue. It limited my interest in long rides. After a bike fit I can ride all day, pain and ache free. This isn’t an ad for any bike fitter; this is my personal anecdote on how huge a difference it can make. Spend the few hundred dollars and get a bike fitting.
I got my bike fitting from Iron Horse PT & Performance in North Bend, WA. Erik is also my physical therapist so it was great to have a bike fitting done by someone who knows my body too!
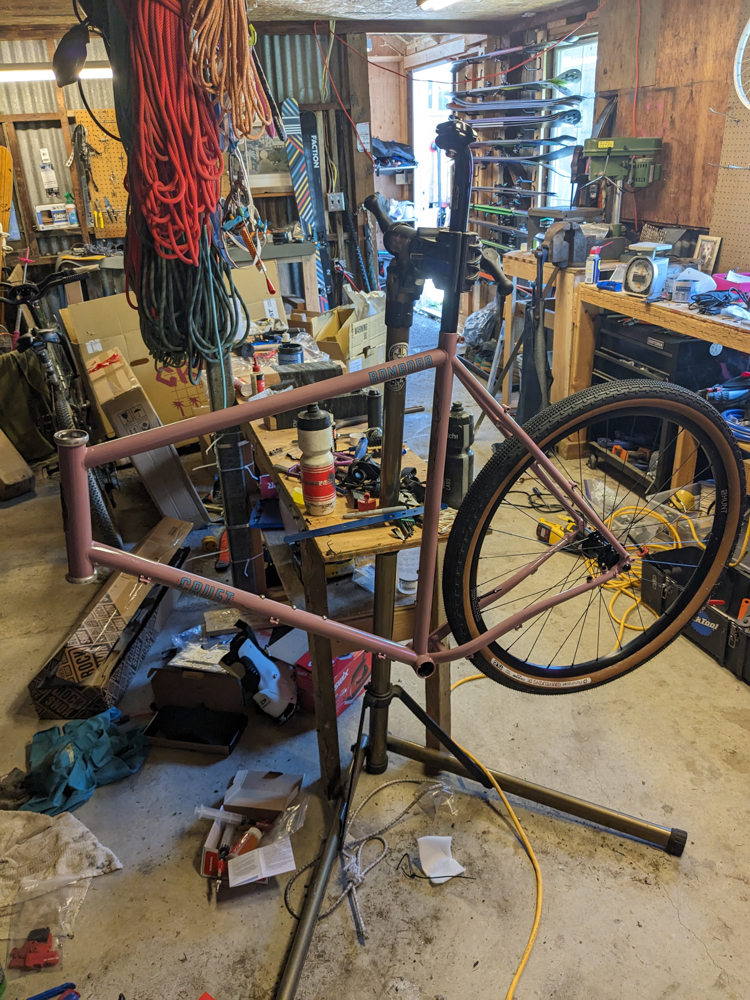
3. Don’t Overthink Your Frame
Of all the components that go into your bike, the frame is often the one that people fret over the most. I know I did. Turns out the frame is just one of many parts. Yes, it does matter. It will influence how your bike handles, what kind of bags your bike can hold, what kind of brakes and drivetrain you can put on the bike.
Identify what kind of bike you’re trying to build: a cruise-around-town type, a bikepacking/touring bike, or a gravel grinder. This will inform what kind of frame geometry you look for.
Next, establish your budget and your purchasing criteria. If you’re trying to spend all your money and want MAX performance, titanium might catch your eye. If you’re looking for a life-long bike that will last years, you can’t go wrong with steel. If you’re looking to be speedy and perform in an endurance setting, maybe carbon is the right choice for you.
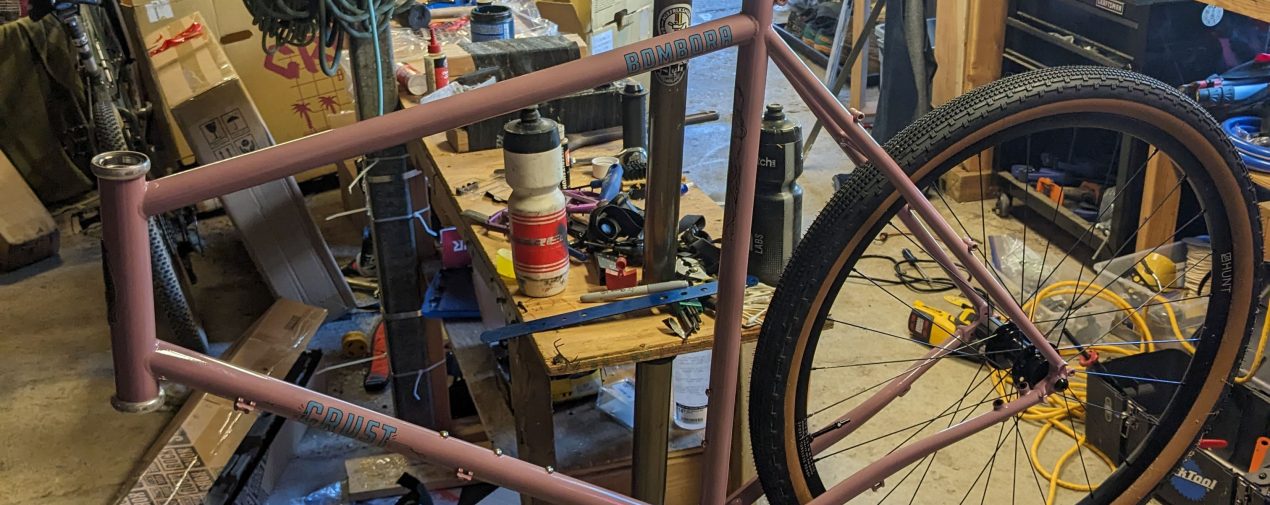
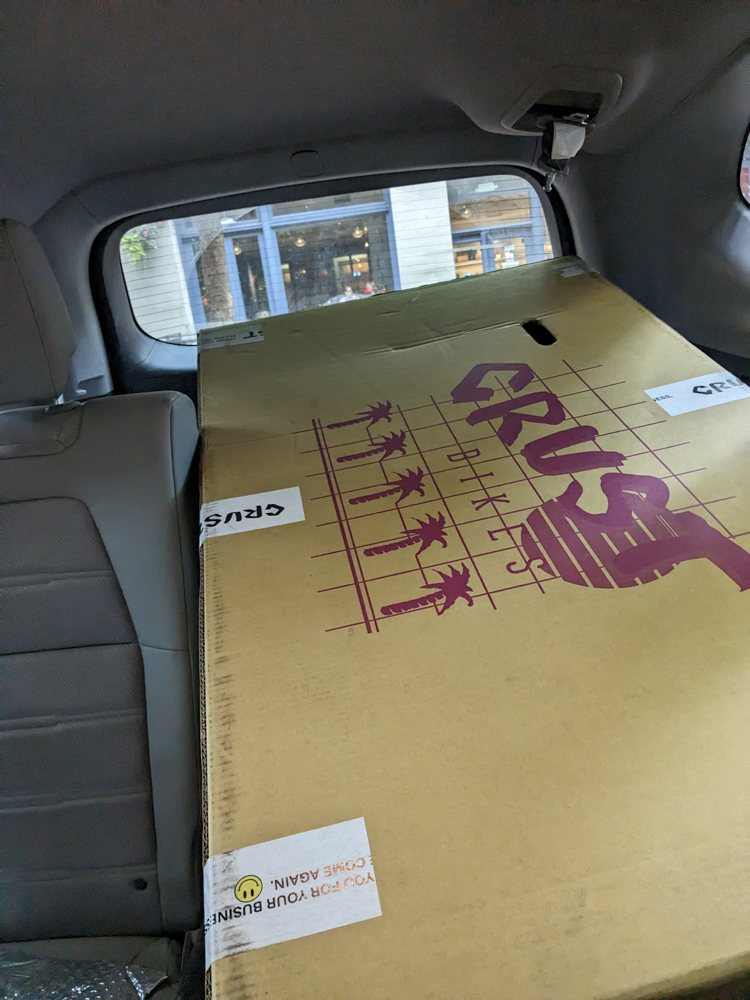
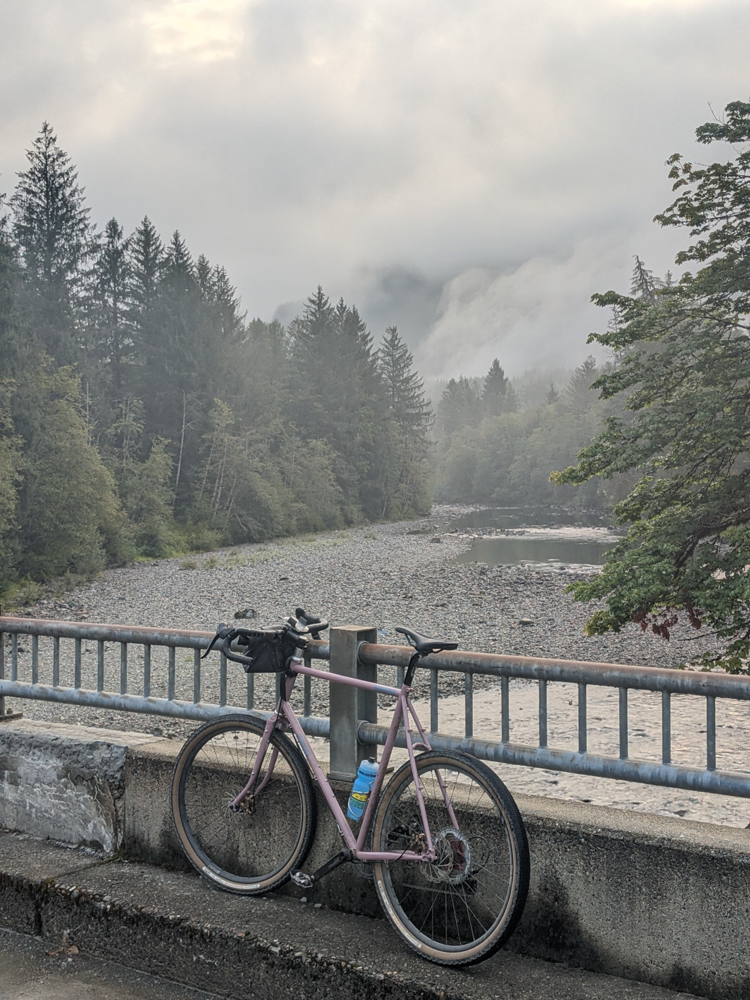
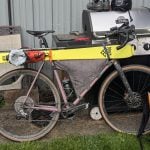
I opted for a Crust Bombora. Not only is it AWESOME with it’s pink color but it’s a versatile frame that can tackle gravel or rip around town. I love it.
4. Make Sure You Like How It Looks
This is really just an extension of “Don’t Overthink Your Frame” but it deserves its own section: get a frame that you like to look at. Aesthetics do matter. It’s the bike you’re going to ride around town. That you will show up to the trailhead with. Get a color and graphic pattern you like. Make sure the frame still has the function you need, but go for something you’re going to be proud of.
5. There Will be Faffing
A quick definition: ‘faff’ describes something that takes a lot of effort and usually trial-and-error. Picture putting something together, realizing it’s incorrect, taking it apart and putting it back together.
I wasn’t quite prepared for how much faffing would be involved with assembling and tuning a bike. Spoiler: there’s going to be a lot. Bikes require patience, love, and care. If you’re trying to rush things, you will mess them up. Don’t work on your bike if you’re tired after a long day at work. Don’t work on your bike if you’re not in a patient mood. It won’t help. It will just make you more upset.
If you are open and prepared for the faffery, assembling and tuning your bike is incredibly rewarding. You will learn so much about how all the components work, you will look at your bike and feel so much more ownership of it than just buying. You MADE it.
If you liked this article, check out 5 Gear Updates for Backcountry Spring Skiing or the Outdoor Research Freewheel Mountain Bike Kit Review.
About the Gear Tester
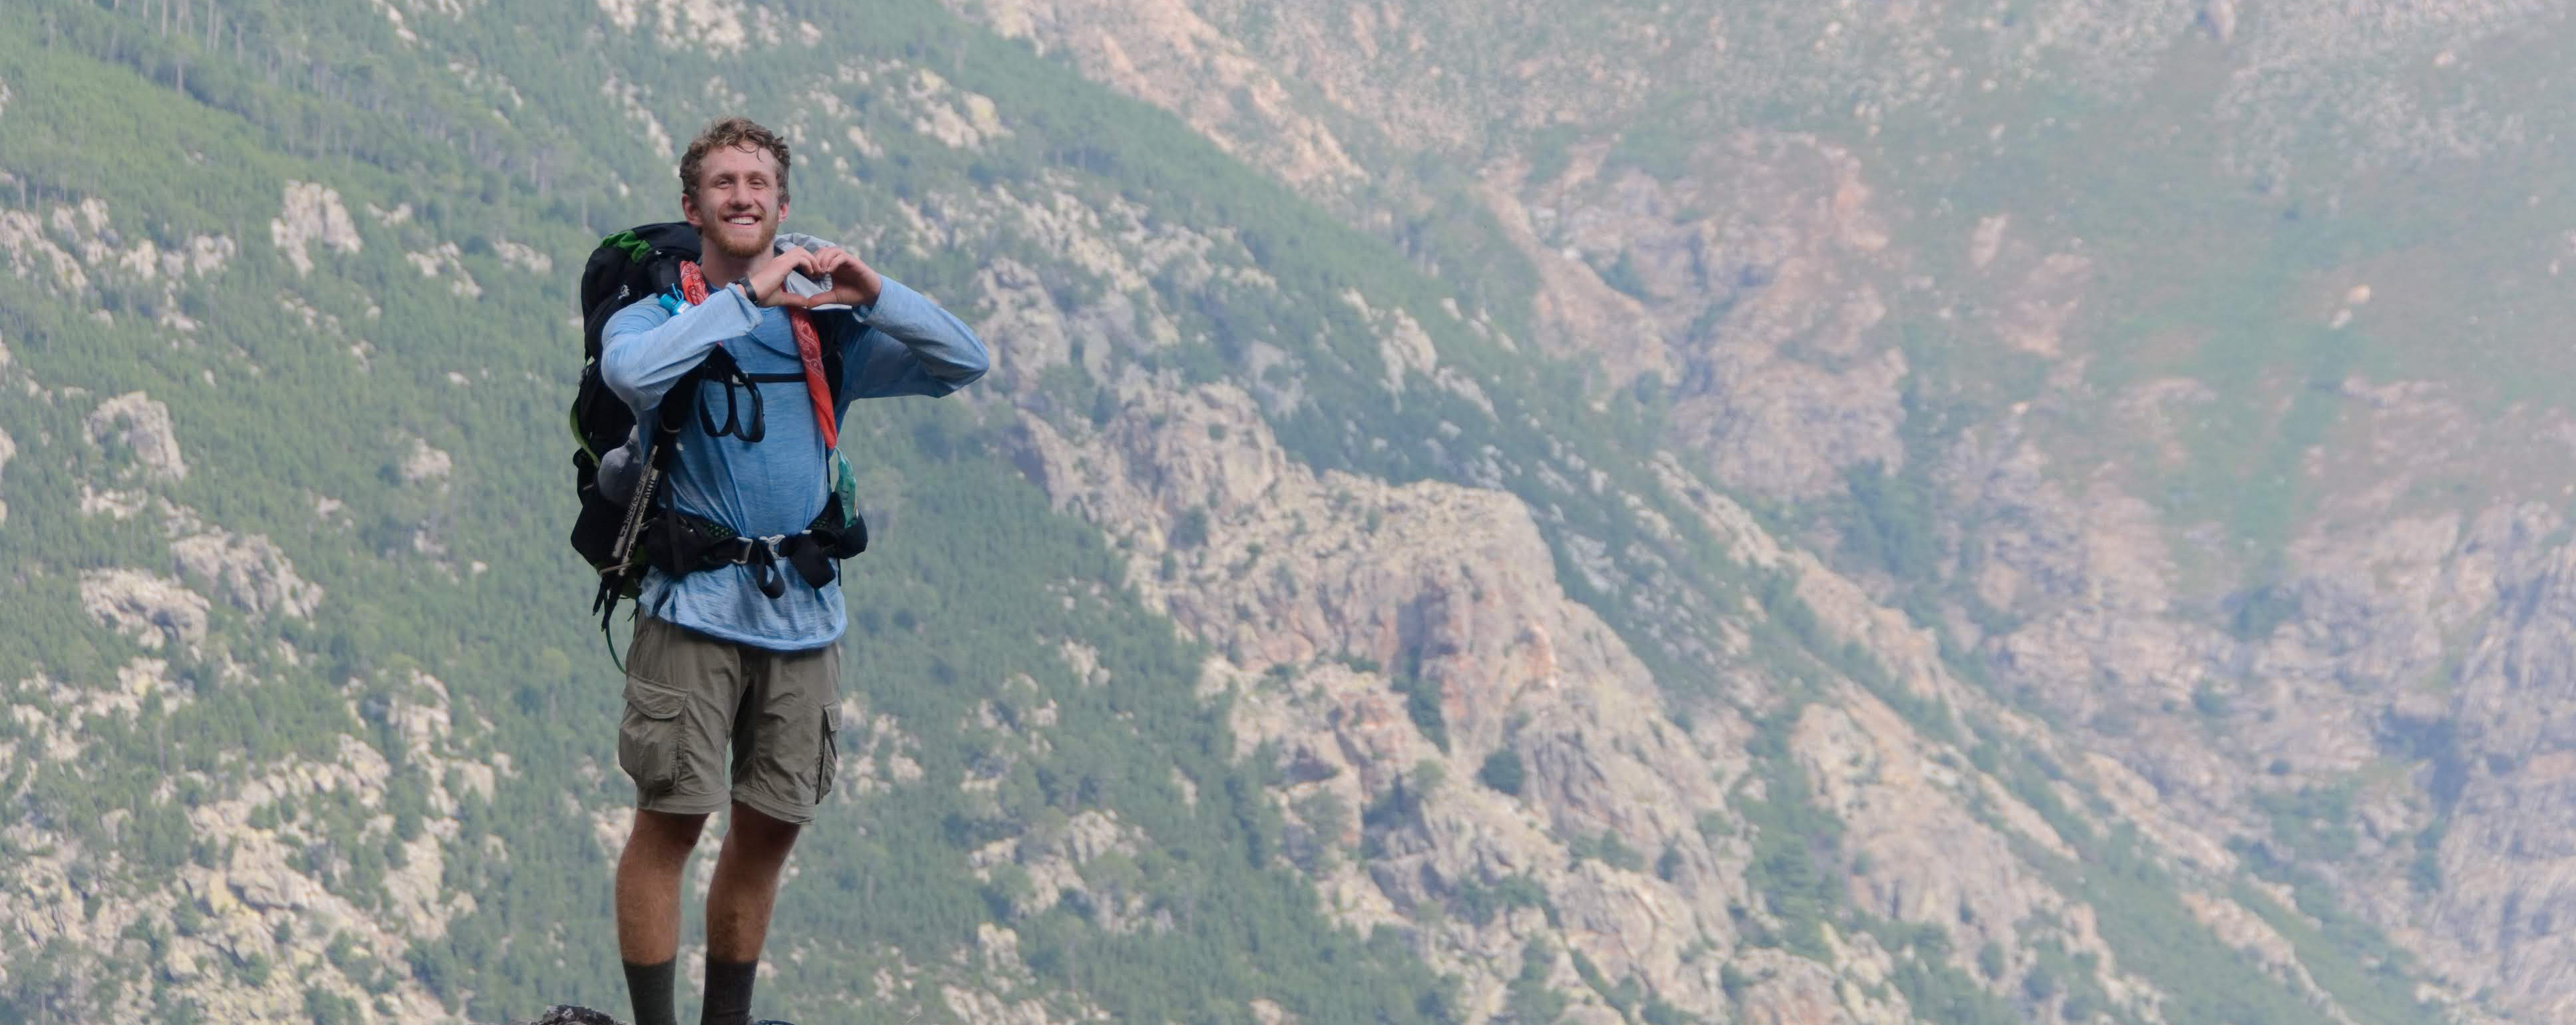
Sam Chaneles
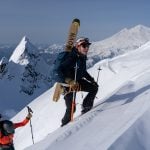
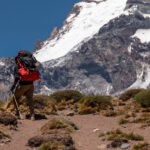
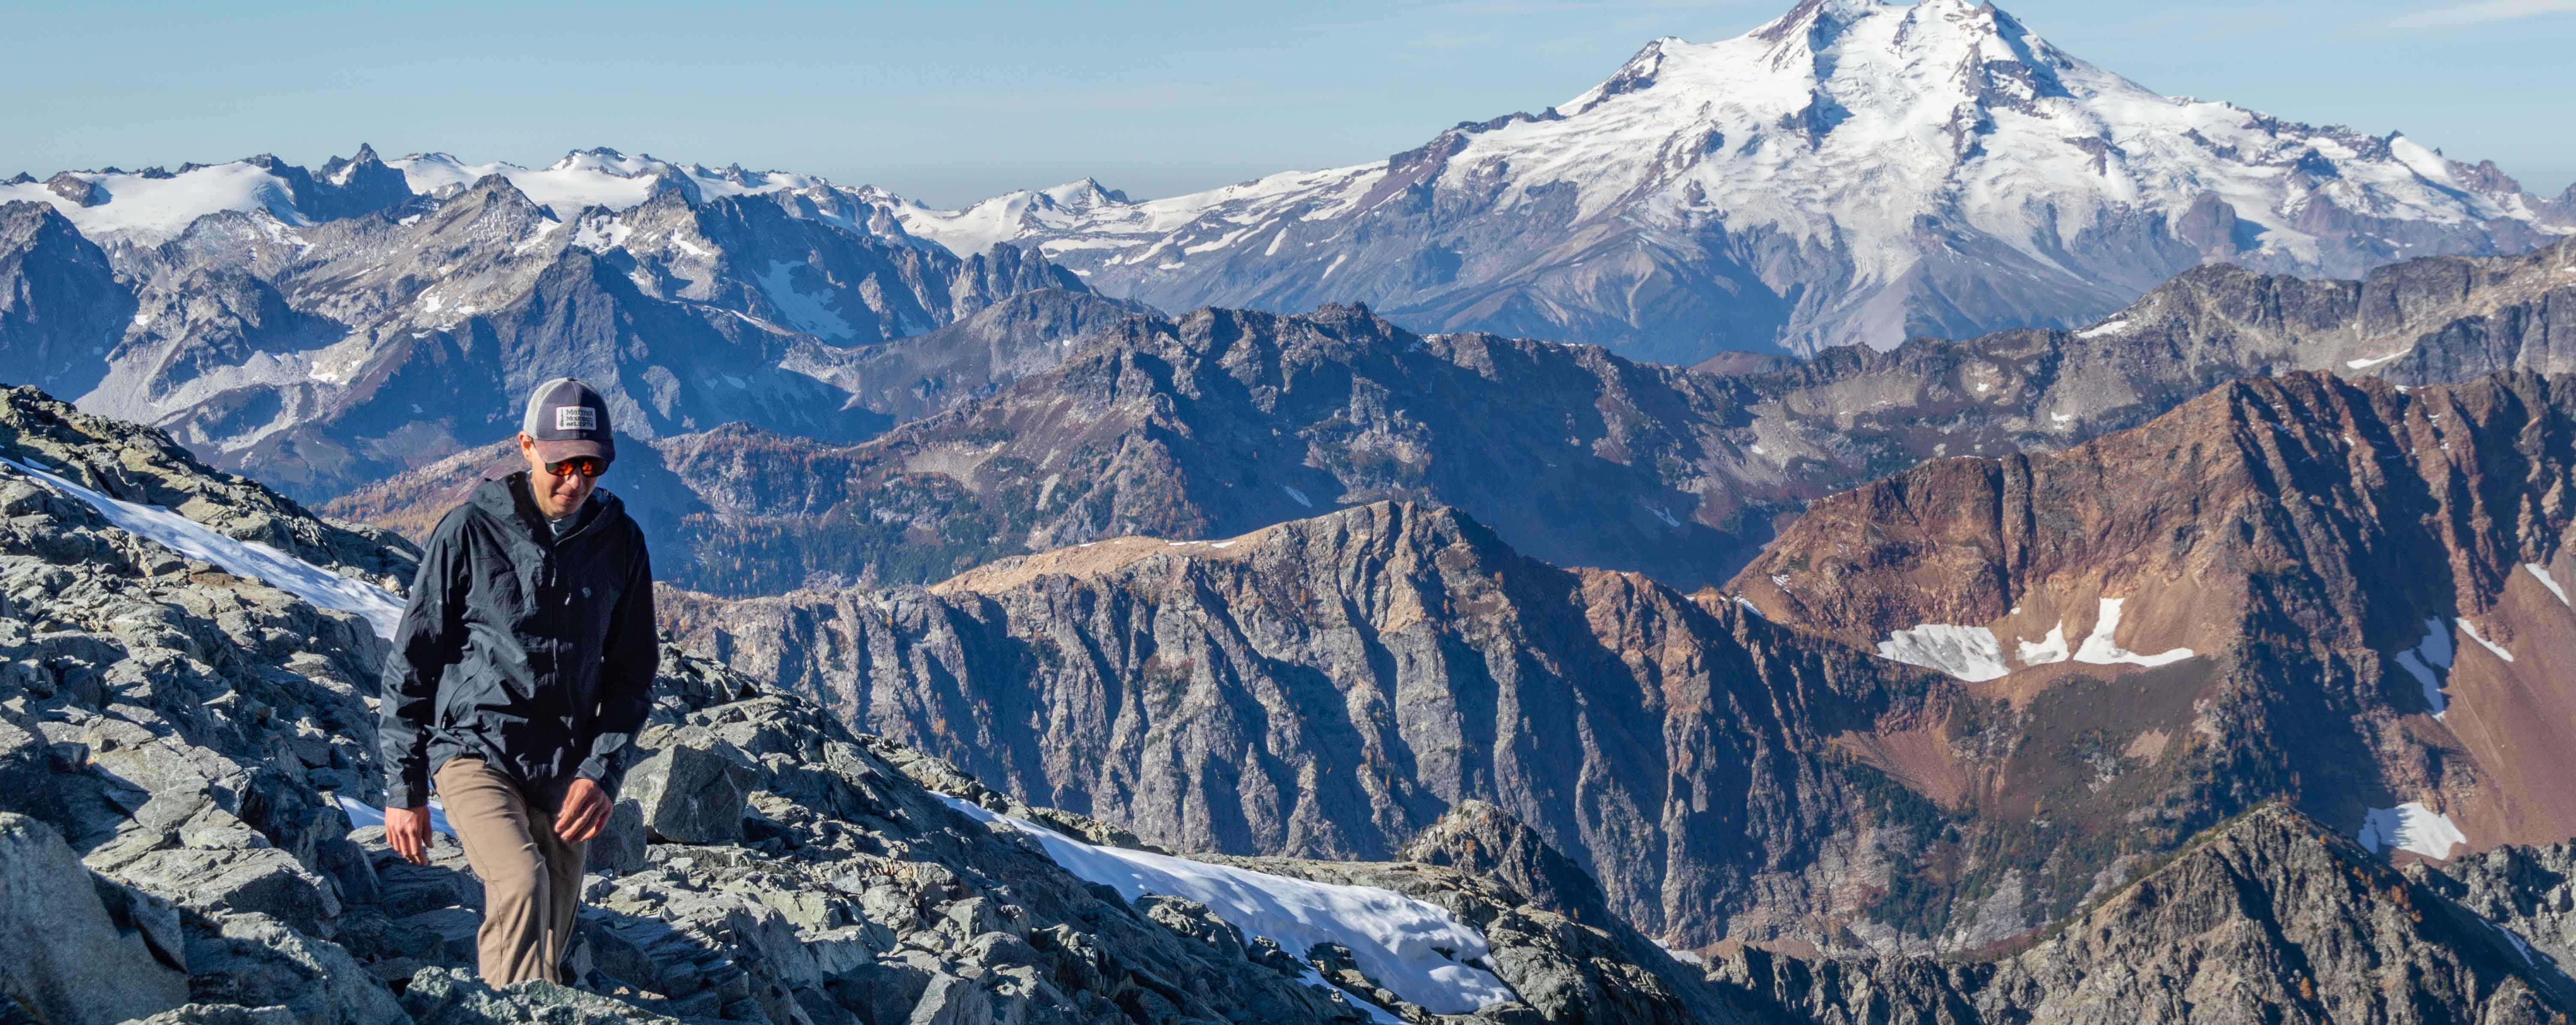
Sam Chaneles is an avid mountaineer and backpacker, climbing peaks in the Cascades, Mexico, Ecuador, and Africa, as well as hiking the John Muir Trail and off-trail routes in Colorado. He has climbed peaks such as Aconcagua, Mt. Rainier, Cotopaxi, Chimborazo, Kilimanjaro, and many more. Sam graduated with a B.S. in Mechanical Engineering from Georgia Tech. During his time there he was a Trip and Expedition Leader for the school’s Outdoor Recreation program (ORGT). He has led expeditions to New Zealand, Alaska, Corsica, France, and throughout the United States. Sam is based in Issaquah, WA just outside of the Cascade Mountains. You can follow Sam and his adventures on Instagram at @samchaneles, or on his website at www.engineeredforadventure.com.
- Sam Chaneles
- Sam Chaneles
- Sam Chaneles

- Sam Chaneles
- Sam Chaneles
- Sam Chaneles
- Sam Chaneles
- Sam Chaneles
- Sam Chaneles

- Sam Chaneles

- Sam Chaneles
- Sam Chaneles
- Sam Chaneles
- Sam Chaneles
- Sam Chaneles
- Sam Chaneles
- Sam Chaneles
- Sam Chaneles

- Sam Chaneles
- Sam Chaneles
- Sam Chaneles

- Sam Chaneles
- Sam Chaneles
- Sam Chaneles

- Sam Chaneles
- Sam Chaneles
- Sam Chaneles

- Sam Chaneles

- Sam Chaneles

- Sam Chaneles
- Sam Chaneles
- Sam Chaneles
- Sam Chaneles
- Sam Chaneles
- Sam Chaneles
- Sam Chaneles

- Sam Chaneles
- Sam Chaneles
- Sam Chaneles
- Sam Chaneles
- Sam Chaneles
- Sam Chaneles
- Sam Chaneles
- Sam Chaneles