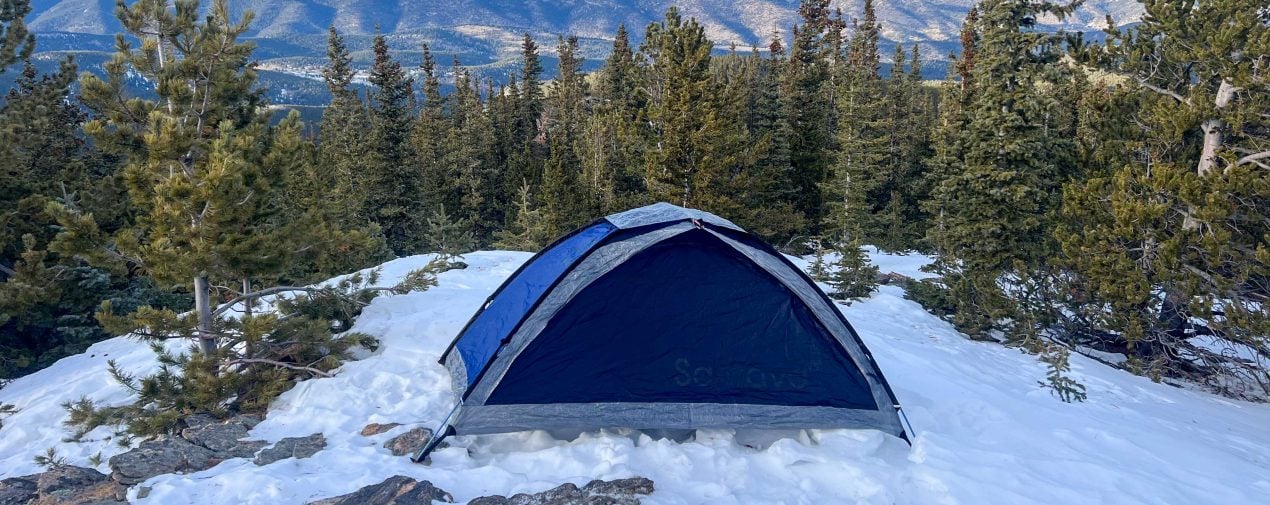
5 Ways to Prep Your Tent for Upcoming Adventures
Tent maintenance isn’t just sweeping out the pine needles and sand after your latest trip. Committing to yearly upkeep can extend the life of your tent and prevent malfunctions once your adventures begin. Read on for five steps to keep your home away from home in top shape for as long as possible.

Prep Your Tent for Adventure with These 5 Steps
1. Inspect it
Don’t start camping season without thoroughly inspecting your tent. Assess every inch of the tent, ground tarp, and rain fly. Take inventory of the stakes, guidelines, tent bag, tent, rainfly, poles, and ground tarp. Write down – we’re serious – every issue you’re even minorly concerned about (from full-on rips or missing parts or a little snag in a zipper). Don’t risk forgetting the issue only to remember it later on trail when it becomes a more serious matter.
2. Clean it!
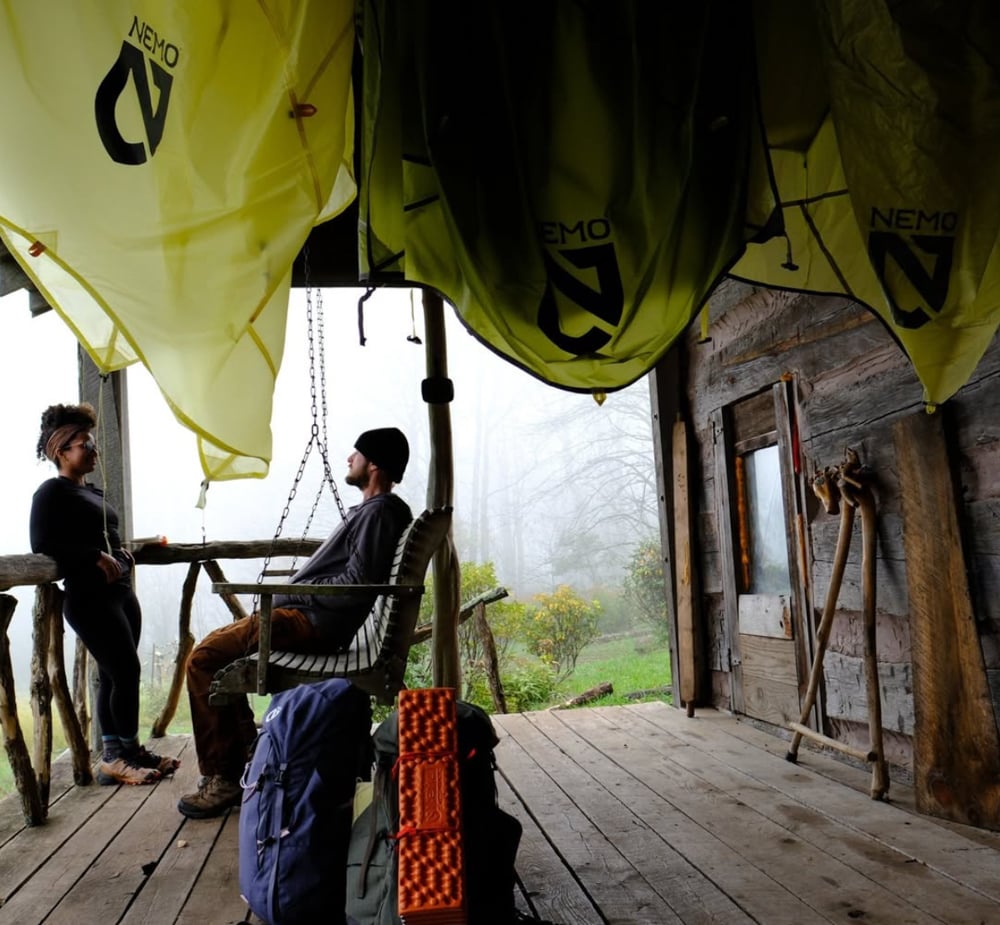
I usually consider “cleaning” a tent shaking it upside down before packing it away. While a quickie like this is appropriate between adventures, it’s a great idea to give your tent a full-on wash once a year to make sure it’s smell- and mold-free. Plus, washing limits build-up of oils, dirt, and grime that can interfere with waterproofing. Here’s how to wash your tent:
- Empty dirt and outside detritus before putting the tent in a bathtub and wetting it with lukewarm water.
- Use a sponge and a tent-specific wash or liquid dish soap to gently scrub at any stains like splattered bugs.
- Gently work the soap into the tent with your hands being extra careful around mesh areas or places with rips (we’ll repair those shortly).
- Drain the tub and gently rinse the tent with lukewarm water. I often do this twice to ensure all the soap is gone.
- Remove the tent from the tub and gently ring it out – don’t squeeze or ring it dry like a towel or you may cause damage. Instead, rely on air to dry it by hanging the tent up – preferably outdoors where it can catch a breeze.
- Follow the same procedure with the ground and rain tarps.
- Once completely dry, stash the tent with all its parts and store it in a cool, dry place so it’s ready for your next adventure.
Note: Never place a tent in a washing machine or use bleach. Both can damage the fabric structure and reduce the life of the tent.

3. Repair it!
Many repairs can be DIYed, such as sewing mesh fabric to the doors or windows to keep bugs out. Use waterproof iron- or stick-on patches to repair holes and tears. I love NOSO Patches and Tenacious Tape Mini Patches.
Pro tip: Pack a couple of these lightweight repair tools with your tent at all times so you can fix issues on the go. (These patches often work on sleeping pads, sleeping bags, and clothing too!)
If you’ve noticed repairs you can’t or are not comfortable fixing, bring the tent to an outdoor store that offers repairs. Some tailors or laundromats can patch tents if you need a larger problem addressed like a stuck zipper or animal-chewed fabric. For tent poles, reach out to a company like Tent Pole Technologies, which can repair or replace bent or sheared-off poles. They also sell parts for those looking to make their own repairs.
4. Apply waterproofing
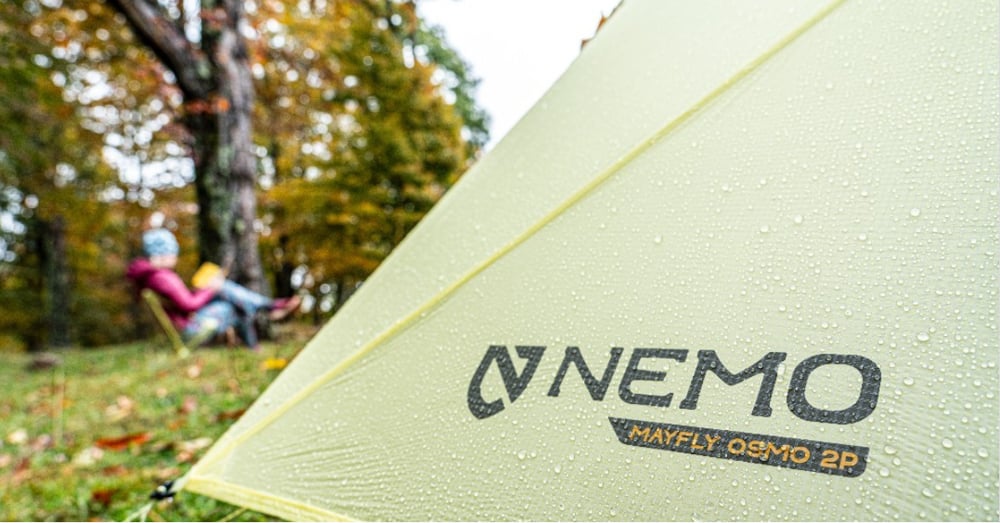
Tent waterproofing wears off with sun exposure and use. If your tent spends more time in storage than on adventures, reapply a waterproofing layer every few years or when you notice it’s no longer water repellent. Tents that are used regularly should be re-treated every year or two. I like non-aerosol waterproofing sprays like the Nikwax Tent and Gear Solarproof. They’re easy to apply – just set up your freshly cleaned and still-wet tent and spray all fabric with the waterproofing product. Wait for several minutes to let it dry evenly, then wipe off excess and you’re good to go!
5. Lubricate the zippers
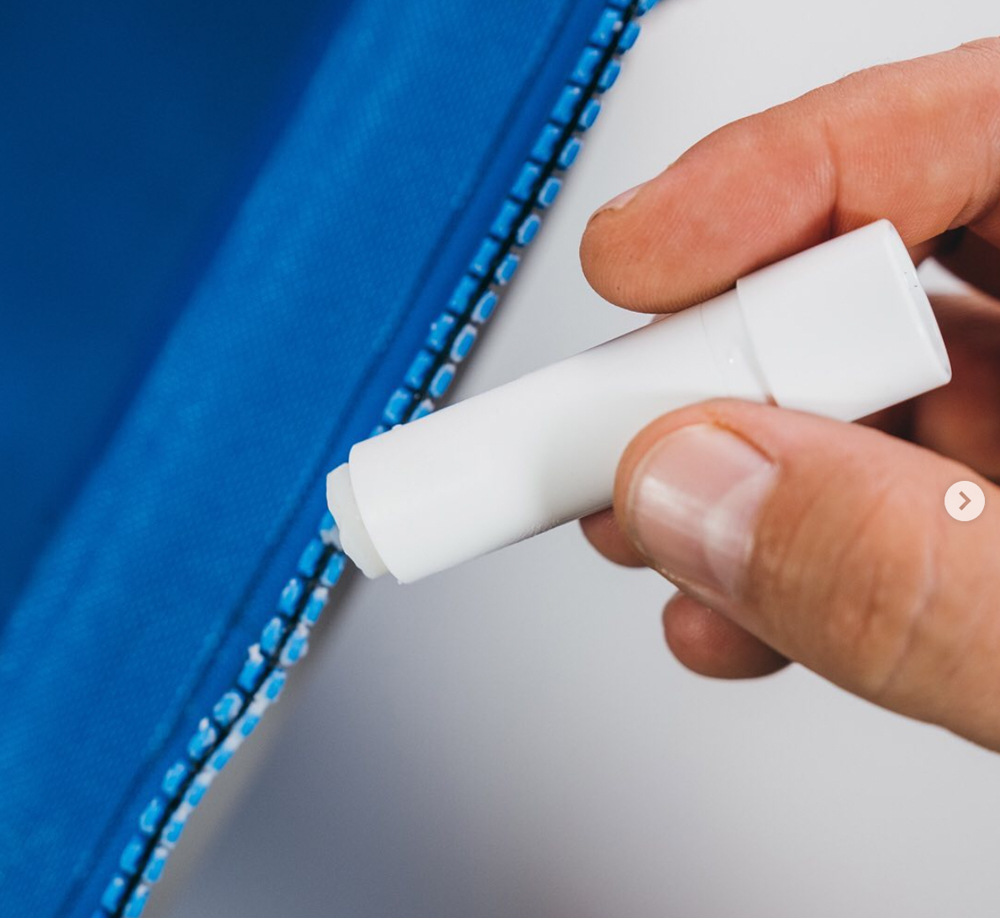
Apply zipper lubricant to the window and door zippers to ensure they run smoothly and improve waterproofing in these critical areas. The chapstick-like applicators are easy to use and can be found at most major outdoor retailers or online. The lubricants prevent the zipper from sticking and eating itself, ensuring smooth entries and exits. These lubricants work on any zipper, so I pack one in my first aid kit. I use them on sleeping bags, clothing, and packs, too. Lip balm is a solid substitute in a pinch should you ever have a zipper emergency on trail!
While going through these steps, it’s important to acknowledge that sometimes it’s necessary to buy a new tent. If your setup is falling apart and repeated repairs aren’t doing the trick, start looking for something new, or new to you. Practice tent upkeep a few months before your next trip so you have everything squared away when it’s time to pack up and hit the road!
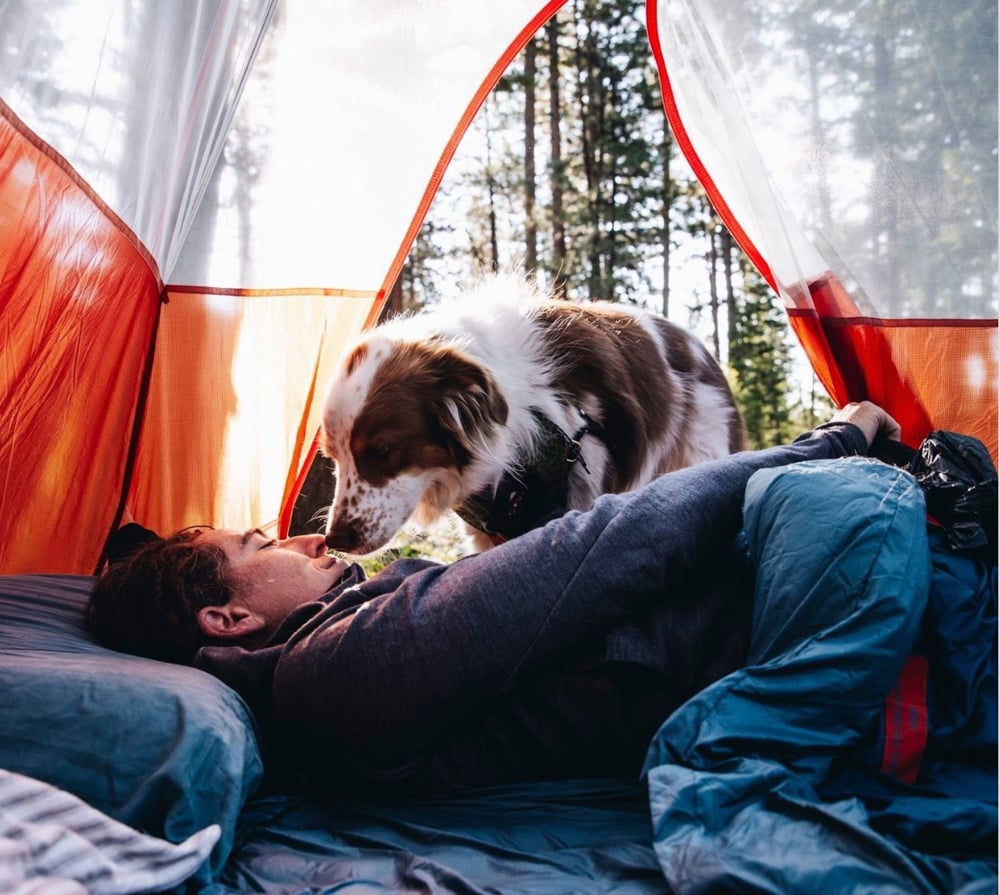
Photo Credit: @bigagnes_
About the Gear Tester

Hatie Parmeter
Hatie Parmeter (she/her) digs hiking, paddling, and yoga. She's a writer and editor in the outdoor industry and is working toward an MS in Clinical Mental Health Counseling. Soon, you'll find her teaching wilderness mental health resources for outdoor outfitters, guides, camps, and more. Bio image is by Lauren Danilek.

