5 Gear Updates for Backcountry Spring Skiing
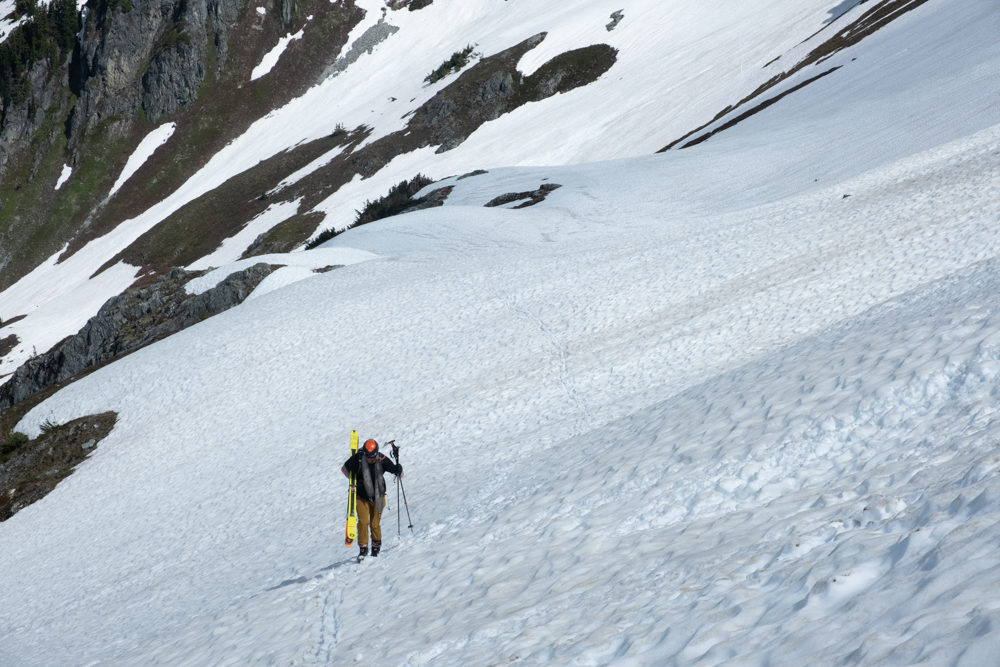
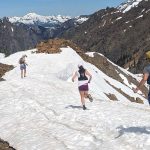
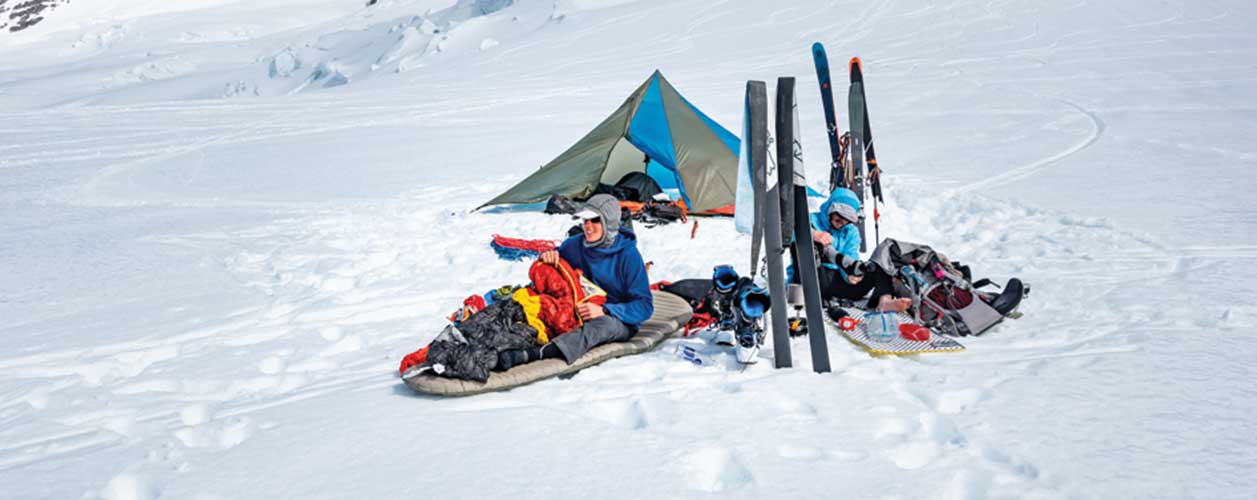
Seasons change — so should your gear considerations! Backcountry skiing in the spring and winter are drastically different. In winter you’re chasing cold, dry snow and hoping for that powder cloud of ‘cold smoke’; in spring you’re racing the sun as it warms the hard, frozen snow surface into a soft, creamy slush called corn. I’ll run through 5 changes I make in my ski pack as winter turns to spring.
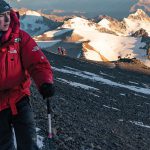
Multiple Pairs of Eyewear
Snow is highly reflective to light. Normal dirt/earth reflects around 10-30 percent of incoming sunlight; snow and ice can reflect up to 80 percent of incoming light! This can lead to snow blindness if you’re not careful.
In the springtime I always bring redundant pairs of sunglasses and/or goggles. It basically becomes a first aid kit item in my mind, as losing a pair of sunglasses during a snack break would result in a very serious situation that could turn dangerous. In the intense sunlight of springtime it doesn’t take long to burn your corneas or worse, permanently damage your eyesight.
Even if you’re just packing both goggles and sunglasses, have multiple forms of eyewear! It may add a few grams of weight in your pack but it’s worthwhile ‘insurance’, if not for you maybe for your partner.
My go-to sunglass in the spring are the Julbo Shield. They have side reflectors and have REACTIV technology which allows for transitioning light in the morning. Read a review of the pair here.
Hiking Shoes and Extra Socks
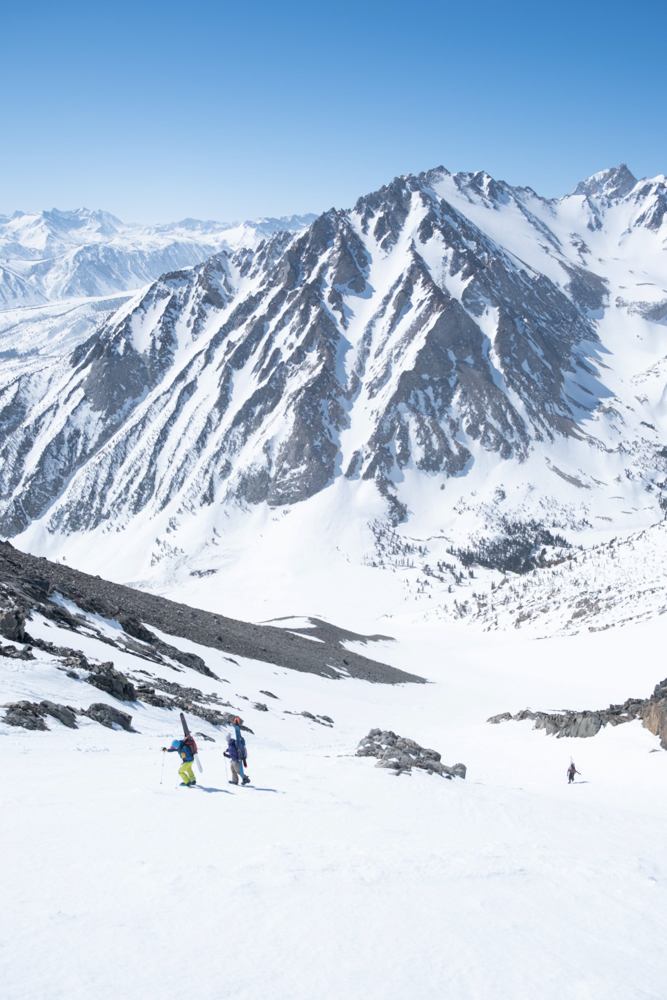
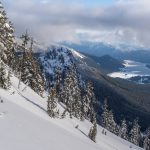
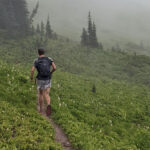
There isn’t always snow down to the trailhead in the springtime. Sometimes you have to work a bit harder and put in some trail miles to get to higher elevations where snow remains.
I always bring a pair of hiking shoes and an extra pair of socks on spring tours, even if they just go in the car ‘just in case’. The hiking shoes are nice to avoid putting wear on the outsoles of my ski boots, and they are much more comfortable for actually hiking on dry ground than stiff, plastic boots. The extra pair of socks always go in the bag, either to switch into when I put my ski boots on or to switch out when my ski socks are soaked in sweat at the end of the day. They weigh nothing and make your feet so much happier! Try some darn tough socks, some of our favorites.

More Salty Snacks, Electrolytes, and Water
With springtime comes more sun, which for me means more sweating. In the cold winter I can often get away with a small amount of water and mostly sweet snacks that are high in carbs and sugar. This has to switch in the spring when it’s hotter and I’m sweating out more water and salt through my sweat.
I often start packing more salty snacks, like salami, cheese, and chips in the springtime to supplement my regular lineup of candy bars, granola, and energy gels. These salty snacks help balance my loss of salt through my sweat. I often will bring more water, say 1.5 times more than my normal dosage, and start with electrolytes in my water in the form of Nuun or Skratch. I’ll pack some more electrolytes for later in the day, usually Nuun tablets or an old Nuun sleeve with Skratch powder filled in.
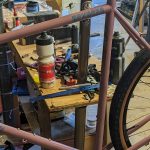
Extra Pair of Climbing Skins
Your climbing skins are critical to going uphill. Without them you can’t get anywhere nearly as efficiently. In the springtime the wet snowpack can saturate your skin’s outer plush (the part that grips the snow) and wet out the glue that attaches to the ski. If you’ve ever had this happen to you, you know how painful and annoying a soggy climbing skin is.
I don’t always pack an extra pair of skins, but on longer trips where a wetted out skin would be consequential to travel I pack an extra pair. Spring ski traverses or tours where there are many transitions from climbing to skinning are the most textbook examples of this. At the very least, it’s a line item on my checklist for spring ski tours. Start considering it if your tour will be in the hottest part of the day where the snow may saturate your skins. If you’re primarily traveling in the morning when the snowpack is frozen it’s likely not an issue. But if you have a long exit or climb back ‘out’ from your descent, especially in the midday heat, think about it!
My favorite skins these days have been either the Pomoca Free 2.0 or Contour Guide Mix. I have a pair of each and they are reliable, lightweight, and glide well.
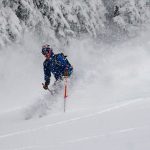
Crampons and Ice Axe
The ‘pokey things’ always go in the pack in the springtime. In the winter, climbing through soft snow, you can often get away with just plunging your ski poles and boots into the snowpack to gain purchase. Not so much in the springtime when the snow surface is frozen and hard.
I like to use lightweight, ‘SkiMo’ style crampons unless there is true ice climbing in the itinerary. My go-to are the Blue Ice Harfang but I’ve also used the Petzl Leopards and Irvis Hybrid. These lightweight crampons have a dyneema cord as the attachment point between the toe and heel and utilize the stiff sole of your ski boot for stability. This works well when you’re mostly climbing lower angle snow and moderate ice. I wouldn’t advise these if your trip involves more mixed climbing through rock or steep ice that is more true ice climbing.
My go-to ice axe for spring ski mountaineering is the Petzl Gully. They make two versions, one with a hammer and one with an adze. I often bring the one with an adze but also own one with a hammer. I just don’t find myself hammering in pickets all that often. The Gully is great because it’s lightweight, short, and slightly angulated for low dagger position when climbing steeper snow/ice. I have even climbed some moderate ice with it, although it’s not nearly as capable as a true ice tool like a Petzl Quark.
Review Your ‘Checklist’ and Practice!
No matter what your pack changes look like, it’s useful to look through your normal ‘checklist’ of gear whether it’s an actual checklist or just in your head. Think through your choices; are they specific to certain conditions? Are there things you find you want to have but don’t? Are there items in your pack you never use but always bring that seem to just add weight? This thought exercise might save you some weight or could put an invaluable item in your pack for the next time you need it!
And just like any skill, practice practice practice! Get out in the winter and springtime and see how your gear lines up with your tours. Reflect on your gear choices after each outing. Maybe practice writing them down or having notes on the side of your checklist. You don’t learn from experience alone, but from reflecting on that experience.
I find that it’s pretty easy to drop your sunglasses, when you are stopped for a snack or taking them off to look at your phone. In the springtime when the snow surface is firm, it can be very easy to drop your sunglasses and have them slide away, lost for the day.
Anytime there’s an approach where I will transition from hiking shoes to ski boots, I bring an extra pair of socks. I want my feet to be completely dry when I put them into the ski boot for the day; this means not only drying them out before putting them in the boot, but also having dry socks.
Dry socks are not only more comfortable, they also help reduce the risk of blisters and keep your feet warmer. I find it very worthwhile to carry the minimal extra weight of a backup pair of socks.
No, but it also depends. Come springtime, snow surfaces can be firm and variable and it’s hard to know where you may want additional traction beyond just boots and skins. I like the added assurance of an ice axe and crampons on most spring tours, and find the added weight to be worthwhile. Investing in a compact pair of crampons like the Blue Ice Harfang Tour and a small, lightweight axe like the Blue Ice Hummingbird can be great ways to minimize the added weight of these tools.
Again, the answer here is ‘it depends’. For most ski mountaineering where you are not climbing technical ice, shorter and slightly angled axes like the Blue Ice Hummingbird and the Petzl Gully will be ideal. They are lightweight, have enough geometry and pick aggression to climb some moderate ice, but also add security when booting snow slopes where they are more used for self arrest.
For more technical ice climbing or ascents to skiing, the Petzl Quark or Grivel North Machine Carbon can be great middle-of-the-road technical ice tools. They are less aggressive than a Cassin X-Dream or Petzl Nomic but capable of moderate to steep alpine ice.
In terms of the hammer or adze debate, they each have their uses. Adzes are great for clearing a t-trench for a deadman anchor or clearing a tent platform of ice when camping; hammers are more useful for placing protection into snow and ice like a picket, or hammering a piton into rock. When purchasing a pair of ice tools, I usually buy one of each, giving me the variety of the two. Some ice tool systems, like the Grivel vario, allow you to swap hammer and adze attachments to the tool interchangeably.
Again, it depends, but 1.5 times is a good benchmark as a blanket statement. In the springtime you sweat much more than in winter and your tours will often be longer, as the places to ski often involve approaches through dry terrain. I find that no matter how much I drink, I never quite drink enough and am often dehydrated when I get back to my car at the end of the day.
In general, I like to take ~2 – 2.5 liters with me on spring tours and ~1.5 – 2 liters with me on winter tours.
Ski crampons take some practice, but one thing that may be happening is you have a high heel riser on. The ski crampon requires engagement from your boot to actually engage and bite into the snow. If you have a high heel riser up, your boot is not actually sitting down on the ski crampon and biting into the snow.
If you like high heel risers, I recommend taping some foam or cardboard onto the ski crampon to add some lift between the ski crampon and your boot. That way you can have ‘bite’ on the ski crampon even in high riser mode.
Here’s a great article explaining more: https://wildsnow.com/31347/a-simple-ski-crampon-mod/
They don’t always get less sticky, but one thing that may be happening is the glue may be getting wet from water-rich snow. In the wintertime, our skins are coming into contact with cold, dry snow and as long as we don’t drop the glue directly into the snow surface, they often can last all day long. Come springtime, skins can get highly saturated with water from snow that is rich in water content; this water can come between the ski base and the glue and prevent the glue from sticking.
I rarely carry a dedicated pair of backup skins, but if I am going out on a committing traverse or objective where skin failure would be detrimental I discuss it with my partners. Skinning is a highly efficient mode of travel and once the firm morning snow breaks down booting can become slow and treacherous. Having a dry pair of skins can be crucial when you are far from the car and need to move quickly.
I try to test out new gear on less committing day trips where gear failure or discomfort are not as catastrophic to the day. A big ski traverse or summit ski mountaineering objective are not the best place to test out new equipment, in my opinion. I’d recommend going out to your local hill after work and testing it out before bringing it to the high peaks.
That said, we don’t always get to choose when ‘day one’ is on our new gear, either due to limited time or life obligations. At least communicate with your partner before going out if you have new gear so that they are aware and can plan accordingly.
About the Gear Tester

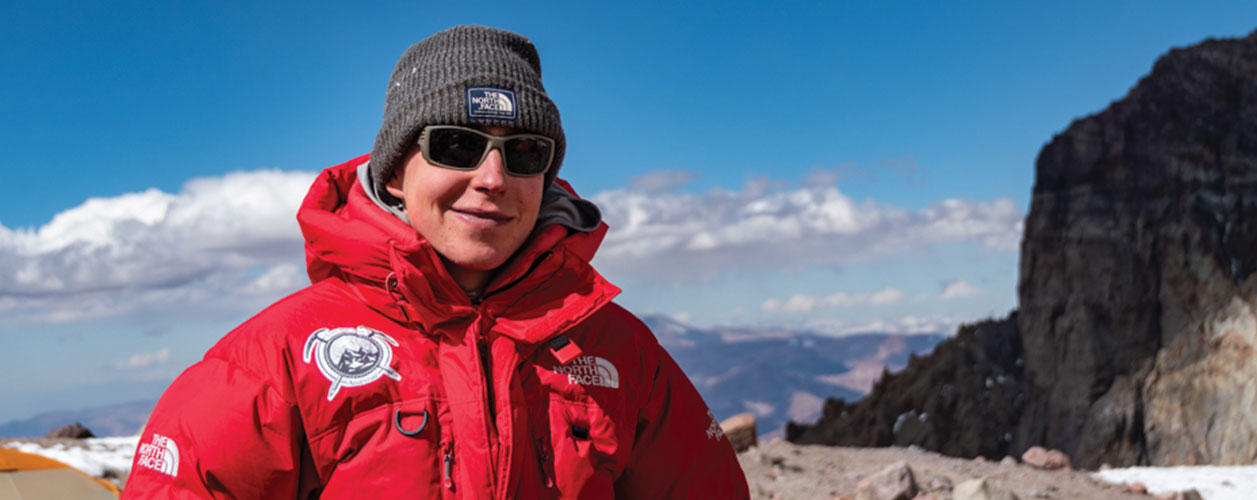
Sam Chaneles
Sam Chaneles is an avid mountaineer and backpacker, climbing peaks in the Cascades, Mexico, Ecuador, and Africa, as well as hiking the John Muir Trail and off-trail routes in Colorado. He has climbed peaks such as Aconcagua, Mt. Rainier, Cotopaxi, Chimborazo, Kilimanjaro, and many more. Sam graduated with a B.S. in Mechanical Engineering from Georgia Tech. During his time there he was a Trip and Expedition Leader for the school’s Outdoor Recreation program (ORGT). He has led expeditions to New Zealand, Alaska, Corsica, France, and throughout the United States. Sam is based in Issaquah, WA just outside of the Cascade Mountains. You can follow Sam and his adventures on Instagram at @samchaneles, or on his website at www.engineeredforadventure.com.
- Sam Chaneles

- Sam Chaneles

- Sam Chaneles
- Sam Chaneles

- Sam Chaneles

- Sam Chaneles

- Sam Chaneles
- Sam Chaneles

- Sam Chaneles
- Sam Chaneles

- Sam Chaneles

- Sam Chaneles
- Sam Chaneles

- Sam Chaneles
- Sam Chaneles
- Sam Chaneles
- Sam Chaneles
- Sam Chaneles
- Sam Chaneles
- Sam Chaneles
- Sam Chaneles
- Sam Chaneles

- Sam Chaneles

- Sam Chaneles
- Sam Chaneles
- Sam Chaneles
- Sam Chaneles
- Sam Chaneles
- Sam Chaneles

- Sam Chaneles

- Sam Chaneles
- Sam Chaneles
- Sam Chaneles

- Sam Chaneles
- Sam Chaneles
- Sam Chaneles
- Sam Chaneles

- Sam Chaneles
- Sam Chaneles
- Sam Chaneles
- Sam Chaneles
- Sam Chaneles
- Sam Chaneles
- Sam Chaneles
- Sam Chaneles