Foraging Do’s and Dont’s & Some Local Recipes
What is foraging?
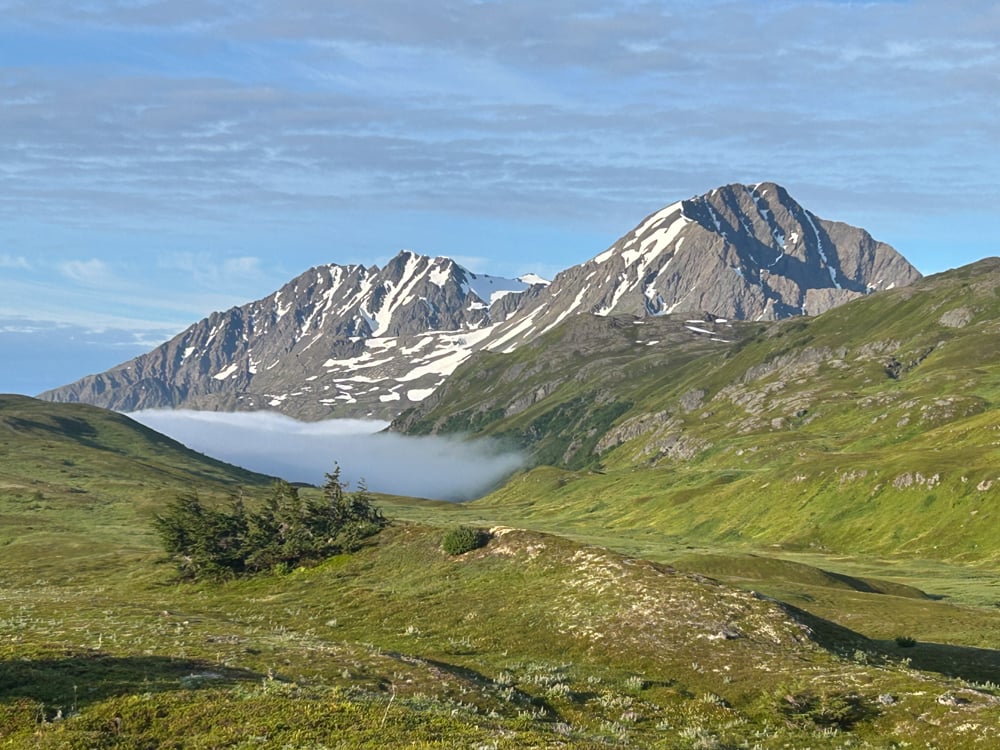
Foraging is the age-old tradition of gathering food from a natural area; food that hasn’t been cultivated but is wild and native to the land it grows on. Foraging can take you back to the way humans lived before farming and grocery stores. Foraging is a fun way to get outside, explore nature, and expand your taste buds! So grab a friend, research where to go, and bring along plenty of photos and guides to correctly identify what you’ll be gathering for dinner tonight.
How can we forage responsibly?
Don’t be greedy – the general rule of thumb is to only take 10% of the species you are foraging from an area. This is for two main reasons: firstly, we want to leave the plant in place so it can grow and function in its ecosystem. Secondly, other people might come behind you to forage, and we want to make sure there is enough for others without depleting the resource.
Foraging is all about sustainability. This allows us to return year after year to the same spots and allows the plant to replenish itself over and over. If you are greedy one year, then the following year you might find there aren’t any of the species you desire, and it will take longer for the plant numbers to recover before you can forage there again.
How can I get started foraging?
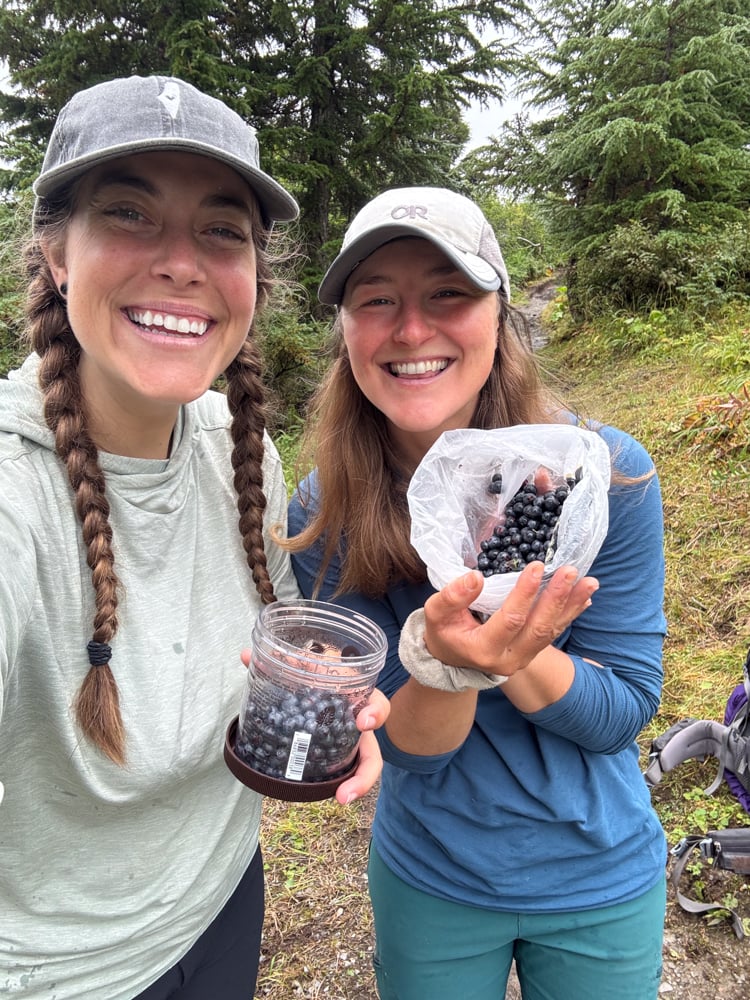
The best way to get into foraging is to find mentors in your community. It is incredibly empowering to venture out into nature with a friend who knows what they are doing and have them point out edible plants. Seeing the plants in person and also seeing the false inedible varieties will give you great confidence.
Aside from this hands on approach, research, research, research! Use the library, the internet, and any other reliable resources you can get your hands on. Not only do you need to be able to identify edible plants, you need to know where to find the plants.
Foraging is a fun and rewarding experience, but it takes time, effort, and dedication. Once you’ve found and foraged your desired varieties, there is still the added step of processing all of your goodies, preserving them if necessary, and figuring out desired recipes to consume your finds. It can be a sparse side hobby or a dedicated lifestyle.
Common Alaskan plants for foraging:
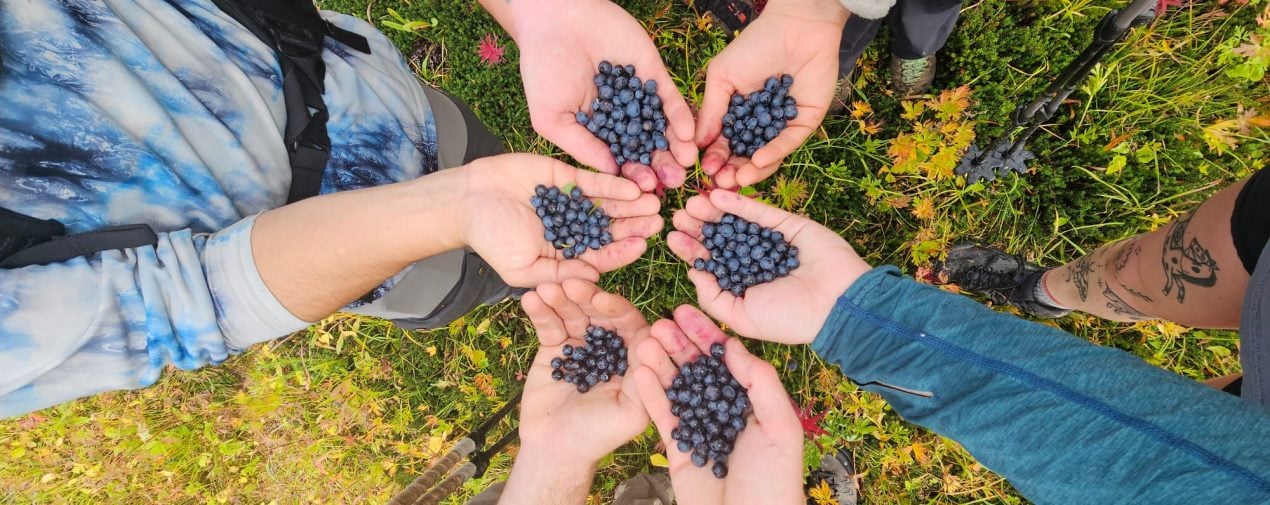
1. Berries!
Blueberries, salmonberries, and huckleberries, oh my! There are actually many, many more types of berries to be found while foraging in Alaska, but these are some of the easiest and tastiest to be found.
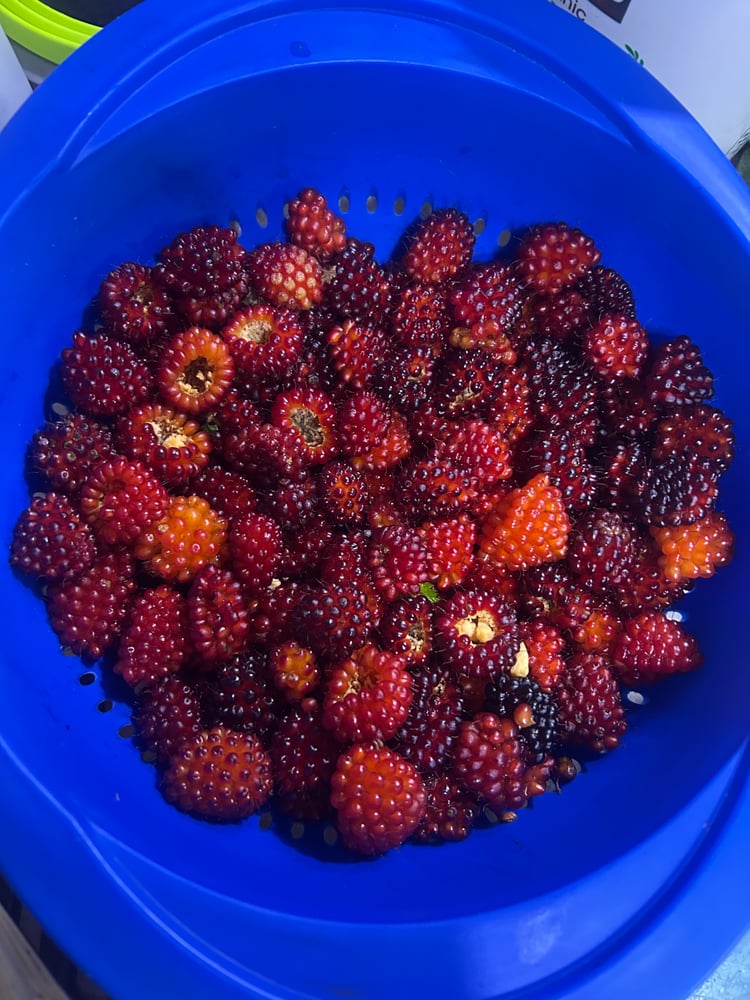
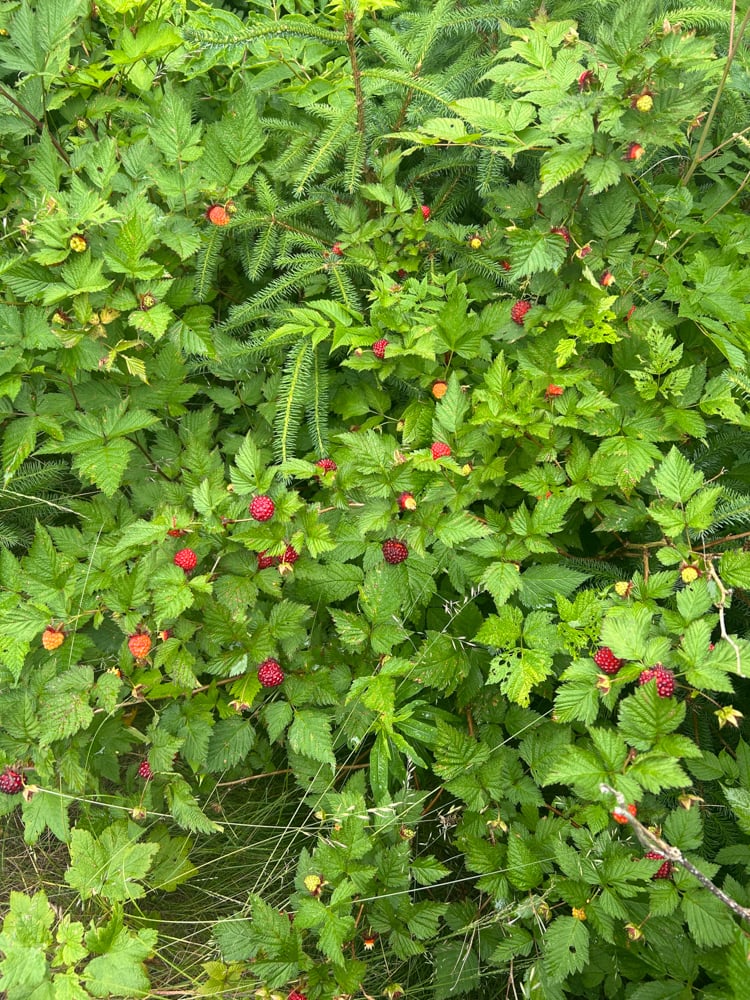
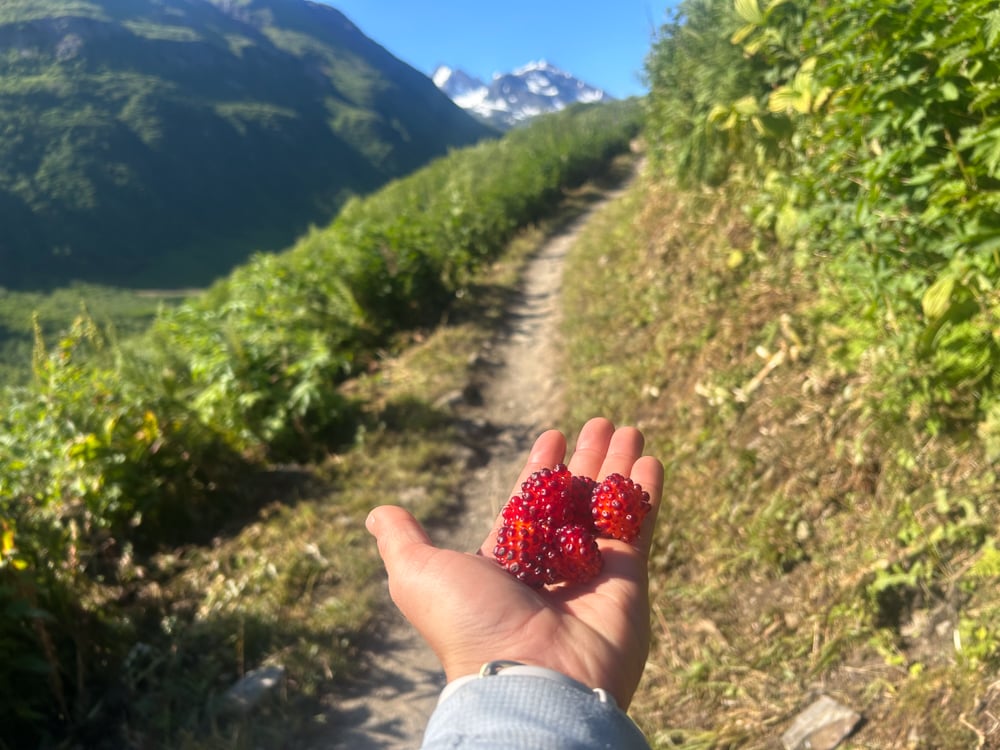
Salmon berries are one of the first berries to emerge in Alaska. They are named because the ripened berry resembles a grouping of salmon eggs. These berries are very variable, ranging from tart to sweet, depending on when and where they were picked.
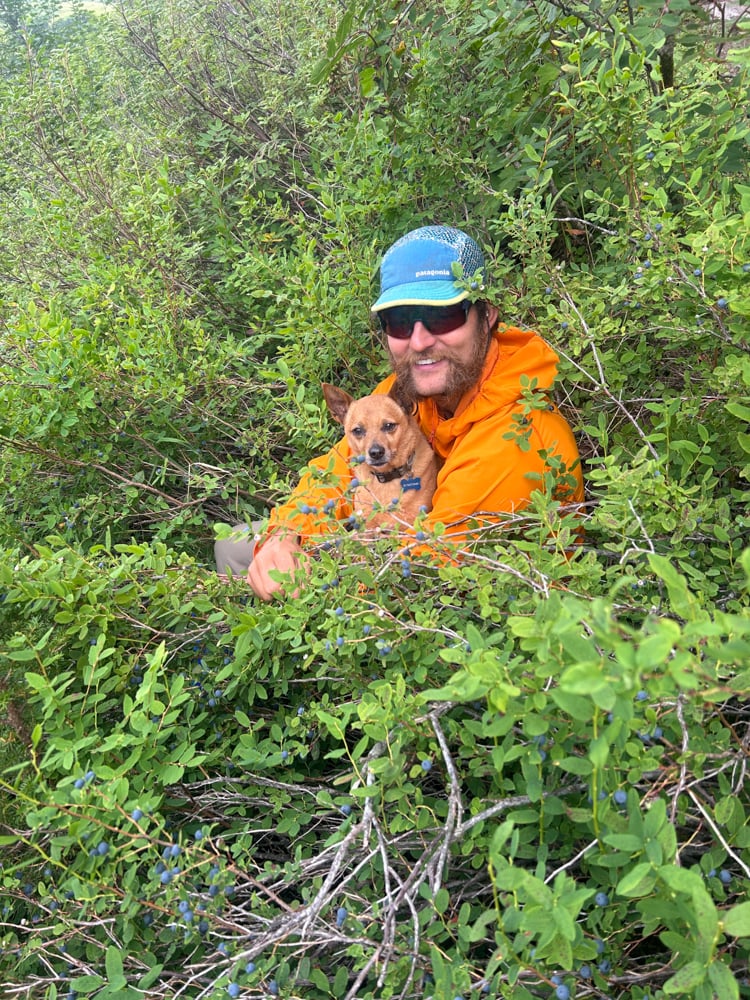
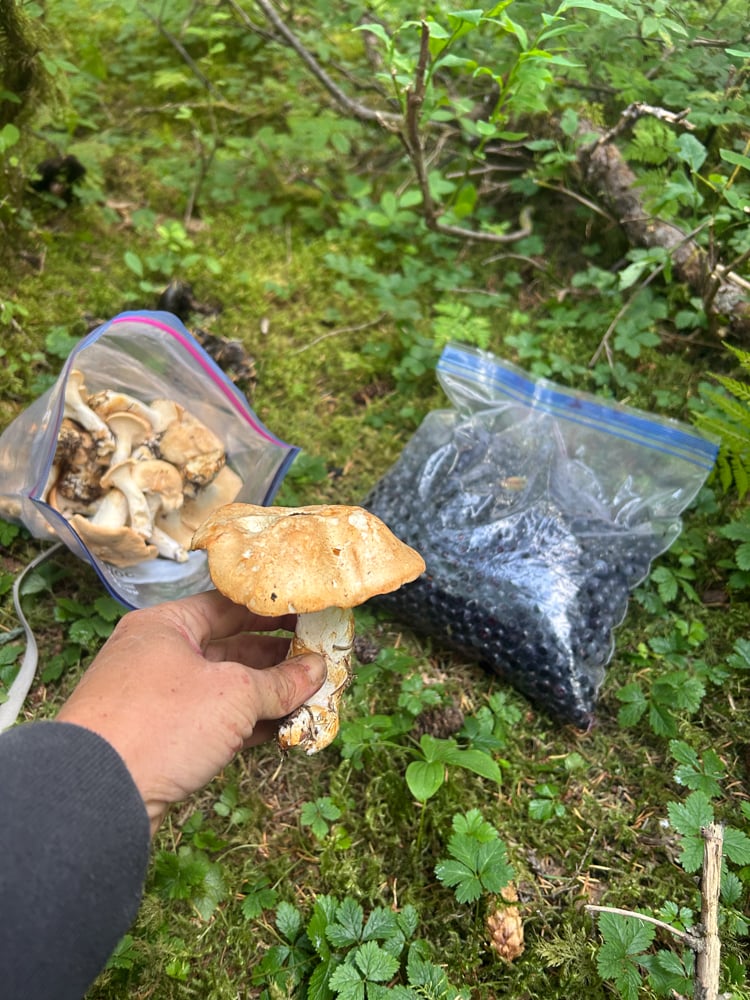
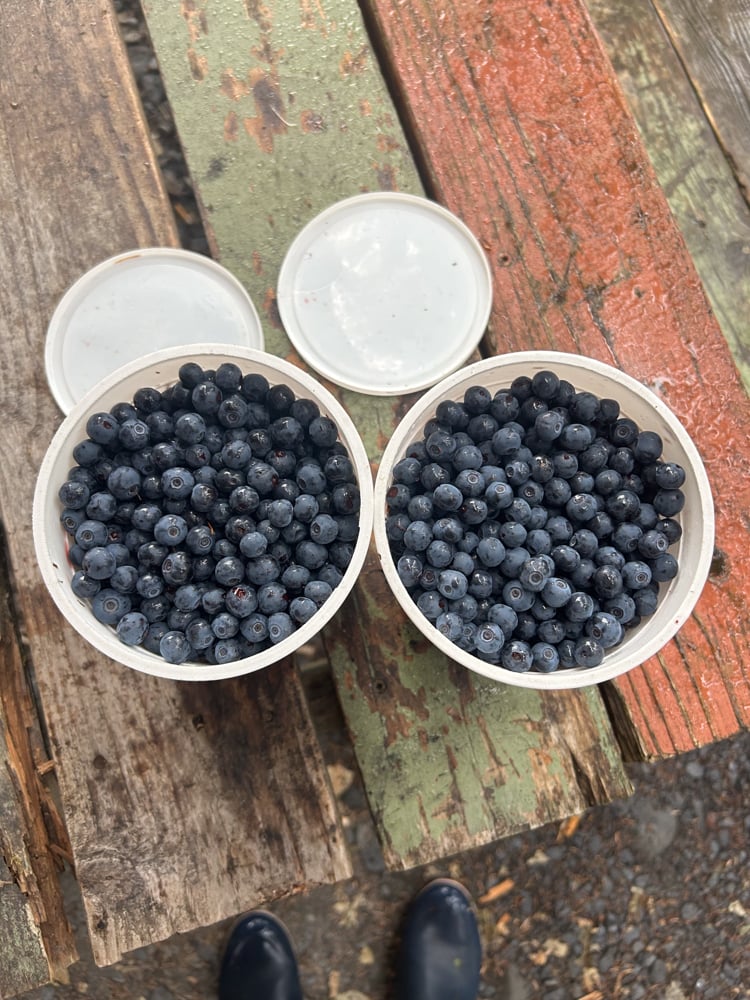
There are so many types of blueberries, and they range from sweet and flavorful to tart and watery. You have to try several varieties to determine which you like and want to target. You’ll know a blueberry is ripe when it easily comes off the bush, has grown to a large and juicy shape, and tastes to your liking. When forging in patches of blueberry bushes, I make sure to sample each bush to ensure I like the flavor of that bush before proceeding to fill my vessel with berries.
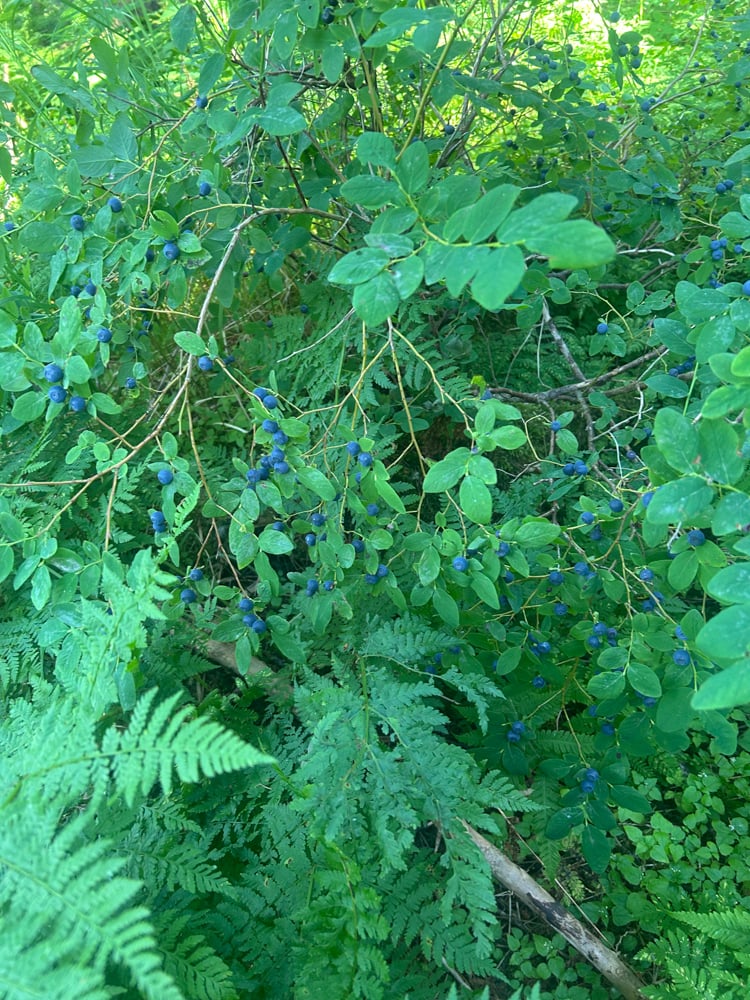
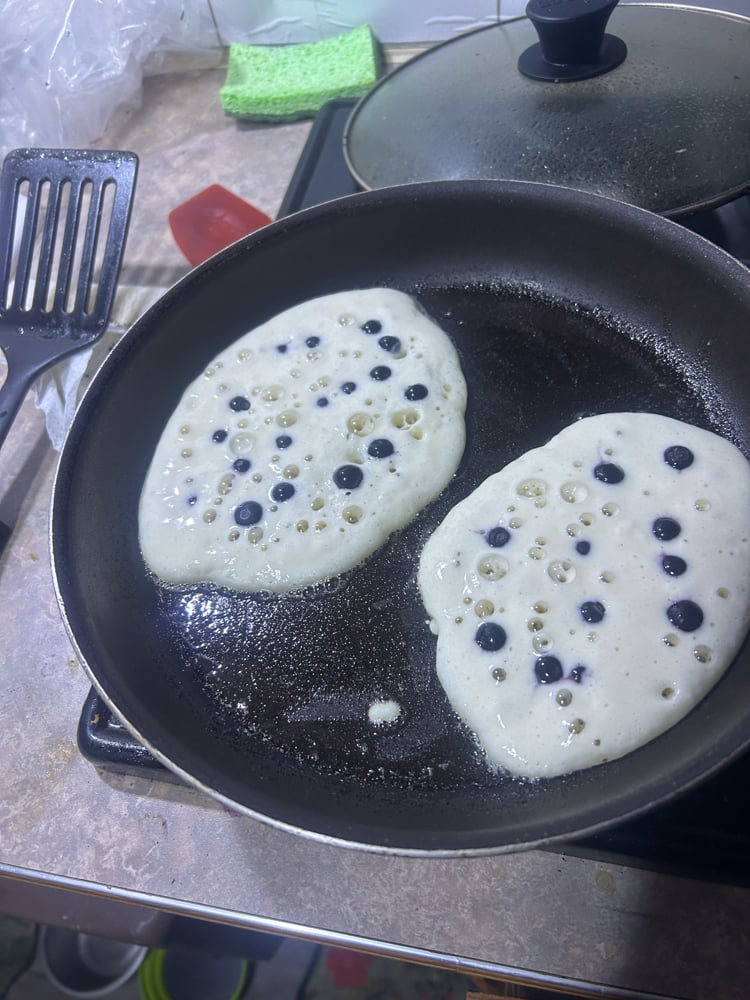
Huckleberries are similar to the blueberry in timing and color, and often can be found mixed into patches of blueberries. They have a darker and shinier exterior and have many tiny seeds inside. They can be bitter or tart if not fully ripened, but have a sweet and bold flavor when picked at the perfect time. I enjoy having a mix of huckleberries and blueberries with which to make jam, mix into yogurt, and sprinkle into pancake batter.
2. Mushrooms
Mushrooms are a tricky thing to forage. They require absolute certainty in identification and preparation. If you have any misgivings, don’t risk it. My strategy for my first summer of mushroom foraging was to identify two main mushrooms and focus my efforts on finding and harvesting those varieties.
Mushrooms vary greatly across regions, and can depend on rain, burn scars, and tree conditions. The two varieties I focused on in Alaska were chicken of the woods and hedgehogs. Chicken of the woods was tricky to find but easy to identify by its bright orange and yellow color.
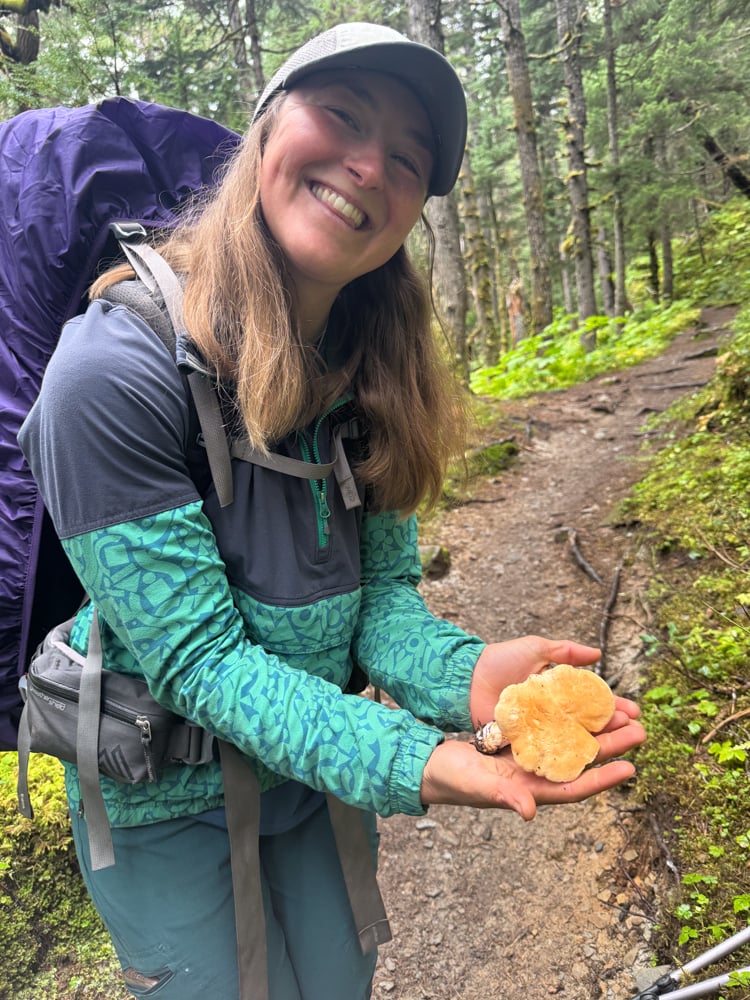

I enjoyed experimenting with this mushroom, as if cooked in certain ways, it has the texture and flavor of chicken.
Hedgehogs on the other hand are reminiscent of a chanterelle and have a more classic mushroom flavor and taste. It is good practice to thoroughly clean and cook all wild mushrooms before consuming.
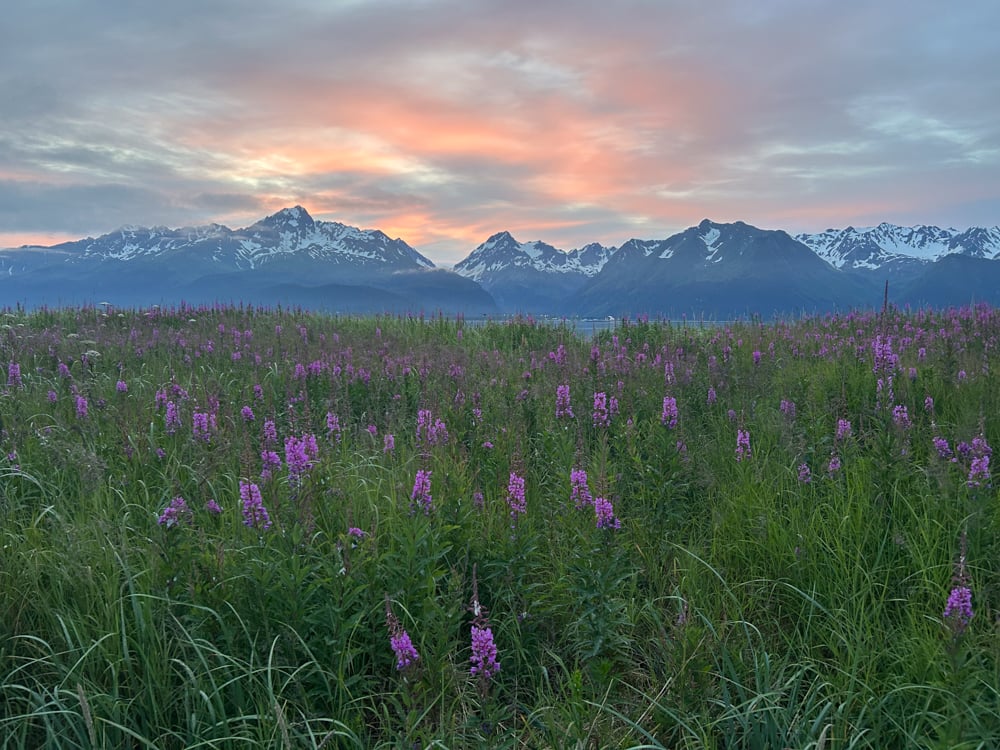
3. Fireweed
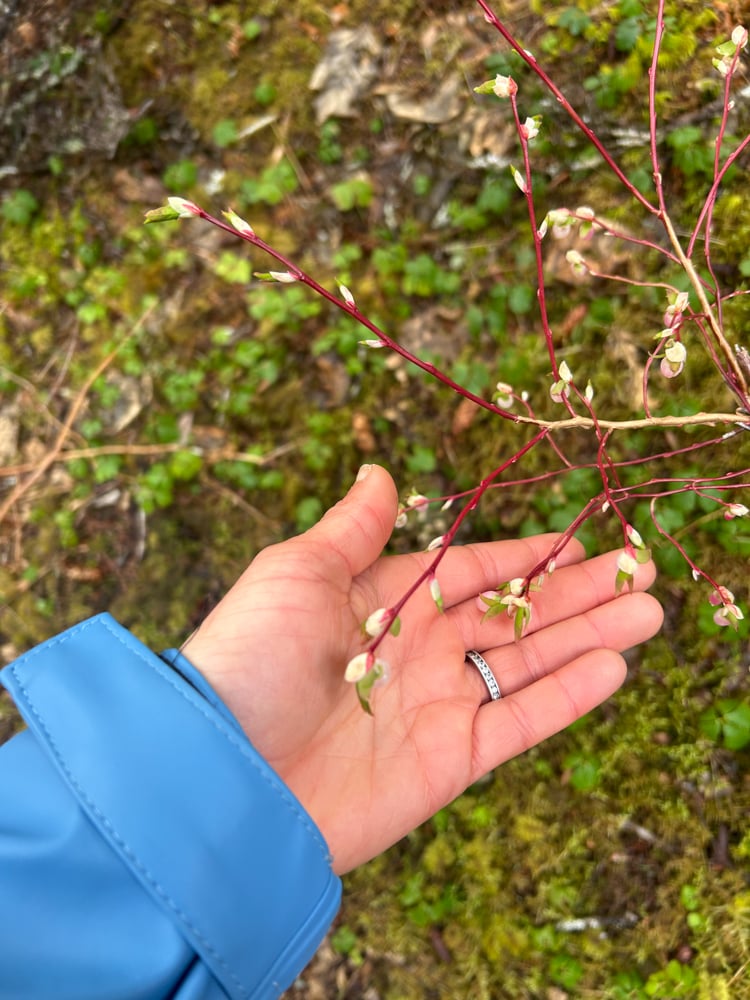
A classic summer flower, the fireweed can be eaten in totality at different stages. In late spring, the shoots can be foraged and are a sort of wild asparagus. The flowers can be used in summer for teas, syrup, and jelly. Be sure to leave plenty of fireweed behind so the plant blooms in the summer and goes to seed for fall. This ensures fireweed for seasons to come.

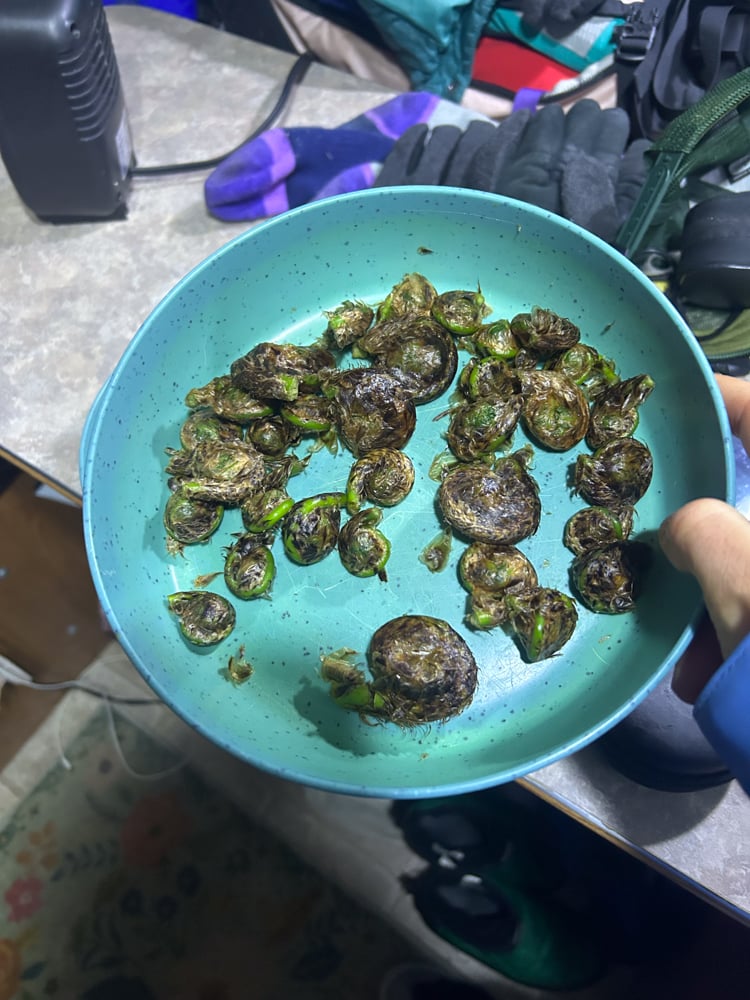
4. Fiddleheads
Fiddleheads refer to the beginning stage of many fern varieties. When the fern first pops up it is tightly wound into a small spiral. At this stage, before any of the fern leaves have begun to unfurl, the fiddleheads can be cooked and eaten. Though I have seen some Alaskans eat them raw, it can be difficult to digest when consumed raw.
5. Spruce tips
Spruce tips are fun and easy to forage. Spruce tips refer to the new soft growth that appears on the end of each spruce limb in early summer. Spruce tips are best harvested when they are like a tight bud rather than later when they have opened up.
When they are harvested early, they have a strong citrus flavor. Spruce tips should be picked sustainably since the spruce tree relies on this new growth to continue its life upwards and outwards to find the sun.
It is best to pick spruce tips from many trees sparingly rather than all from one tree. Most of my spruce tips came from my good luck of finding a spruce tree that had been recently cut down by the forest service on the trail I was wandering along. Otherwise, I tried to pick spruce tips in a here-and-there philosophy.
Recipes:
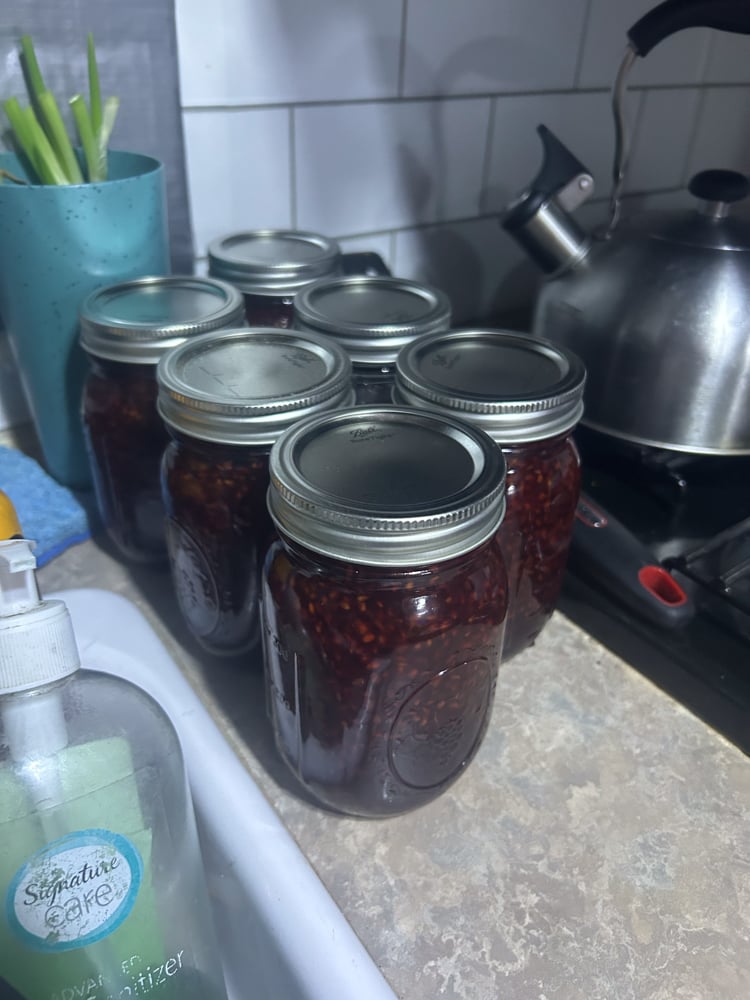
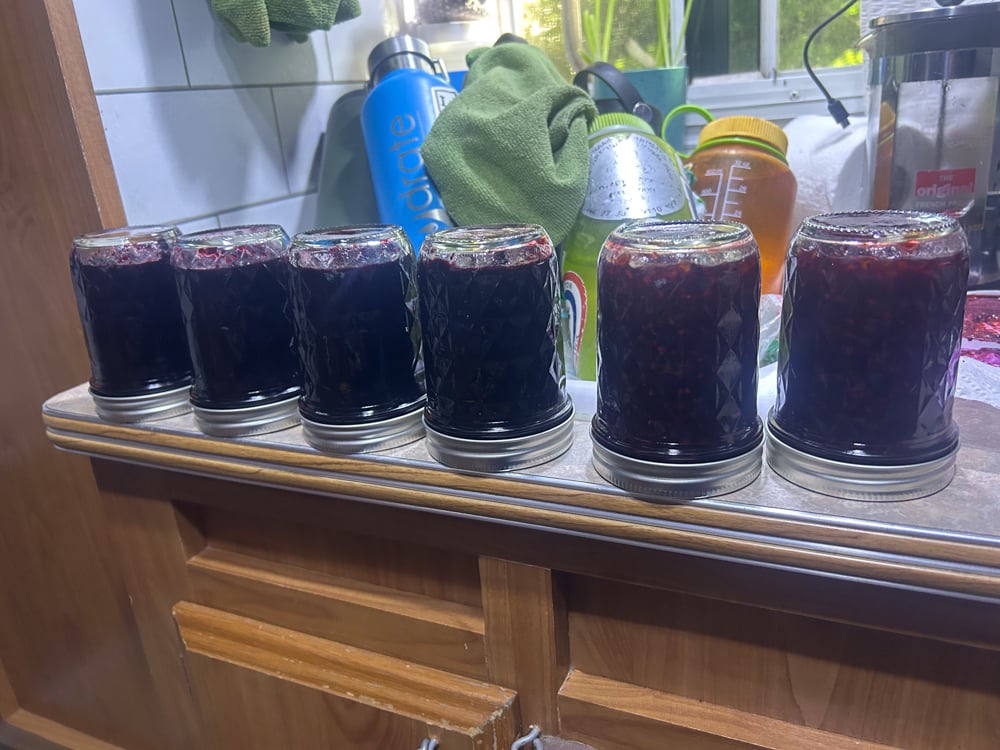
Wild berry jam
This recipe works for pure or mixed berry jam. This summer I made pints of salmonberry jam and a mixed jam of blueberry and huckleberry.
Step one is to determine how many cups of berries you have, sort through the berries to remove leaf and twig debris, and clean the berries as best you can without squashing the berries. This is especially difficult for the fragile salmonberry.
In a large pot, add in whatever quantity of berries you have and mash them up the berries. Most recipes call for a 1:1 ratio of berry to sugar, but I don’t enjoy jam that sweet. For the salmonberries, I did a 4:3 ratio, and for the blueberries a 1:2 ratio of berry to sugar.
For example, I typically did 4 cups of blueberries to 2 cups of sugar, or 4 cups of salmonberries to 3 cups of sugar. Once you’ve added the sugar, mix the sugar into the mashed berries. I like to add the juice of a lemon into the mix as well. It provides a lifting flavor and keeps the jam a bright color. Now simply boil the mixture, stirring constantly. If you have a kitchen thermometer, you are aiming for the mixture to reach 220 degrees Fahrenheit. Your aim is to boil out the water and thicken your jam.
For these fresh berries you don’t need to add in any pectin if you reached the required setting temperature. To test if your jam is finished, take a spoon of jam and stick it in the freezer. After cooling fully, if the jam easily slides off the spoon like liquid water, it needs more time, but if it thickens and oozes, it’s ready.
Next up is canning. I prefer to do a water bath for jam, but use whatever your preferred canning method is.
Simple sautéed fiddleheads
Fiddleheads are delicious and easy to cook, but they are a pain to clean and prepare. This is due to a thin papery coating each fiddlehead has. For the best flavor, this coating needs to be removed. I haven’t found a quick way to do this, and usually do it one at a time, which can be time-consuming.
Once your fiddleheads are peeled clean, give them a rinse, and do a quick blanch by putting the fiddleheads in a pot with enough water to cover them and bring the water to a boil. Once it reaches a boil turn the stove off and let the fiddleheads sit in the hot water for a few minutes. The water should turn a brown color. This step helps eliminate any bitter flavor and softens the fiddleheads. Drain the water from the fiddleheads and let them dry while you prepare the pan for sautéing.
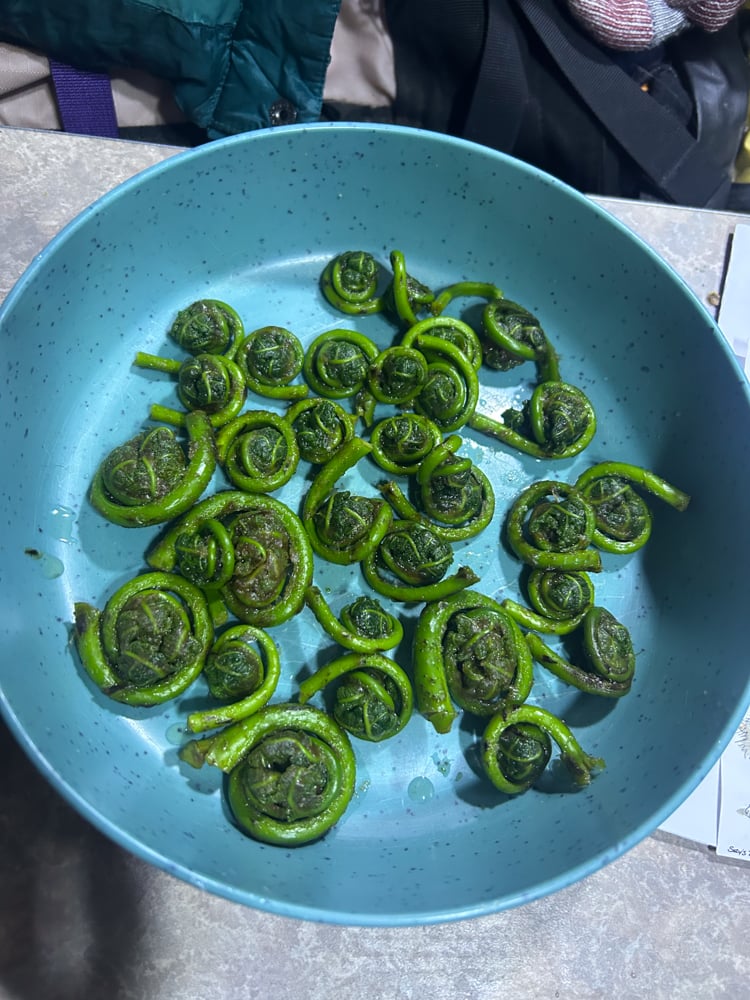
In a pan add a generous pat of butter and some minced garlic. Melt the butter and gently cook the garlic before adding in the fiddleheads. Add salt and pepper, and sauté the fiddleheads for about 7 minutes until they are tender. Voila, some delicious fiddleheads to add to the side of your fish, potatoes, chicken, or whatever else you have on hand. They are reminiscent of asparagus and cooked spinach.
Spruce tip syrup
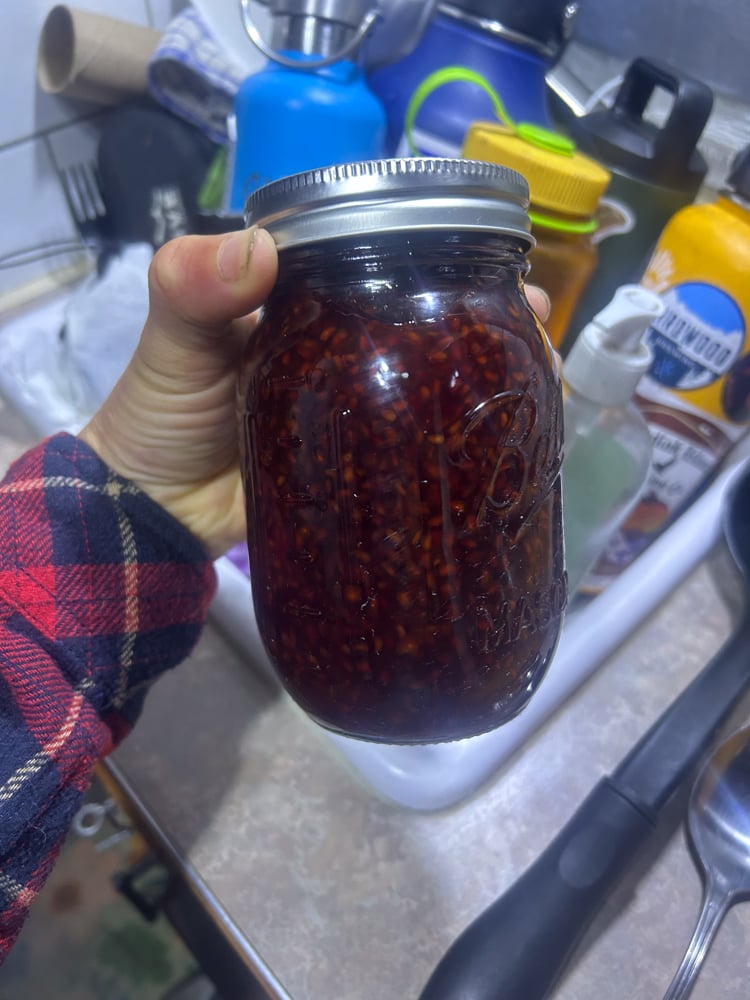
Spruce tip syrup is an easy and hands-off recipe for any beginner to try. All you need is your foraged spruce tips, a mason jar (or several), and some brown sugar. You can easily make multiple jars of syrup depending on your spruce tip haul.
In each mason jar, you are going to add equal parts brown sugar to spruce tips. So if you have two cups of spruce tips, you’ll need 2 cups of brown sugar. I find it best to layer the spruce tips in first and then pour the sugar over top and shake the jar a bit to mix the sugar in. Once you’ve layered your spruce tips and brown sugar, tightly screw the lid onto the mason jar and set the jar outside somewhere it will get some sunlight. The hard part is that now you have to wait for 1-2 months (depending on your patience).

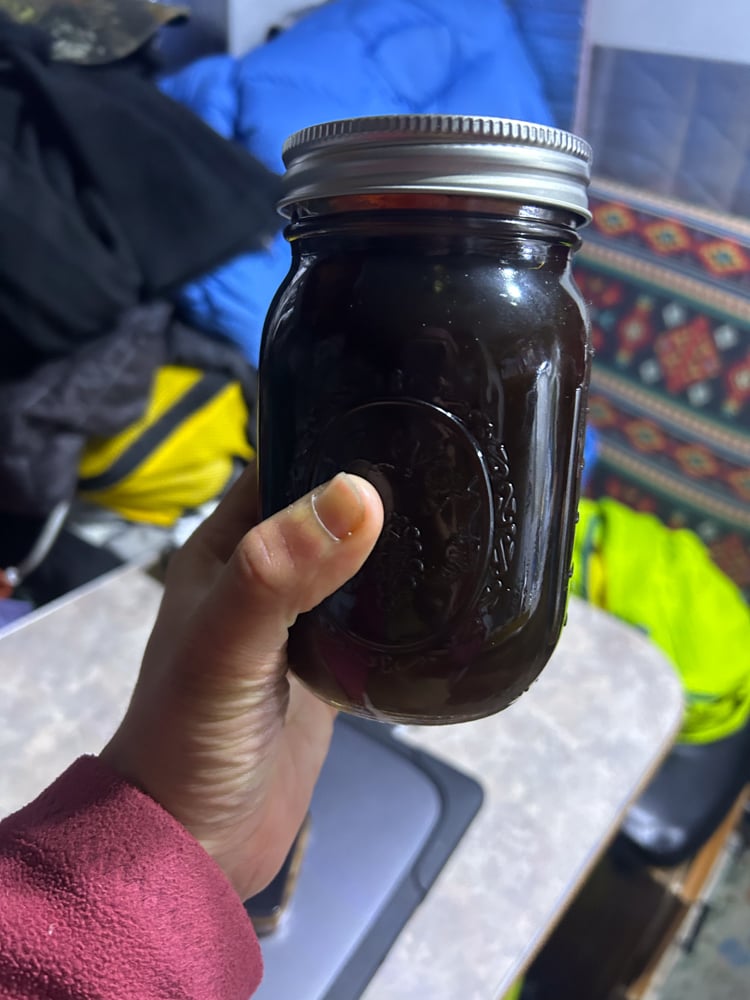
Once you’re finished waiting, simply strain out the remaining spruce tips and enjoy your resulting syrup. Note the beautiful citrus flavor. Spruce tip syrup can be used to make fun beverages, added to yogurt or oatmeal, used as a sweetener in baked goodies, or used as pancake syrup.

About the Gear Tester

Emma Ely
Emma is an Environmental Engineer, working for the State of Colorado to protect the quality and safety of drinking water. In her free time, Emma is an avid climber, ski mountaineer, and yoga instructor. You can also find Emma biking and drinking beer around her favorite town, Golden, with her adventure hound Zeke.

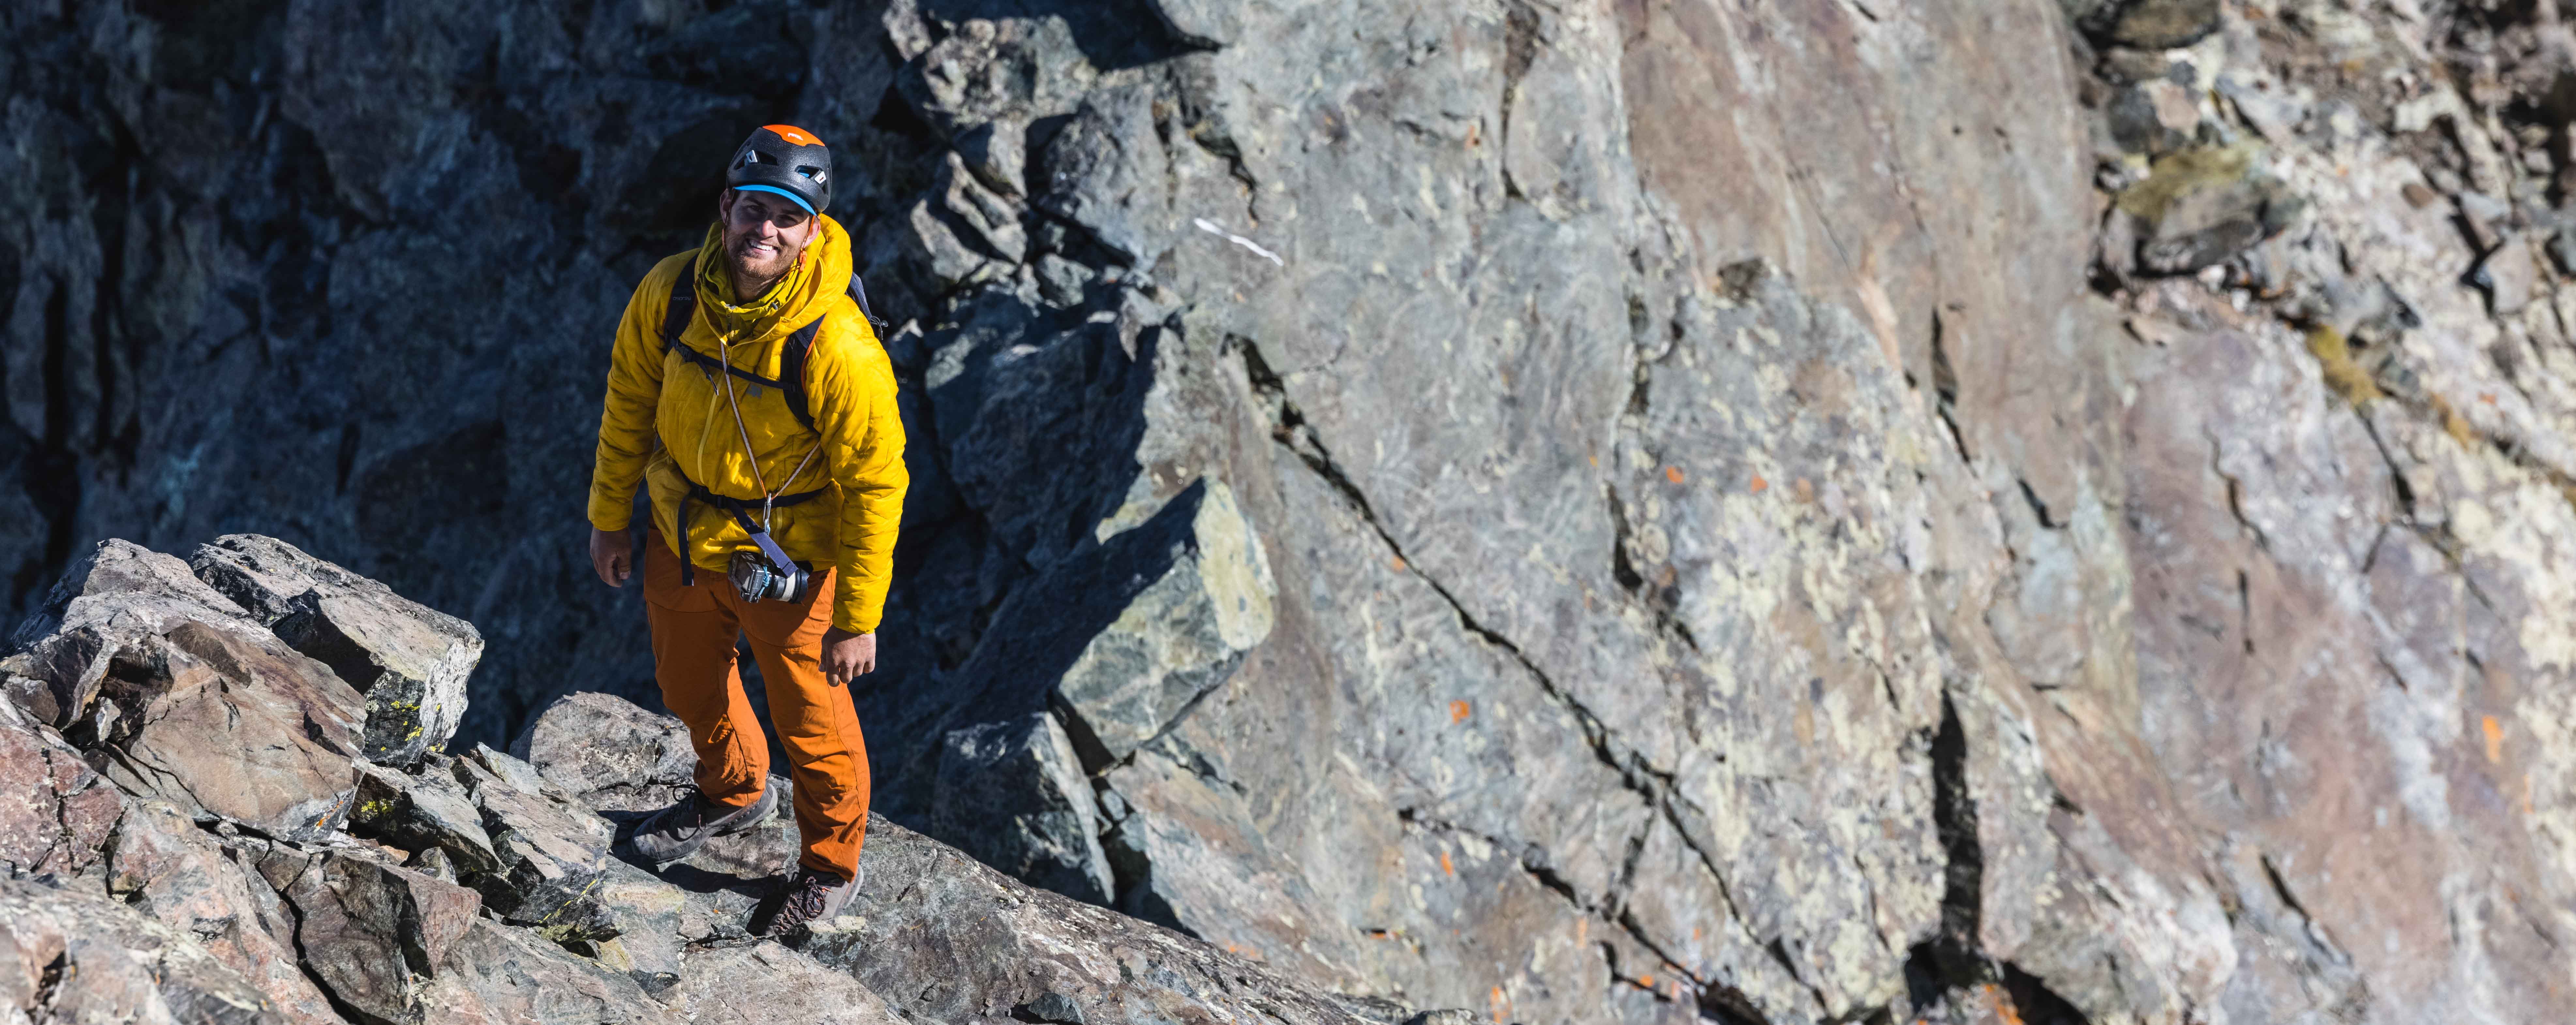
Zach Eiten
Zach is an aspiring alpinist, ski mountaineer, climber, and photographer. He is a Wilderness First Responder and frequently volunteers with the Colorado Mountain Club to help train future mountaineers. Zach works part-time as a marine biologist in Alaska and a wildlife biologist here in Colorado. You can catch him climbing around Golden where he lives today.
-
Zach Eiten

-
Zach Eiten

-
Zach Eiten

-
Zach Eiten

-
Zach Eiten

-
Zach Eiten

-
Zach Eiten

-
Zach Eiten
-
Zach Eiten

-
Zach Eiten

-
Zach Eiten

-
Zach Eiten

-
Zach Eiten

-
Zach Eiten
-
Zach Eiten

-
Zach Eiten

-
Zach Eiten

-
Zach Eiten

-
Zach Eiten

-
Zach Eiten
-
Zach Eiten
-
Zach Eiten

-
Zach Eiten
-
Zach Eiten

-
Zach Eiten

-
Zach Eiten
-
Zach Eiten
-
Zach Eiten

-
Zach Eiten

-
Zach Eiten

-
Zach Eiten

-
Zach Eiten

-
Zach Eiten

-
Zach Eiten