Enjoying Your Fish for Months: How to Safely Freeze, Can, or Dry your fish
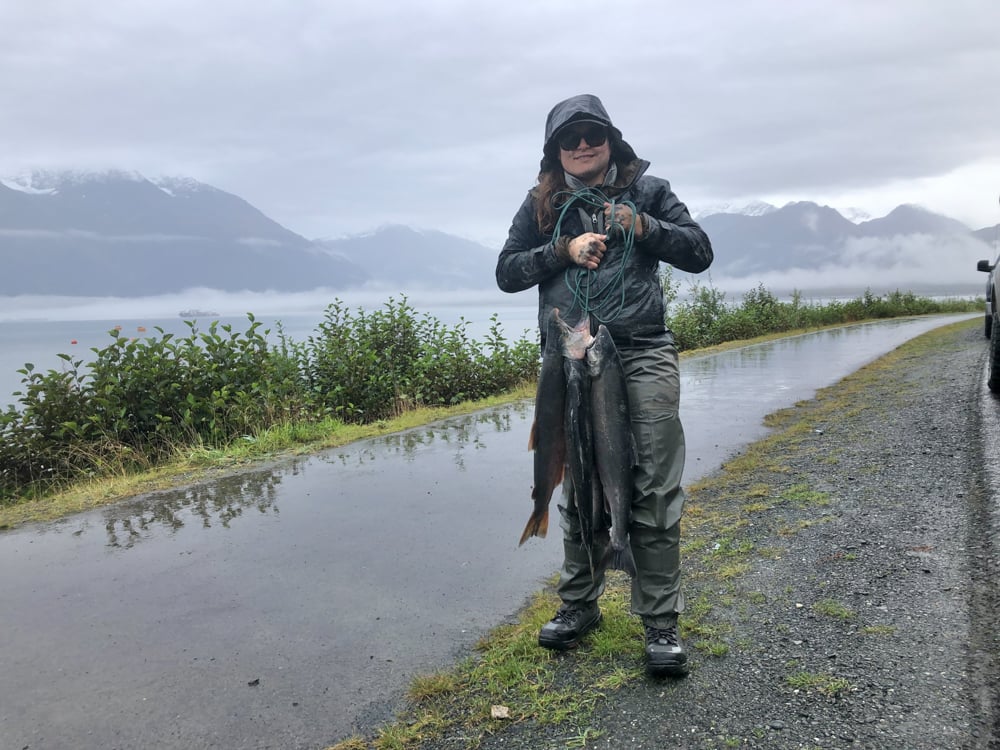
For as long as humans have been catching fish, they have been utilizing ways to preserve their catch. Fish is not only delicious to eat, but also packed full of essential vitamins, minerals, protein, and other nutrients. Are there times when it is more appropriate to catch and release? Absolutely. Is cooking the catch of the day while it’s still fresh a good idea? It can be. There are also times when you want to take advantage of a seasonal run, hook a big catch in the ocean, save your catch for a special occasion, or strive for a more subsistence-based lifestyle.
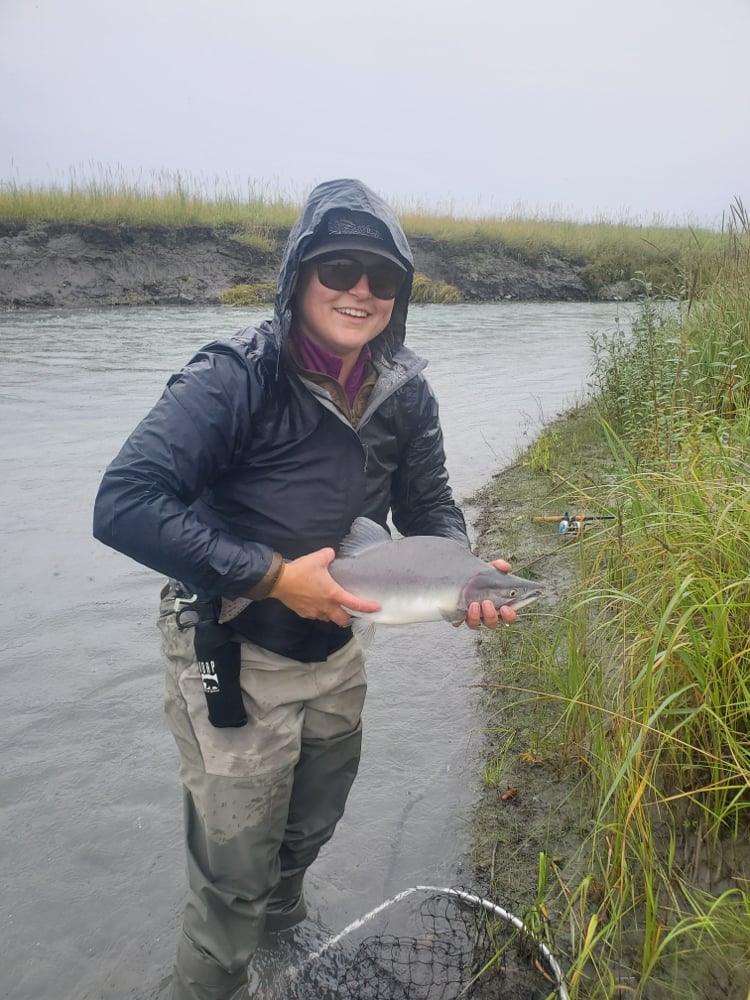

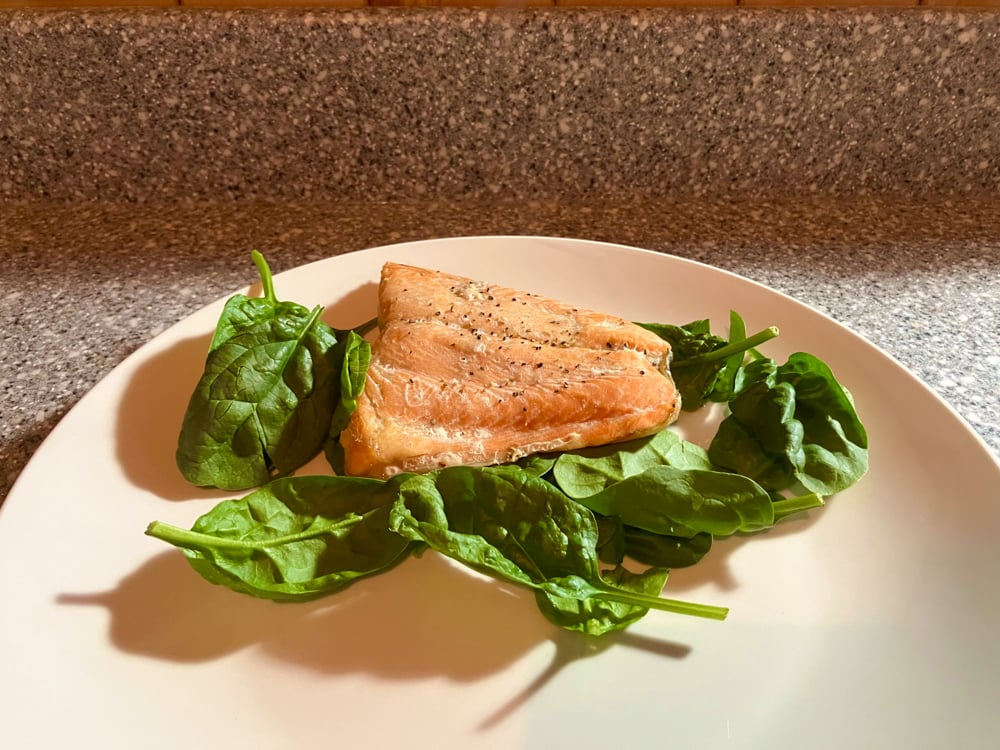
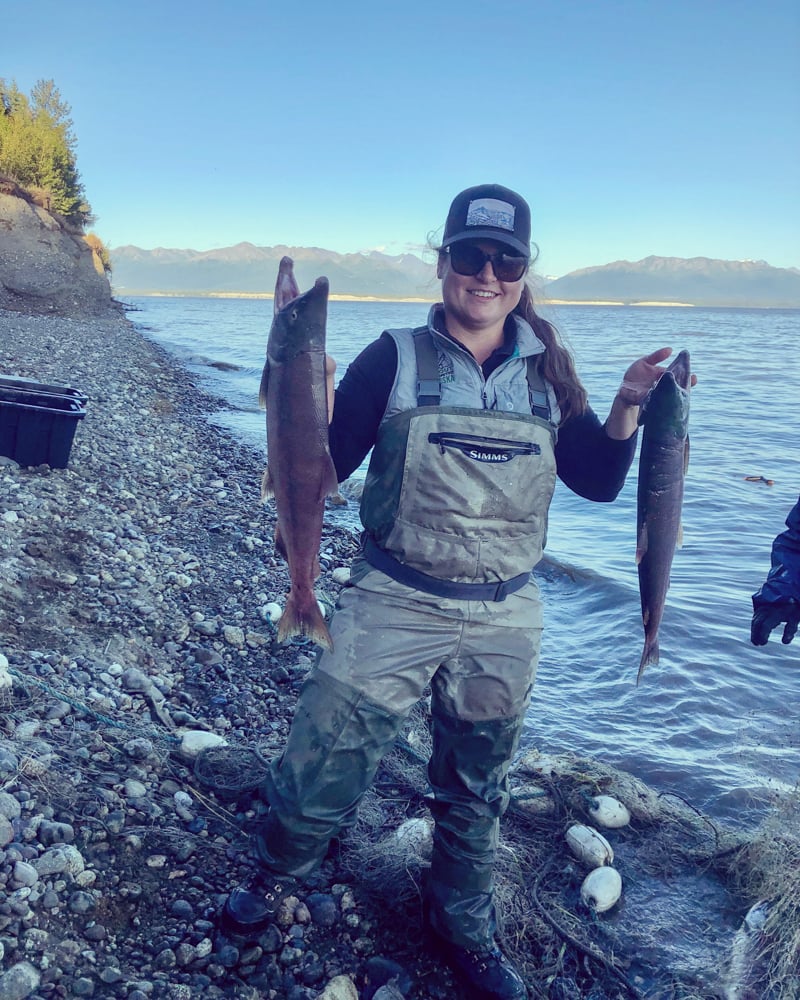
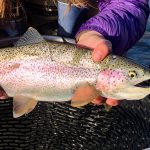
In some areas of Alaska, we are fortunate enough to see numerous species of delicious fish including healthy salmon runs, large ocean halibut and cod. We also have resident freshwater populations of whitefish, burbot, and pike. With fish prices in the grocery store rising above $20 per pound, many residents take time to “fill their freezers” each year. I’ve also been fortunate enough to work with numerous Native Alaskan communities over the past few years who have shared with me their traditional knowledge of fish preservation. Below are some favorite methods of fish preservation. I recommend trying any and all of them!
Freezing
Freezing is arguably the easiest way to preserve fish. Once you have cleaned your fish, cut the filets down to your preferred size. It is best to remove the bones prior to freezing as any sharp edges can puncture an otherwise airtight seal.
Your main goal in freezing the fish is to prevent freezer burn. Plastic wrap, freezer paper, or freezer bags can be used, but I prefer a vacuum sealing. I find a properly sealed filet holds its quality well until the following fishing season.
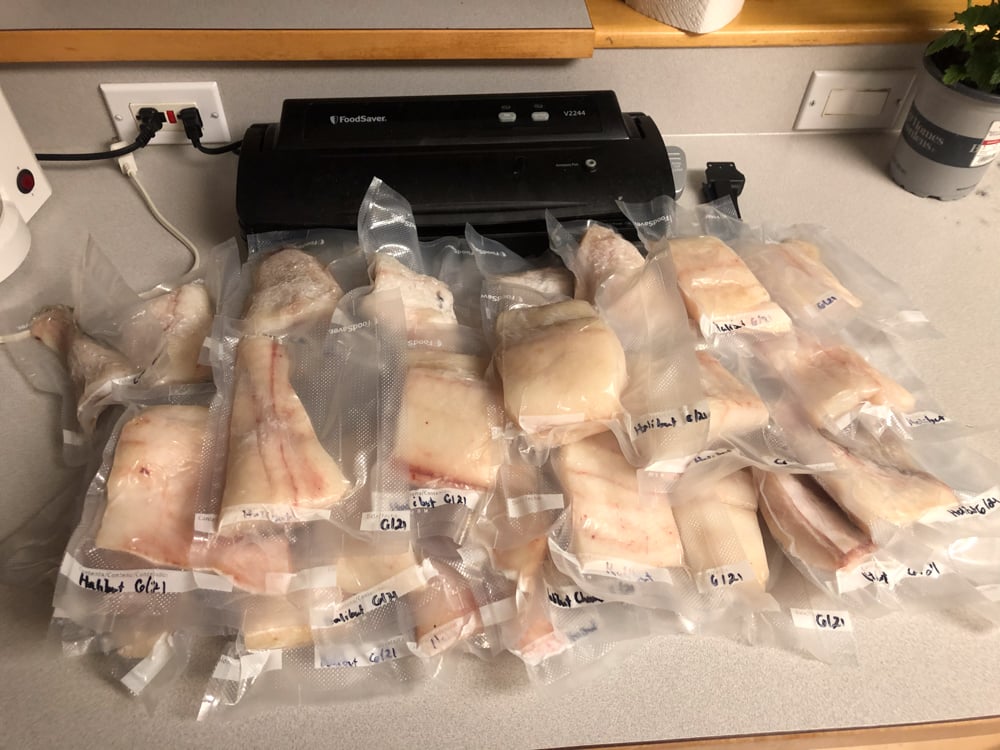
Foodsaver makes a variety of affordable, easy to use vacuum sealers that are a great starting point. Though not a requirement, I often leave the skin on the fish I freeze for an additional layer of protection against freezer burn.
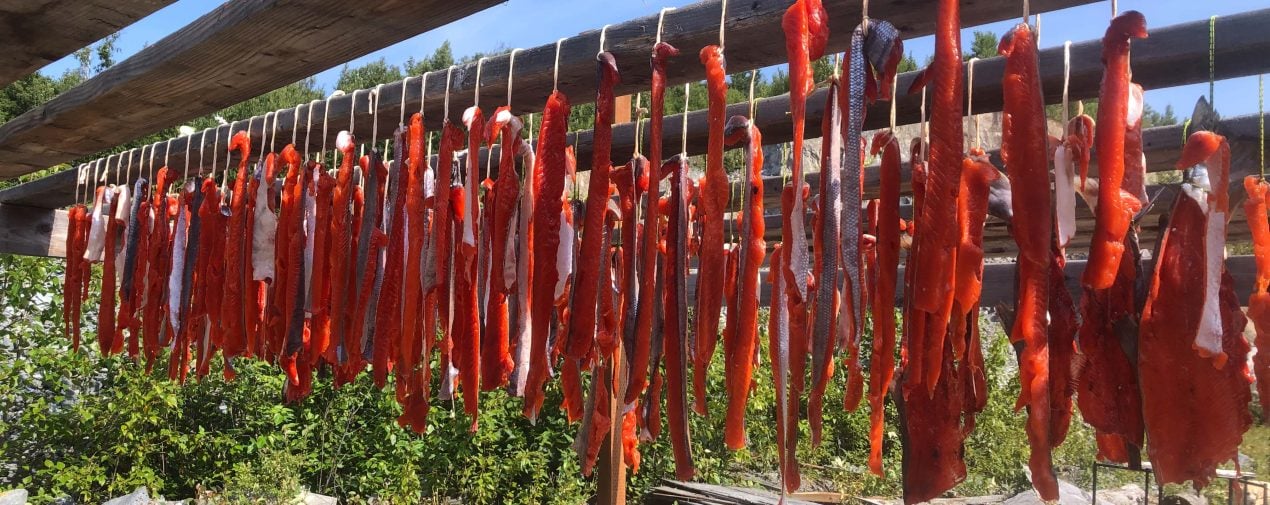
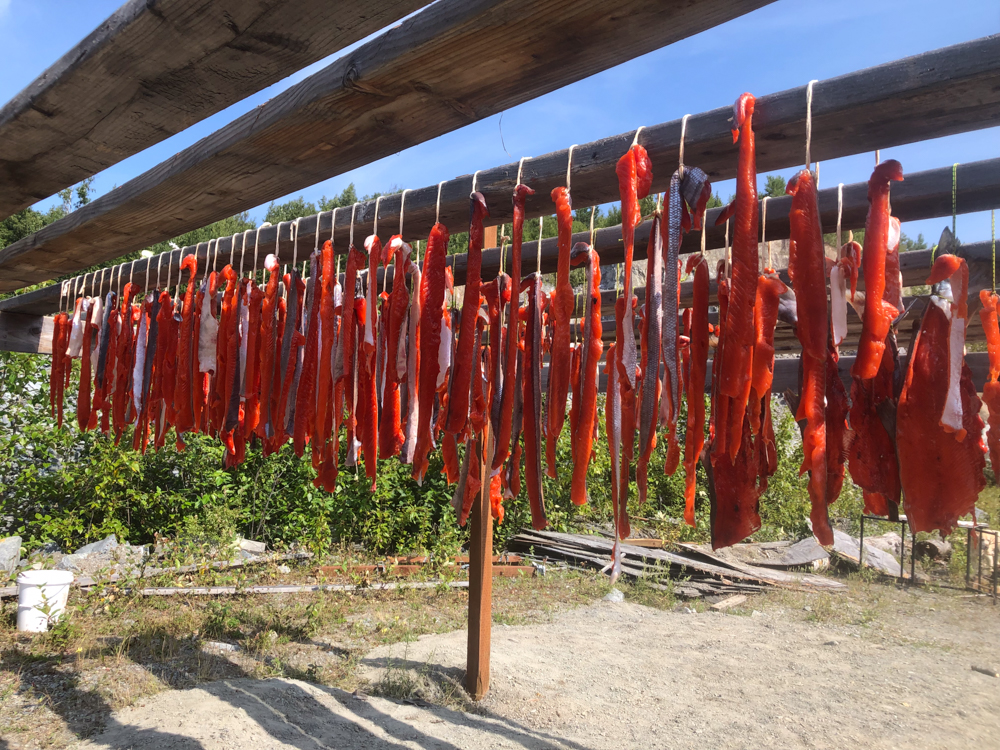
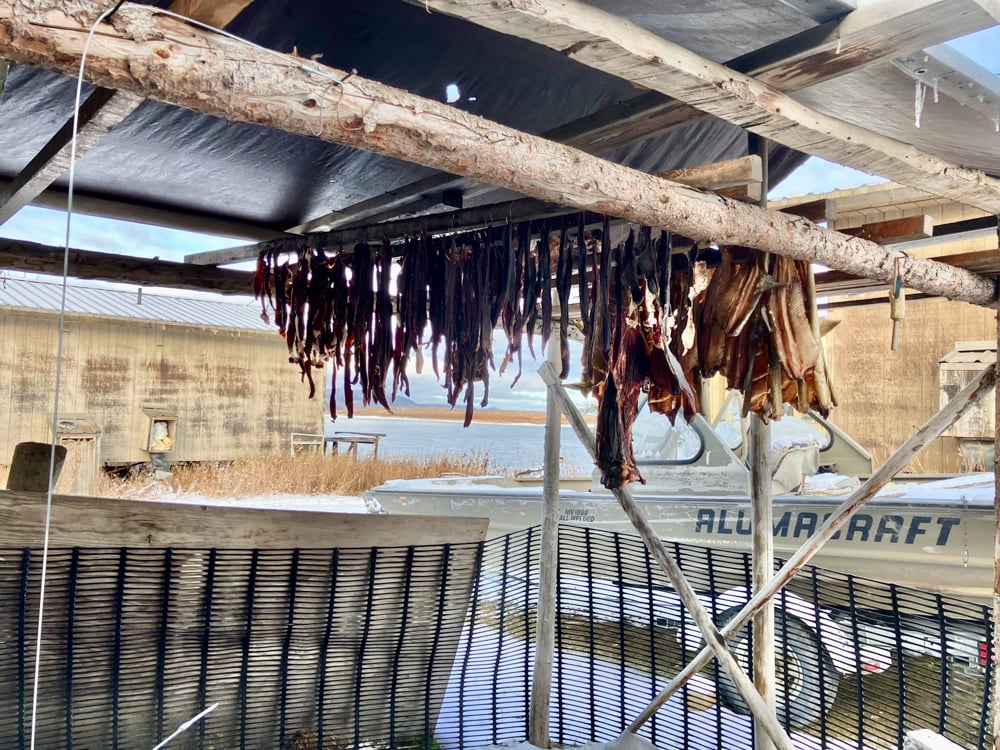
Smoking & Drying
One of my favorite summer experiences in Alaska is the sight drying racks full of salmon strips and the smell of smoldering alders pouring out of a smoke house. Smoked fish is a favorite among many Native Alaskans. Smoked meats and other foods have become increasingly popular across the United States as well.
While commercial smokers powered by electricity or propane can easily be purchased, cutting fish up for smoking at camp is a ritual that is always enjoyed and will never go out of style for Native communities. The smoking process can be done for a short amount of time to add extra flavor before preserving fish in an alternative manner or can continue until the fish reaches a dehydrated state similar to jerky.
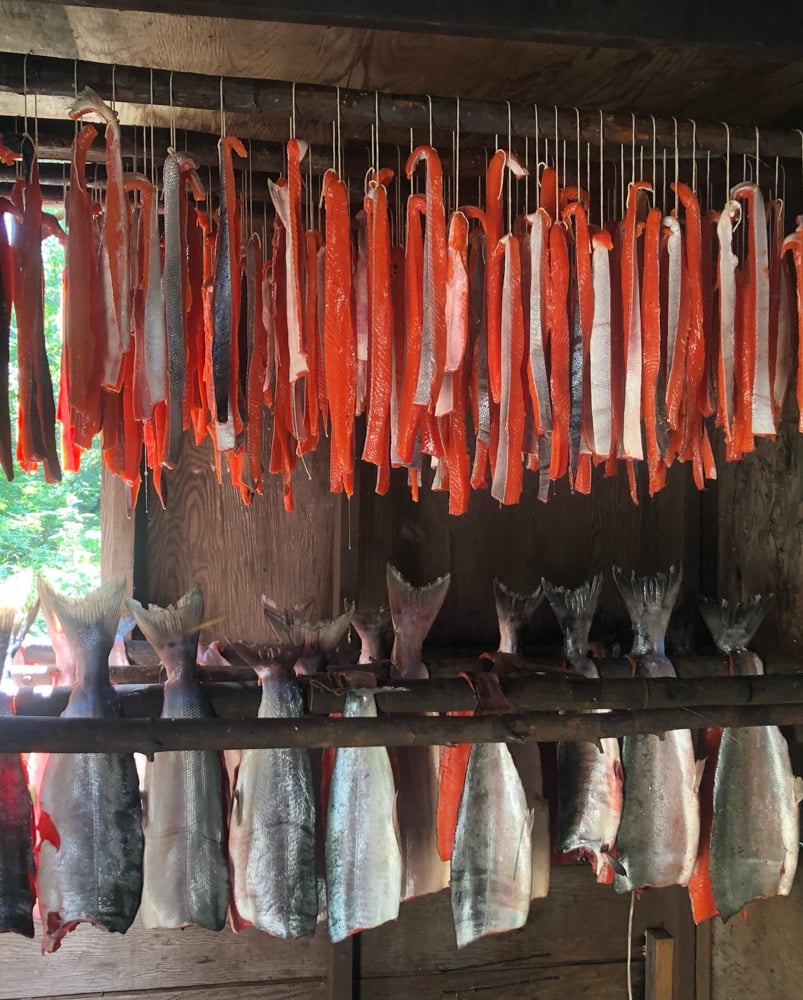
If your end goal is dried fish, you will want to cut your fish into thin strips to increase the speed of drying. If you are looking to add smoke flavor to your frozen filets or jarred fish, the fish may be left in larger pieces.
Regardless of your chosen smoking and preservations methods, you will want to brine your fish before starting. Brine recipes are often closely guarded family secrets but will typically consist of different combinations of salt and sugars such as brown sugar or molasses.
When it comes to the actual smoking, different woods produce different smoke flavors. Commonly used woods include alder, cedar, apply, and cherry. Lukas Leaf from the blog MeatEater does a great job of explaining a variety of different smoking methods. Dried strips should be firm but not break when bent. Strips can be kept refrigerated for short term use or frozen if you wish to enjoy them later in the year.
Dehydrating & Jerky
If smoking isn’t for you but would still like a dry meat snack perfect for packing out on future adventures, dehydrating fish to make jerky is a great option. Fish jerky can be prepared in a food dehydrator or even in an oven at low heat.
Similar drying, you will want to slice your fish into thin strips and brine before hand to add flavor. Experiment with different sweet, spicy, and savory flavor combinations if you like variety.
Recipes typically call for fish to be cooked at 145-160°F for 4 to 6 hours. To check for doneness, your jerky should feel dry (not tacky) and be firm to the touch, but not brittle enough to break when bent. Nesco has a quick and easy recipe to try.
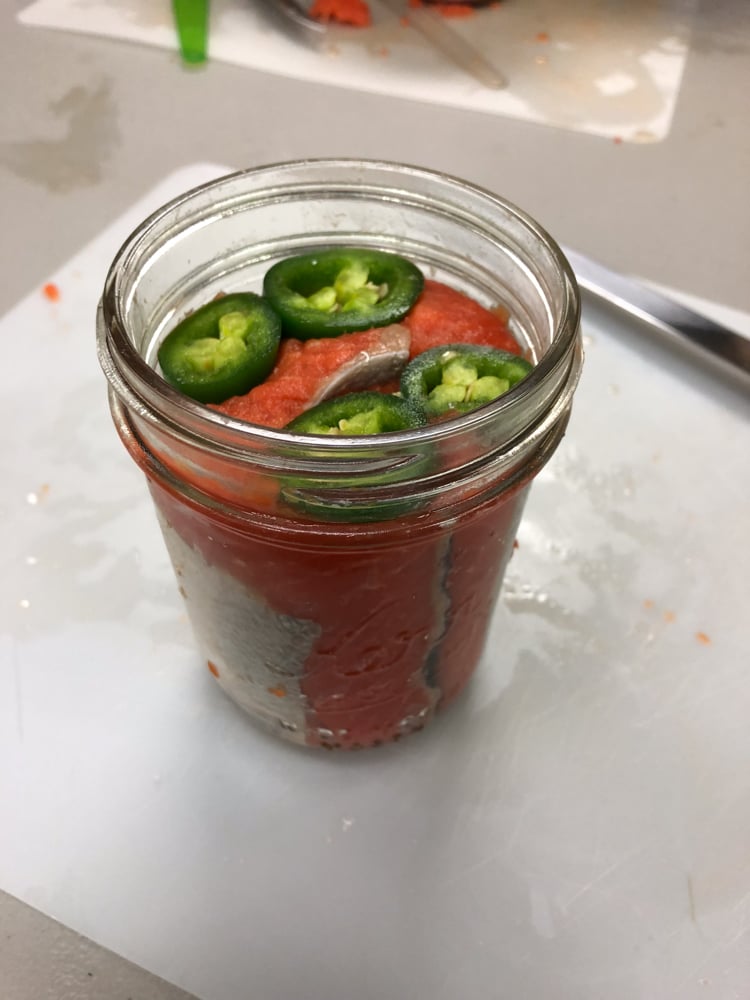
Canning or Jarring
While the word canning is often used in place of jarring, the two methods are technically different. Both processes are achieved through pressure cooking, but canning refers to the fish being placed into metal containers and jarring refers to the fish being prepared in glass mason jars. Both methods require a lot of work, but produce a shelf-stable, ready-to-eat product. Though there are still a few people who utilize metal cans at home, glass jars are far more popular for in-home preservation.
Regardless of what method you choose, it is vital to follow a safety tested and USDA approved recipe. It’s VERY easy to find bad advice from social media, internet searches, or even friends. Botulism is a danger not to be ignored.
Fish should always be pressured canned, never prepared in a water bath. Safety practices have improved over the years and this is a time it is not better to use an old family recipe. Your state’s cooperative extension is often a great resource for safe canning information and recipes. Fish can be smoked prior to canning or jarring (if desired) and a variety of different seasonings and flavors added based on personal preferences.
Tossing a few jalapenos into a jar is a favorite around here. Properly canned or jarred fish can be eaten without additional cooking after the jars or cans are properly processed.
Pickling
Pickling fish is another great option to extend the life of your fish, though the jars must be refrigerated. Pickling can add fun, savory flavors to your fish. Norther pike and whitefish are often pickled in Alaska, though other species can be utilized. Read some basic guidelines for pickling before beginning.
Pickling is often a preferred means of fish preparation for bonier fish such as northern pike because the acidic environment in the brine helps to soften small bones and makes them easy to chew. Pickled fish is a traditional dish enjoyed by many cultures, especially around Easter.

The Final Word
While the beginning phases of food preservation can be intimidating, the skills are well worth learning if you have access to an abundance of fresh fish. Not only can you save money on your grocery bill, but you can also play around with different flavors and create fun dishes to share with family and friends.
One of my favorite party dishes is to mix a jar of smoked salmon with cream cheese, sour cream, mayonnaise, lemon juice, chives, and dill to create a delicious salmon dip. As always, food safety should be taken seriously. A great publication for learning more about safe food preservation is called, “So Easy to Preserve.”
Don’t let your fun stop at the water’s edge. Get creative and enjoy your catch!
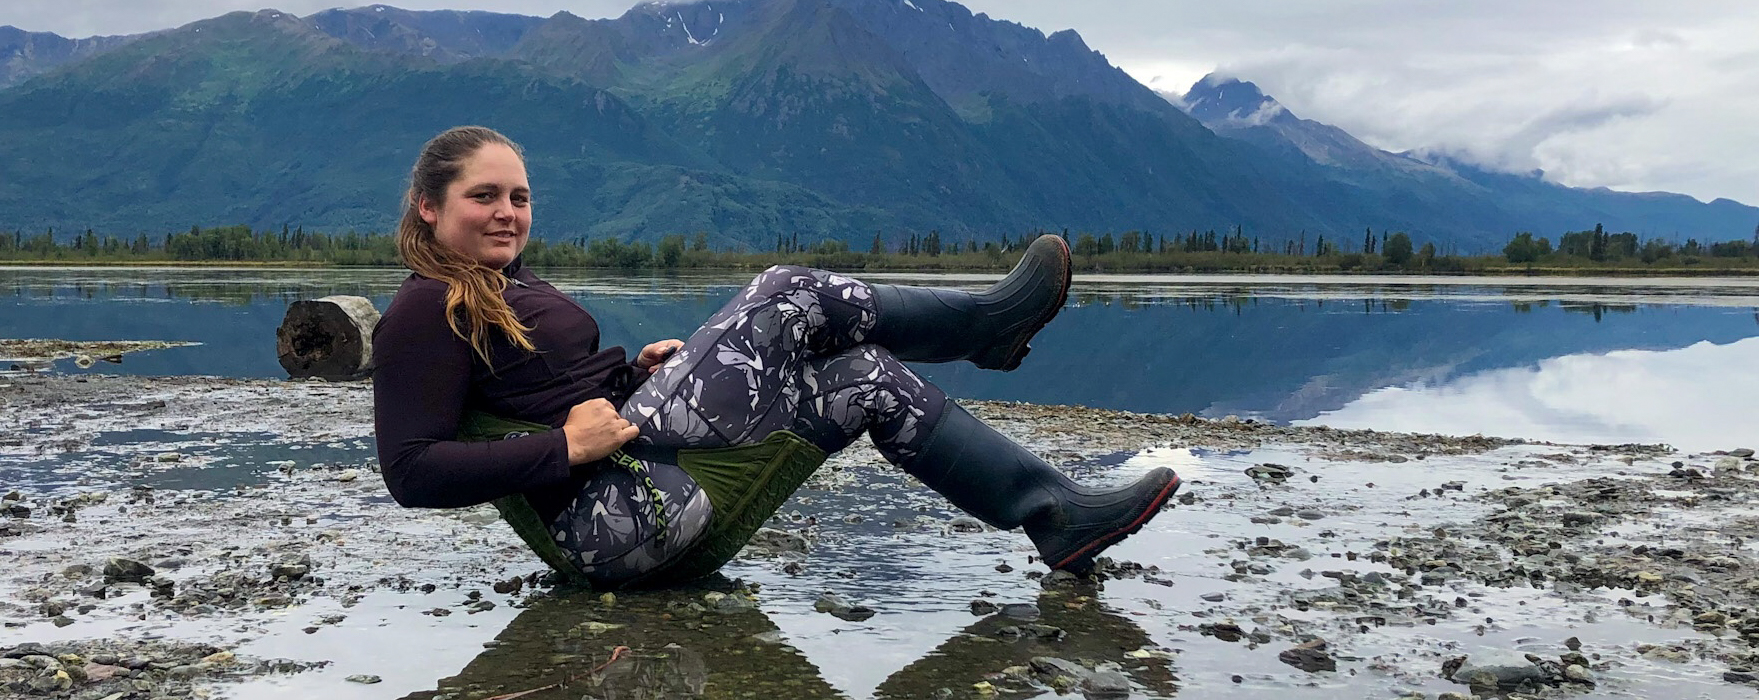
About the Gear Tester
Michelle Beadle
Michelle currently resides in Alaska working and volunteering in the conservation field for various government, tribal, and non-profit entities on projects in remote areas. When not at work, you can find her hiking, skiing, climbing, horseback riding, running, biking, hunting, fishing, or trying out new ways to explore the outdoors. She can be found on Instagram under michelle_ventures.
- Michelle Beadle

- Michelle Beadle
- Michelle Beadle

- Michelle Beadle

- Michelle Beadle

- Michelle Beadle

- Michelle Beadle

- Michelle Beadle

- Michelle Beadle

- Michelle Beadle

- Michelle Beadle
- Michelle Beadle

- Michelle Beadle

- Michelle Beadle

- Michelle Beadle

- Michelle Beadle

- Michelle Beadle

- Michelle Beadle
- Michelle Beadle

- Michelle Beadle

- Michelle Beadle

- Michelle Beadle
- Michelle Beadle

- Michelle Beadle

- Michelle Beadle

- Michelle Beadle

- Michelle Beadle