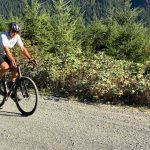
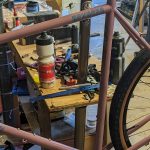
The 6 Best Upgrades for Your Gravel Bike
So you’ve been riding your gravel bike for a bit and you want to level it up, but you don’t want to buy an entirely new bike. Makes sense! In many ways, a bike is like a lego set: there’s a bunch of pieces that all work together with interchangeable parts (provided they are compatible). So. . . what are the best components to invest in?
Well, the answer will sound familiar: it depends. The ‘best’ really always depends on what you are trying to achieve. Here are three suggestions for two different ‘goals’: improving off-road / gravel performance, and improving ‘speediness’ and reducing weight.
Off-Road/Gravel Performance
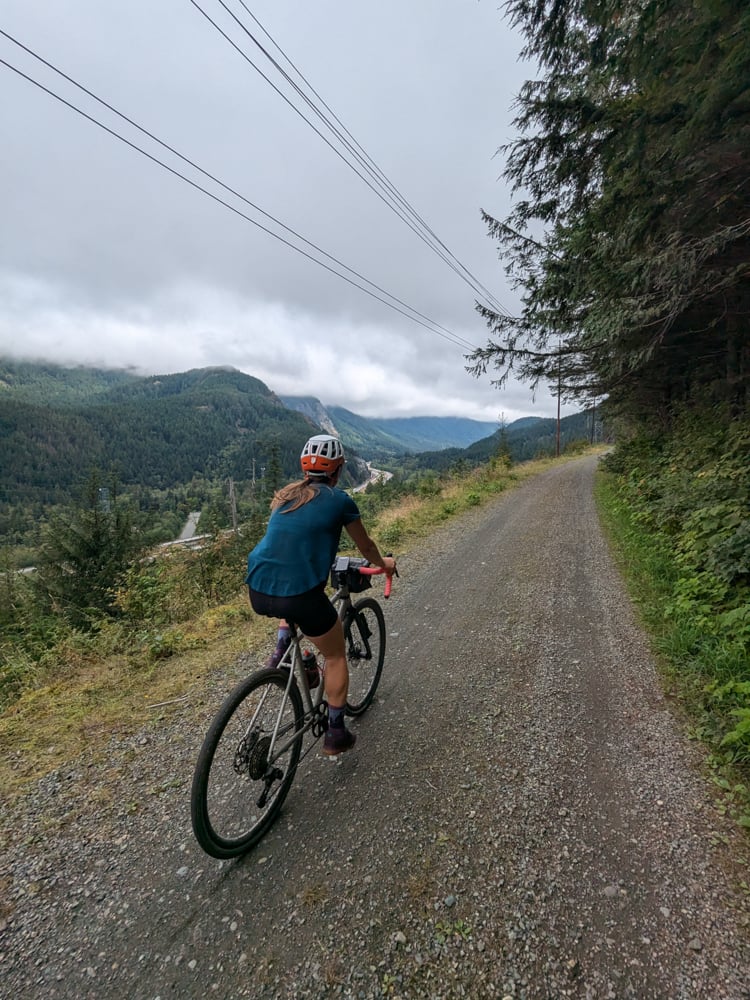
Off-road/gravel is a middle ground of sorts between road and mountain bike terrain. If you’re starting to ride more singletrack, gnarlier/chunkier gravel roads, or you want to dampen the roughness of the terrain and have it feel ‘smoother’, there’s a few simple improvements to try out:
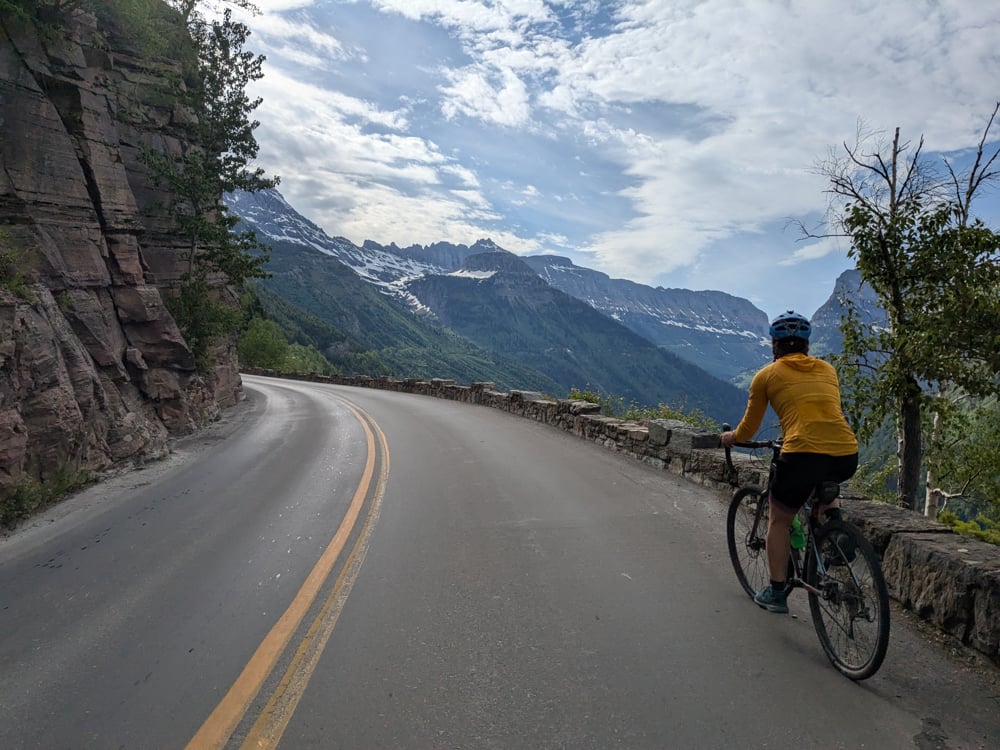
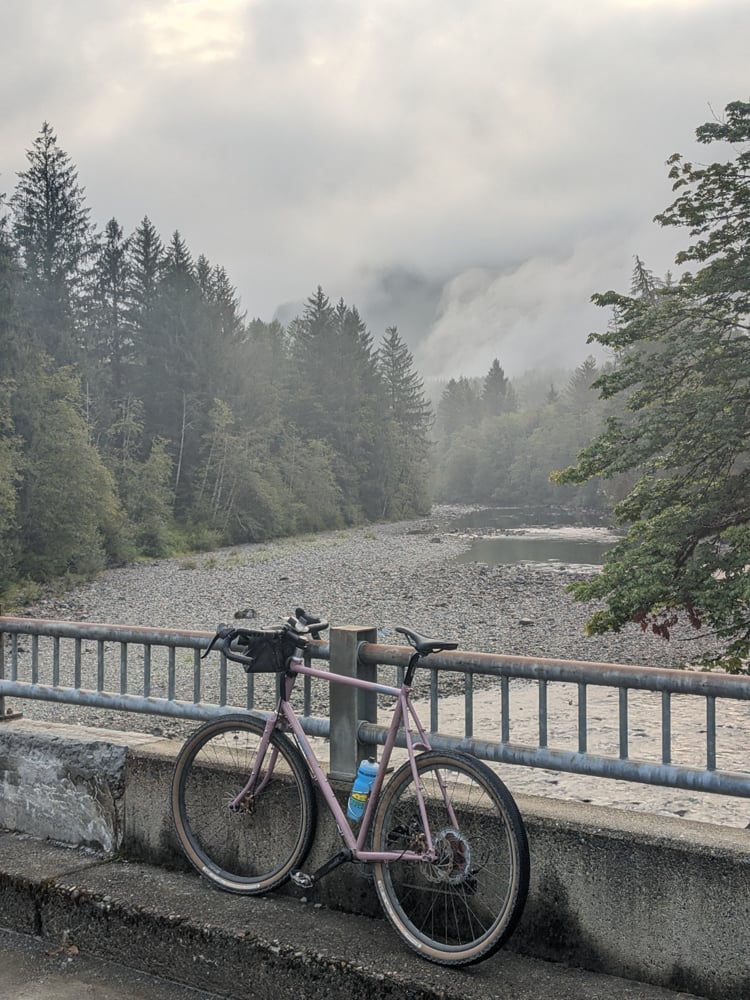
1. Wider Tires
Tire width plays a big factor in grip, comfort, and ability to move comfortably over uneven surfaces. A wider tire gives you a broader surface over which to distribute surface pressure. With a wider tire you can run lower tire pressures (generally speaking) and this softer tire will dampen the surface underneath more (more on this later).
On my first gravel bike, I chose the Panaracer Gravel King SK tires with knobs in a 2.2” (~55mm) tire width. These tires could handle nearly anything I threw at them!
Check out this great article by Rene Herse on tire width!
2. Wide Range Cassette
Your ability to climb up steeper gravel climbs will be improved with a wider range cassette. Most stock gravel bikes will come with an 11t – 42t cassette, which is often paired with either a 40T or 42T chainring. This is a great baseline gear ratio that is highly versatile and will cover most bases. But if you find that you need a little bit of a bigger ‘granny gear’ or want more power to punch downhill climbs, you should consider upgrading your cassette to get more gearing.
I started out with an intro SunRace 11-46T cassette paired with a 40T chainring on my first gravel bike. This could handle nearly any hill I pushed it on! Eventually, I upgraded to eThirteen’s Helix R 9-50T cassette to give me a little more range, a little more speed with the 9T cog.
3. Running Lower Tire Pressure
This one is free!! Many gravel cyclists will mention that running wider tires with lower tire pressures is the best way to effectively get ‘suspension’. WolfTooth makes an amazing app for both iOS and Android that helps you pick your right tire pressure; just plug in your specific details, select the terrain you plan to ride on, and BOOM: you get a recommended tire pressure.
Improving ‘Speediness’
So you want to add a little more ‘zip’ to your gravel setup and move a little faster? Or maybe you want to start racing or chasing KOMs? Awesome! Here are a few tips that can get you some added watts.
1. Lightening up areas of rotating mass
The easiest places on your bike to earn back efficiency are on the rotating masses. Think wheelset, crank arms, pedals, tires. These are the pieces of the bike that you are putting the most energy into moving with each pedal stroke.
Upgrading to a carbon wheelset is probably the single biggest improvement / investment you can make to speed up your bike. It’s one of the more expensive ones (probably $700+) but you will immediately feel that moving the bike is much easier. On my first gravel bike I put a pair of aluminum Mason x Hunt Adventure wheels and they were durable and reliable, no complaints! Eventually, I upgraded to a set of carbon ICAN wheels.
A set of carbon crank arms is the next best investment to make for reducing rotating mass. Most component companies make crank arms in ‘tiers’, with aluminum being the entry-level and carbon being the ‘elite’ level. On my first gravel bike I bought a pair of Easton EA90 aluminum crank arms; eventually, I upgraded to Easton’s carbon-version of the EA90, the EC90SL.
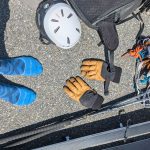
2. Stiff-soled shoes
With each pedal stroke you are pushing into the pedals, transferring power from your legs to the pedal to the cranks to the wheels. If you have a very flexible-soled shoe, you are losing efficiency in that power transfer as the deflection/bending of the sole results in an energy loss not going to your pedals.
A carbon-soled shoe is a great performance improvement you can make to speed up your bike setup. With a stiff sole, you will transfer energy more efficiently to the pedal, reducing that deflection that a softer soled shoe will have. Buyer beware: carbon shoes are not always the most comfortable and properly fitting shoes are critically important.
I originally bought a pair of Pearl Izumi Expedition shoes which were comfortable, nimble, and handled hike-a-bike quite well. I eventually upgraded to the Pearl Izumi Expedition PRO with a carbon-sole when I wanted some more power-transferring efficiency.
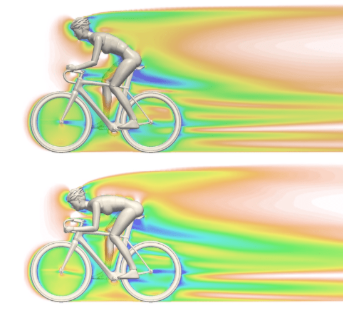
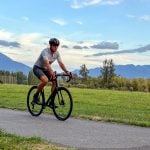
3. Form-Fitting Clothes and Improving Aerodynamics
Your body and its position in the air as you move is the single biggest performance improvement you can make. A majority of the energy losses you experience on the bike are due to the aerodynamics of your body: as you move at higher speeds, your body acts like a windsail. Any and all improvements that you can make to reduce the surface area of your riding position into the wind will result in efficiency improvements.
A form-fitting jersey is a great place to start. A baggy shirt will not result in much drag at lower speeds, but as you start riding faster and faster, the aerodynamic drag of baggy clothes will add up.
Becoming more practiced in your aerodynamic riding position is a free but very effective way to improve efficiency on the bike as well! It takes proper biomechanics but riding with your elbows parallel to the ground and lowering your riding position will help significantly in reducing drag.
Get Out and Ride!
After building my first bike a few years back, I chose to make upgrades/improvements in stages to reduce the pain on my wallet all at once. I upgraded to a carbon wheelset, then a carbon fork, then nicer crank arms, then bought a new frame after a few years. This stepwise approach allowed me to see how much each gear purchase impacted performance.
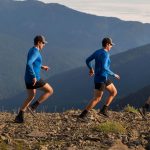
No matter which gear improvement you pick, get out and ride and practice! The best way to improve off-road / gravel performance or improve ‘speediness’ is practice and repetitions.
About the Gear Tester
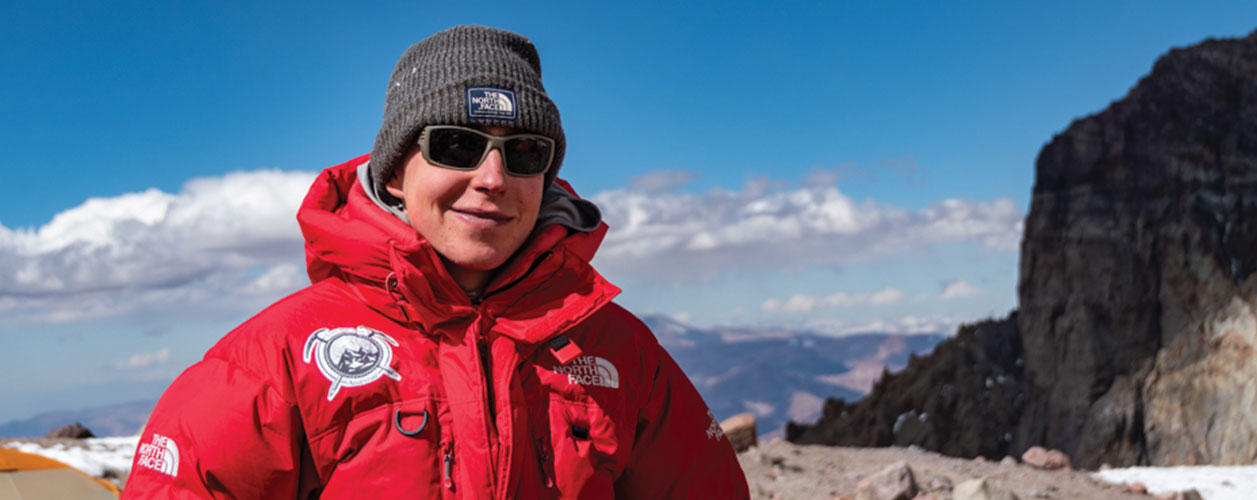
Sam Chaneles
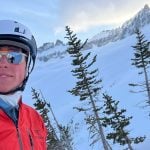
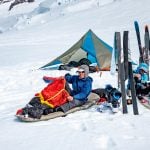
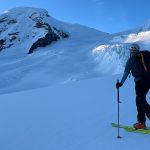
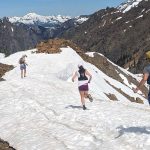
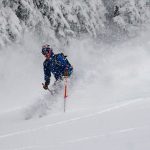
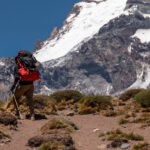
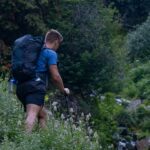
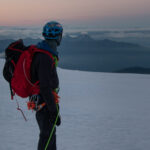
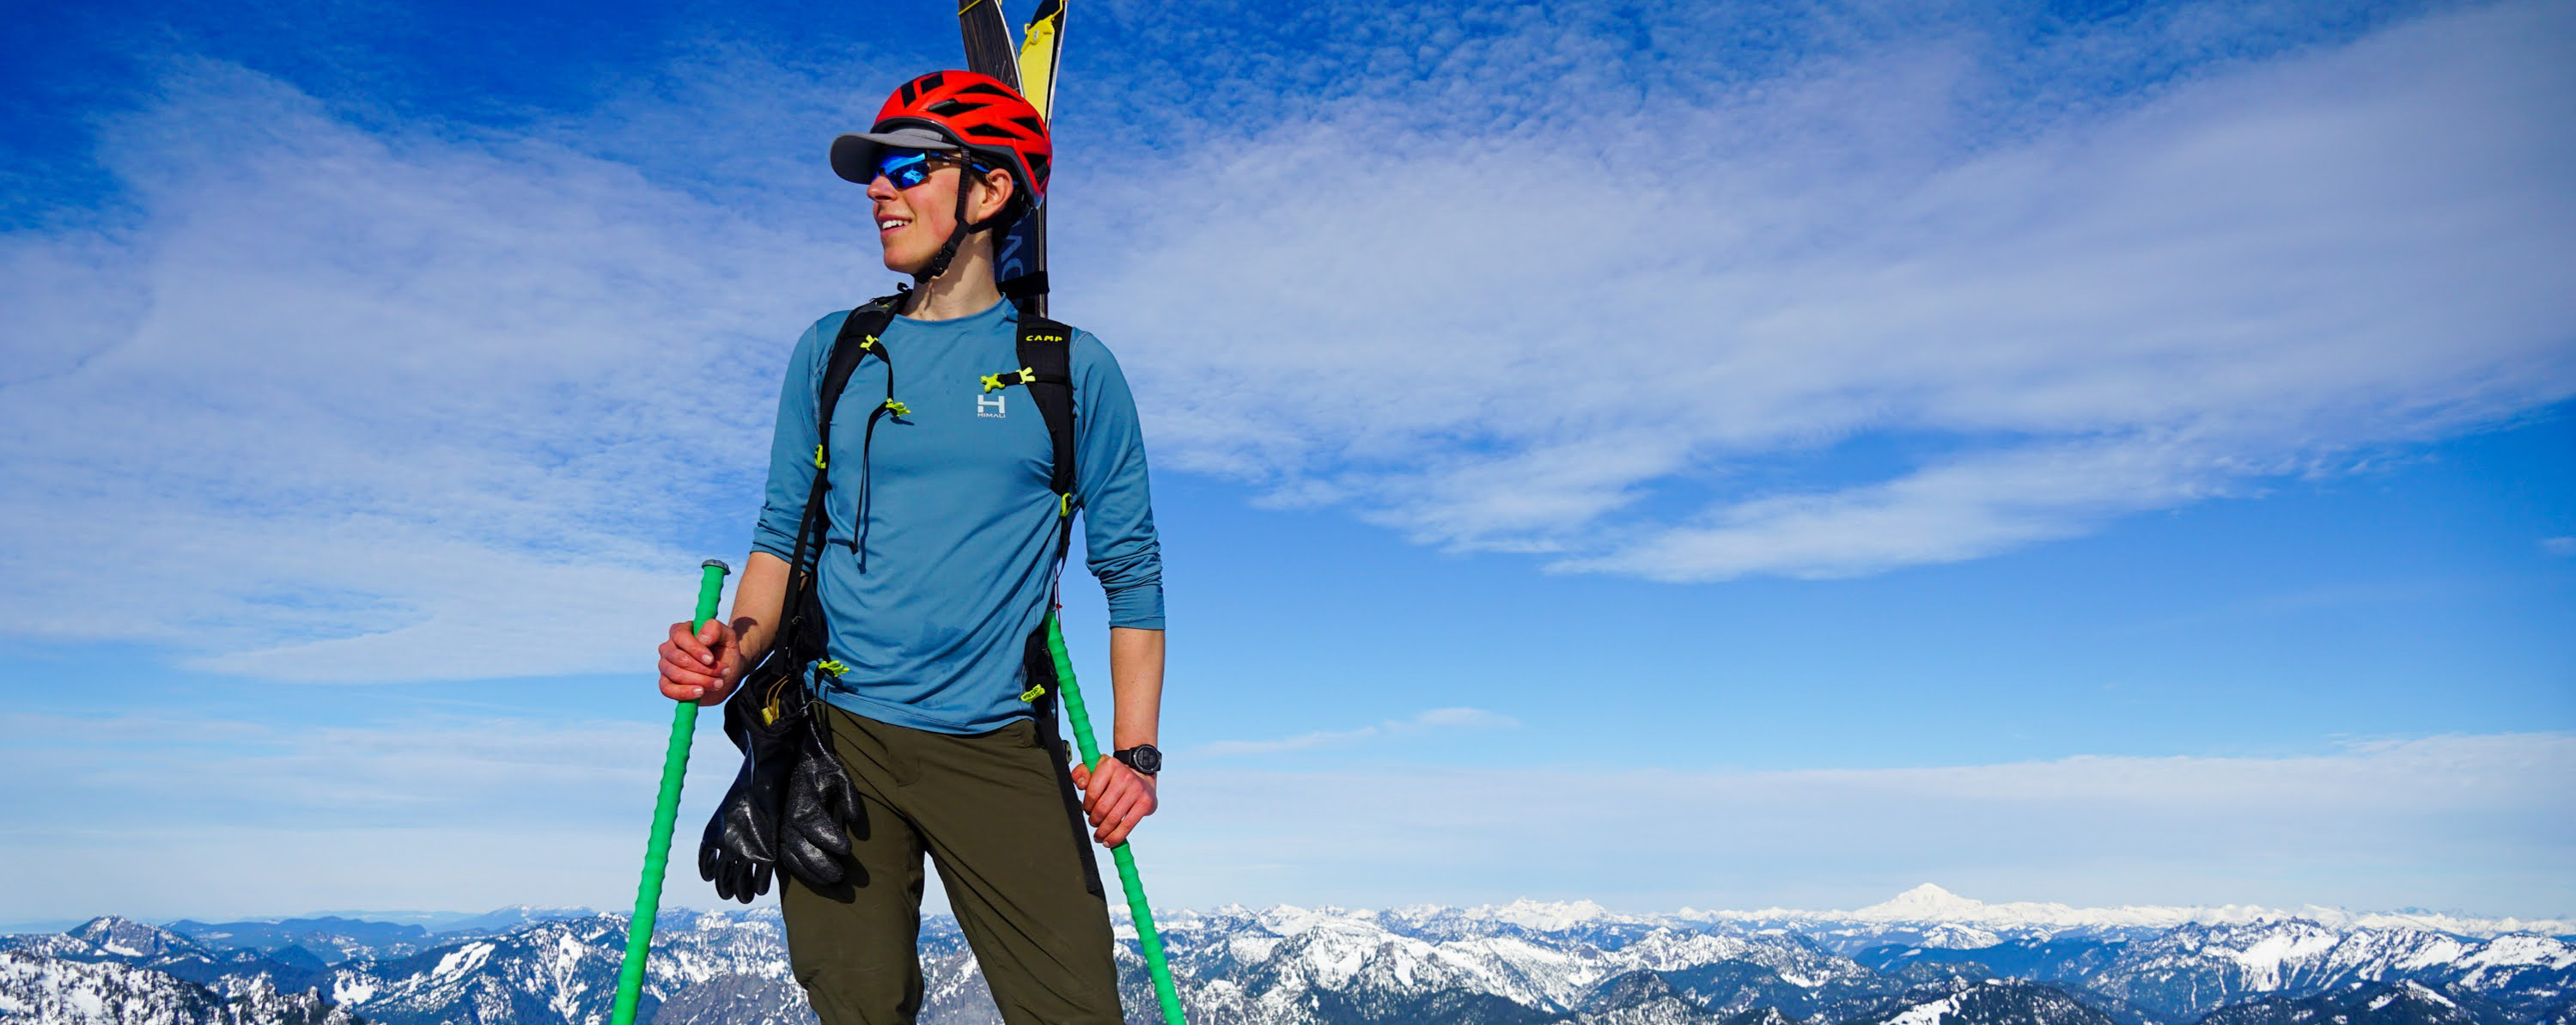
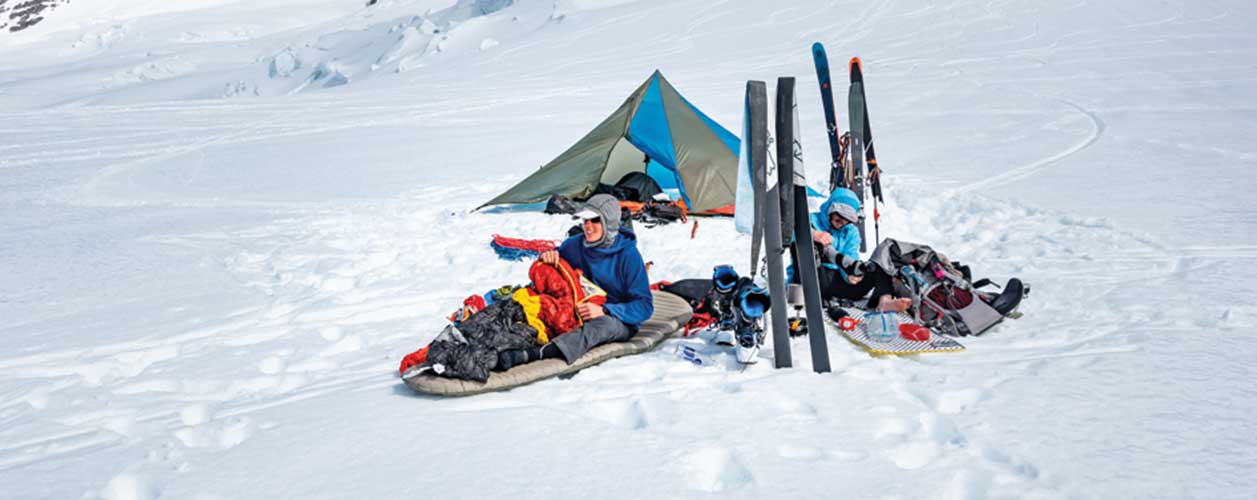
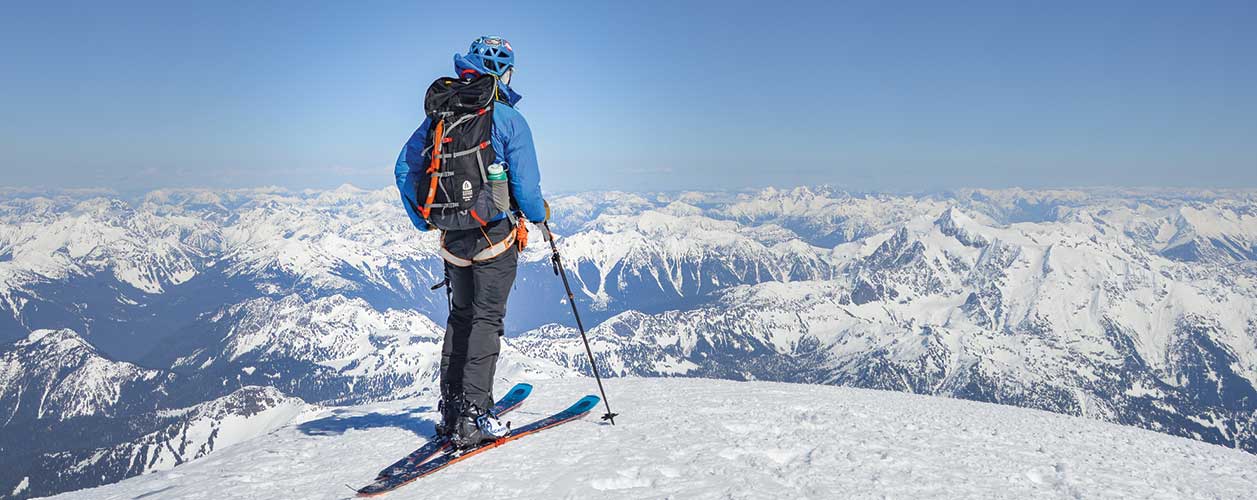
Sam Chaneles is an avid mountaineer and backpacker, climbing peaks in the Cascades, Mexico, Ecuador, and Africa, as well as hiking the John Muir Trail and off-trail routes in Colorado. He has climbed peaks such as Aconcagua, Mt. Rainier, Cotopaxi, Chimborazo, Kilimanjaro, and many more. Sam graduated with a B.S. in Mechanical Engineering from Georgia Tech. During his time there he was a Trip and Expedition Leader for the school’s Outdoor Recreation program (ORGT). He has led expeditions to New Zealand, Alaska, Corsica, France, and throughout the United States. Sam is based in Issaquah, WA just outside of the Cascade Mountains. You can follow Sam and his adventures on Instagram at @samchaneles, or on his website at www.engineeredforadventure.com.
- Sam Chaneles
- Sam Chaneles
- Sam Chaneles
- Sam Chaneles
- Sam Chaneles

- Sam Chaneles
- Sam Chaneles
- Sam Chaneles
- Sam Chaneles
- Sam Chaneles

- Sam Chaneles

- Sam Chaneles
- Sam Chaneles
- Sam Chaneles
- Sam Chaneles
- Sam Chaneles
- Sam Chaneles
- Sam Chaneles
- Sam Chaneles

- Sam Chaneles
- Sam Chaneles
- Sam Chaneles

- Sam Chaneles
- Sam Chaneles
- Sam Chaneles

- Sam Chaneles
- Sam Chaneles
- Sam Chaneles
- Sam Chaneles

- Sam Chaneles

- Sam Chaneles
- Sam Chaneles
- Sam Chaneles
- Sam Chaneles
- Sam Chaneles

- Sam Chaneles
- Sam Chaneles

- Sam Chaneles
- Sam Chaneles
- Sam Chaneles
- Sam Chaneles
- Sam Chaneles
- Sam Chaneles
- Sam Chaneles
- Sam Chaneles