Hunting Optics 101
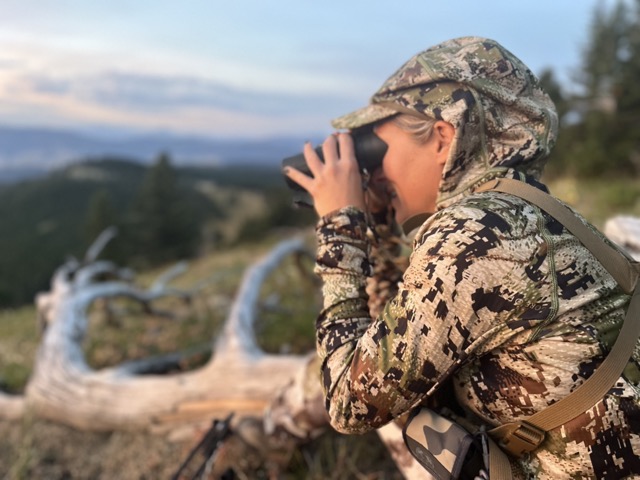
Big game hunting is often an exercise in patience. Once hunting season opens, I spend many sleepy, cold, early mornings hiking in the dark to a high point, the edge of a clearing, or anywhere with a view. Then I watch. Whether surveying miles of country from a ridgeline or sitting quietly in a treestand, careful observation usually precedes any shot opportunities. This is where optics come in — binoculars, rangefinders, rifle scopes, and spotting scopes. In big, open country, good optics equate to efficiency — allowing you to cover ground with your eyes rather than your feet, but even in a treestand or hunting dense timber, optics play a role.
As an adult-onset hunter preparing for my first Montana hunting season, I found the world of optics particularly intimidating. Understanding specifications, sorting through varied price points, and figuring out which features actually mattered while trying to stay within a budget felt overwhelming.
The Basics
Two of the main specifications you’ll see across hunting optics are magnification and objective lens size. These are typically displayed as something like 10×42. The first number refers to magnification — how much closer the image appears — while the second refers to the diameter (in millimeters) of the objective lens — the lens furthest from your eye.
You may be tempted to assume that more magnification is better, but with higher magnification, you will get a less stable image and a narrower field of view, meaning you see less of the surrounding landscape through the lens at one time. When glassing long distances across open basins or sweeping mountain slopes, the added detail can be helpful, but in thicker vegetation or closer-range situations, too much magnification can make it harder to pick out animals and you often lose context of the surroundings.
Objective lens size influences how much light the optic can take in. In low-light conditions like dawn and dusk or in darker environments like shaded timber, larger objective lenses can produce a brighter, clearer image. The tradeoff is additional size and weight — something worth considering if you’ll be putting in the miles.
Binoculars
I use my binoculars far more than any other optic. I carry them in a chest harness making them easy to access when something needs a closer look. Some of the more common hunting binocular specifications are 8×42, 10×42, and 12×50.
So what’s the sweet spot? I started with a pair of 10×42 binoculars, and it’s still what I recommend to most Western big game hunters. They offer a good balance of magnification, low-light performance, and manageable size and weight.
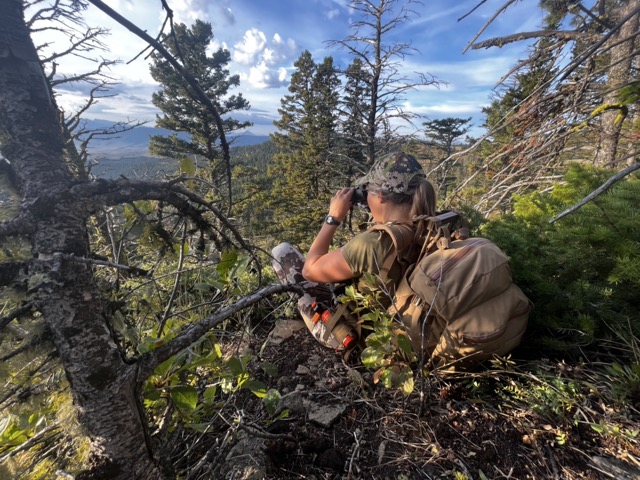
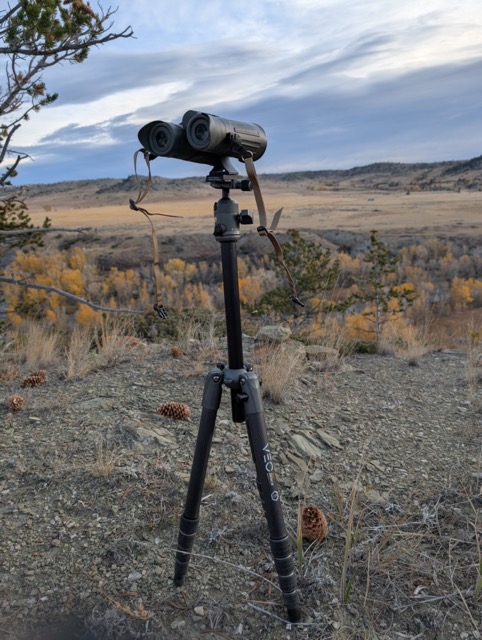
Twelve-power binoculars are becoming increasingly popular because they allow hunters to pick apart distant terrain in greater detail. The tradeoff is that they can be heavier, bulkier, and more difficult to hold steady, often benefiting from the use of a tripod.
For treestand hunters, closer-range hunting situations, or those spending time in thicker vegetation, 8x magnification can be appealing because it provides a wider field of view and performs better in lower light conditions.
Here are two options I like:
Rangefinders
When shot opportunities can vary widely in both distance and terrain, a rangefinder is an incredibly valuable tool. Since gravity begins acting on a bullet the moment it leaves the barrel, a bullet will strike lower at 300 yards than it will at 100 yards, requiring adjustments to maintain accuracy. Knowing the exact distance to your target helps you make those corrections, either by adjusting your rifle scope or by using holdover points within the reticle (the overlay with crosshairs you see looking through a scope).
Using a rangefinder is fairly simple. Looking through the device, center the reticle on your target, and press a button. The rangefinder emits a laser that reflects off your target and returns a distance almost instantly. Many modern rangefinders also include angle compensation, which helps account for uphill and downhill shots where shooting distance differs from straight-line distance.
Compared to binoculars, there is generally less variation in magnification and objective lens size among rangefinders. Instead, you find performance differences in the quality of the laser and processing system. For most beginners, a rangefinder that returns quick, reliable readings at realistic hunting distances is often more than enough.
Here are two options I like:
- Vortex Optics – Diamondback HD 2000 Laser Rangefinder
- Athlon Optics – Midas G2 1 MIle Laser Rangefinder
Rangefinding Binoculars
Some hunters opt for rangefinding binoculars which allow hunters to glass and range targets with the same equipment. This can streamline gear and remove a step before taking a shot. The tradeoff here is increased cost, weight, and complexity. As a beginner, I’d opt for having two devices and considering streamlining when you’re better able to evaluate how you personally use each tool.
Rifle scopes
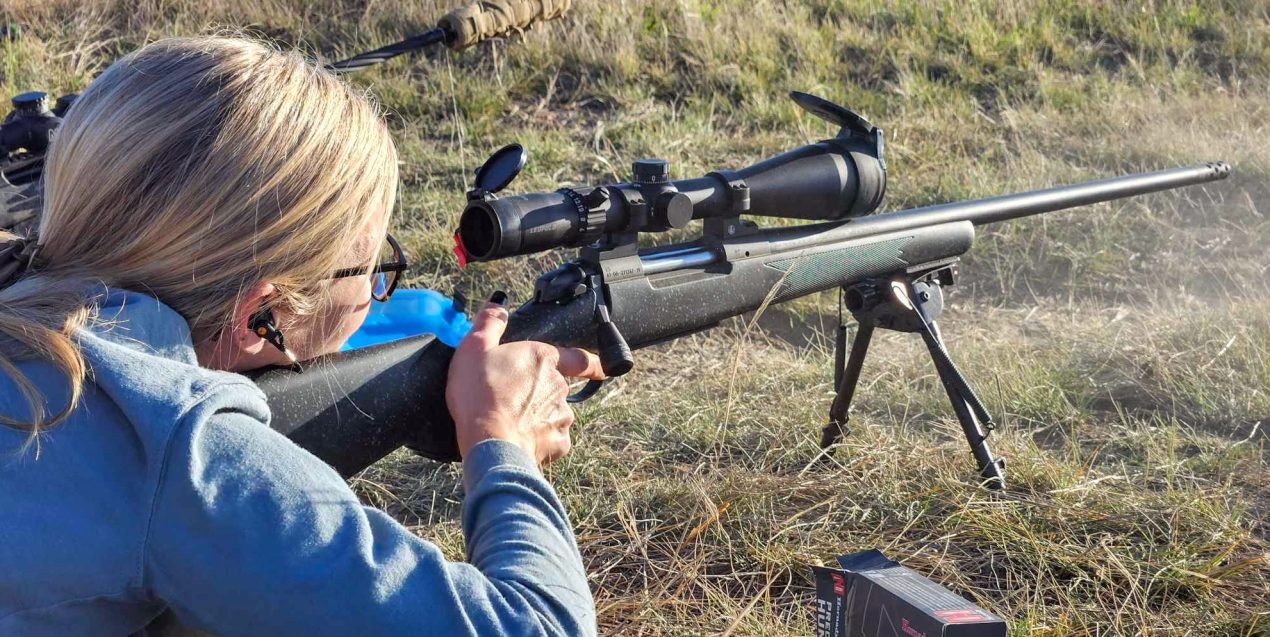
Once you’ve identified your target with binoculars and confirmed the distance with a rangefinder, the rifle scope becomes the final optic in the sequence before you pull the trigger. No, hunters do not technically need a scope to hunt, but it is standard equipment on most modern hunting rifles. The view from your scope is often your last opportunity to positively identify an animal, evaluate the surroundings, and place an accurate shot.
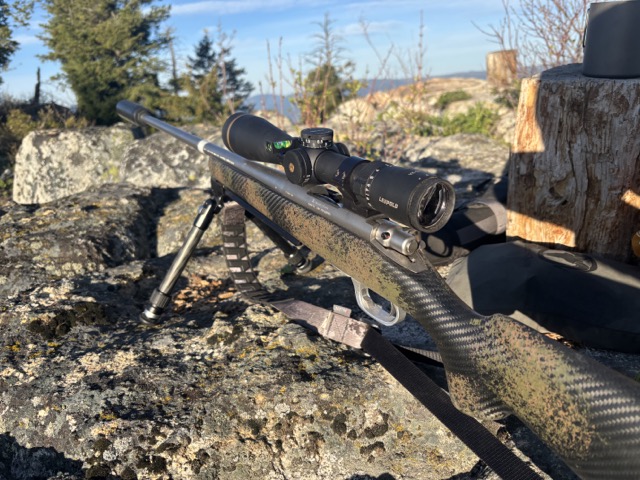
Rifle scopes are available in a wide range of magnifications, from lower-powered options (2x) designed for close-range shooting to highly magnified scopes (25+) built for long-distance precision shooting. Some scopes are fixed with only one magnification like with binoculars, while others come in variable ranges such as 3–9x, 4–16x, or 5–25x.
Personally, I prefer a variable magnification scope. Higher magnification can help when evaluating details or preparing for a longer shot, while lower magnification provides a wider field of view that makes it easier to observe the animal’s behavior after the shot.
For Western big game hunting, magnification ranges like 3–15×44 or 4–16×44/50 have become popular because they’re often manageable in size and weight and cover a wide range of big game hunting scenarios.
Beyond magnification and objective lens size, rifle scopes can become highly technical. While it’s not necessary to understand it all up front, there are a few basics beyond magnification and objective lens size worth considering.
Rifle scope options
One is the reticle — the crosshairs and any additional markings visible inside the scope. Some reticles are very simple, while others can be “busier” and include multiple visual reference points for bullet drop and wind adjustments. Much of the preference comes down to what feels intuitive and easy to your eye.
Another consideration is whether a scope uses MOA (Minute of Angle) or MRAD (Milliradian, often called “mils”) adjustments. These are two different units of measurement for making corrections for bullet drop and wind drift. Both units are widely used and equally capable. For beginners, it’s often less important which system you choose and more important that you learn one system well and learn it well. If you have friends or mentors you plan to hunt or shoot with regularly, it can be helpful (although by no means necessary) to use the same system they do.
Some hunting scopes also include exposed turrets that allow hunters to “dial” adjustments for distance which moves the crosshairs in the reticle vertically rather than relying on visually holding the crosshairs low or high on a target. While these systems can improve accuracy, they also add complexity and require practice. They are not something beginners need to master immediately, but because turret systems generally cannot be added later, it is worth considering purchasing a scope that has them already.
Here are a few of my favorites:
- Vortex Optics – Viper PST Gen II 3-15×44 FFP EBR-7C
- Athlon Optics – Helos BTR GEN2 4-20×50 APRS6 FFP IR MIL Reticle
Spotting scopes
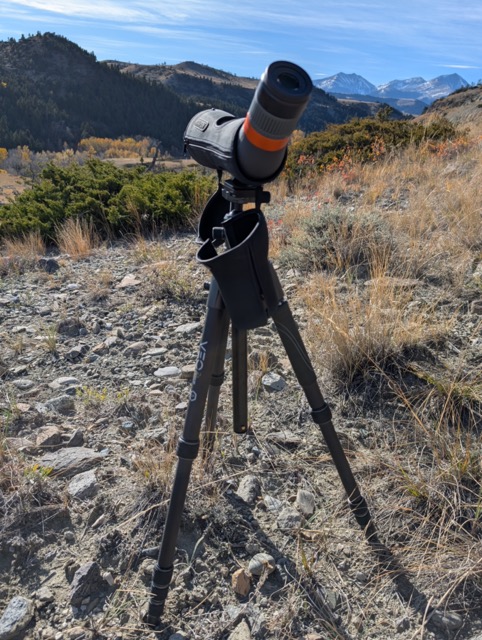
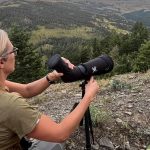
Depending on the situation, I may also bring a spotting scope into the field. Common spotting scope configurations for hunting include 15–45×65 and 20–60×80. Smaller objective lenses reduce weight and improve packability, while larger lenses generally provide brighter images and better performance at higher magnifications, especially in low light.
Higher magnification makes it more challenging to get a stable image, and to compensate for this they are typically used with a tripod. If my hunting plan involves long periods of glassing from high vantage points, packing a spotting scope and tripod on my hunt often makes sense. If I expect to move frequently, hunt flatter terrain, or spend time in thicker country with limited visibility, I’d prefer to keep my load a little lighter.
Spotting scopes come in angled and straight models. Angled scopes tend to be more comfortable for longer glassing sessions where you have space to set up, but they can also be more awkward to pack. Straight scopes have a slimmer design and are easier to get behind in tight quarters like in a car with a window mount, but they may result in more eye strain over time.
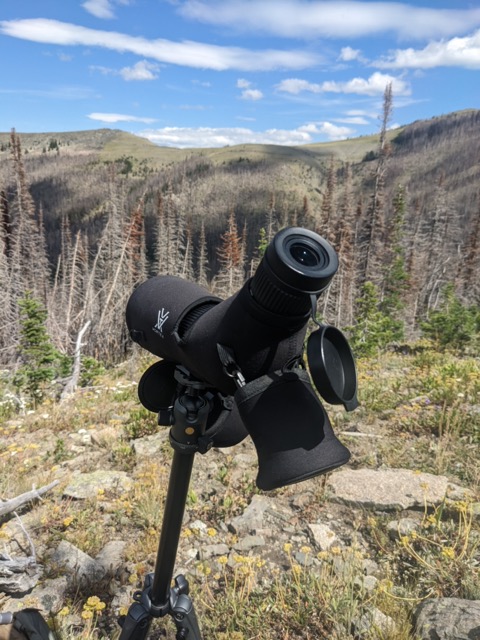
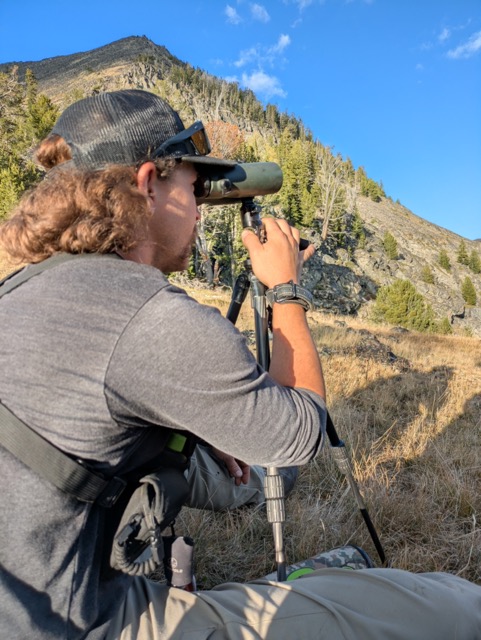
A spotting scope can also be valuable at the rifle range, particularly when shooting at longer distances. It allows you to better examine your point of impact on the target without constantly walking downrange or leaving your shooting position.
Here are two good options:
Varied price points
One of the first things many new hunters notice when shopping for optics is the wide range of price points. Two pairs of 10×42 binoculars can vary greatly in price — sometimes by thousands. These price variations reflect differences in glass quality, lens coatings, low-light performance, durability, weatherproofing, and internal components. Higher-end optics often produce sharper, brighter images with better color and clarity, especially during the low-light conditions when animals are most active. They may also feel more comfortable to use for extended periods of time, causing less eye strain and fatigue during long days in the field.
At a certain point, there are diminishing returns at the highest price points, and many hunters can be well served by mid-range optics while they learn which features matter most to them and where future investments may be worthwhile.
Final Word
You don’t need the most expensive or technically advanced tools to start learning and having fun hunting. Most of understanding optics comes from actually using them — there is no substitute for time in the field to understand how you use each piece of equipment and to see which features matter most to you. A great starting place is a reliable pair of binoculars, a rangefinder, and a rifle scope that you’ve practiced with at a rifle range. As you spend more time behind your glass, your preferences will become clearer and as you advance and grow as a hunter, you can upgrade along the way.
While things can move fast, a lot of big game hunting is slow observation and patience. There’s so much to learn from watching, and these tools will set you up for what is hopefully a fun season ending with a freezer full of meat.
About the Gear Tester
Lauren Whiddon
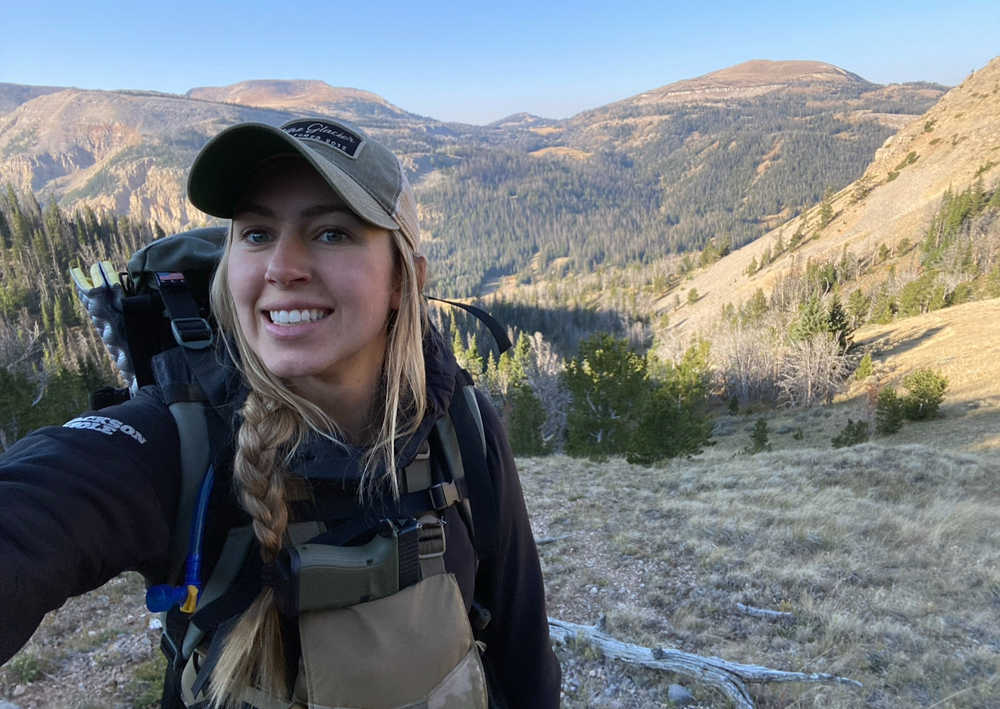
Lauren is happiest waking up next to an alpine lake, snacking at the summit, floating down a river, and chasing bulls and bucks in Montana's vast wilderness. When not romping around outdoors, Lauren builds websites, teaches yoga, and volunteers on an organic farm. You can find her on Instagram @laurenrose_mt.
- Lauren Whiddon
- Lauren Whiddon
- Lauren Whiddon
- Lauren Whiddon