Whitewater Kayaking 101: An Extensive Beginner’s Guide
If I’m being completely honest, whitewater sports have always been a love-hate relationship for me. Paddling on moving water is exhilarating, while also nerve-wracking from time to time. But with proper guidance and technique–much like any other outdoor endeavor–you can take something new and turn it into personal empowerment.
Being a winter gal at heart and snowboard instructor of six years (Read my Freestyle 101 article!), I do enjoy a challenge when opportunity arises. Usually a sad sap when it comes to navigating the heat of summer, I recently sought to expand upon my teaching background through whitewater. Not only as a means for immersing into a different action sport from what I’m normally used to, but to also find a form of enjoyment that involves literal cooling off.
Interested in pushing past your own comfort zone into the realm of whitewater, but aren’t entirely sure where to begin? Read on!
My Whitewater Background
As a kid, I grew up kayaking intermittently with my parents along mostly Class II rivers, or on freshwater lakes–both in Oregon and Colorado. Fast forward into young adulthood, and I’ve experienced a few short commercial raft trips of the Class III-IV nature; most notable were trips along the Chattahoochee River in Columbus, Georgia. Plus Colorado’s Roaring Fork River outside of Aspen.
Hobby-wise, standup paddleboarding (or, SUP) has been a casual summer staple for me these past few years–to which I use for balance practice in my off-season from snowboarding.
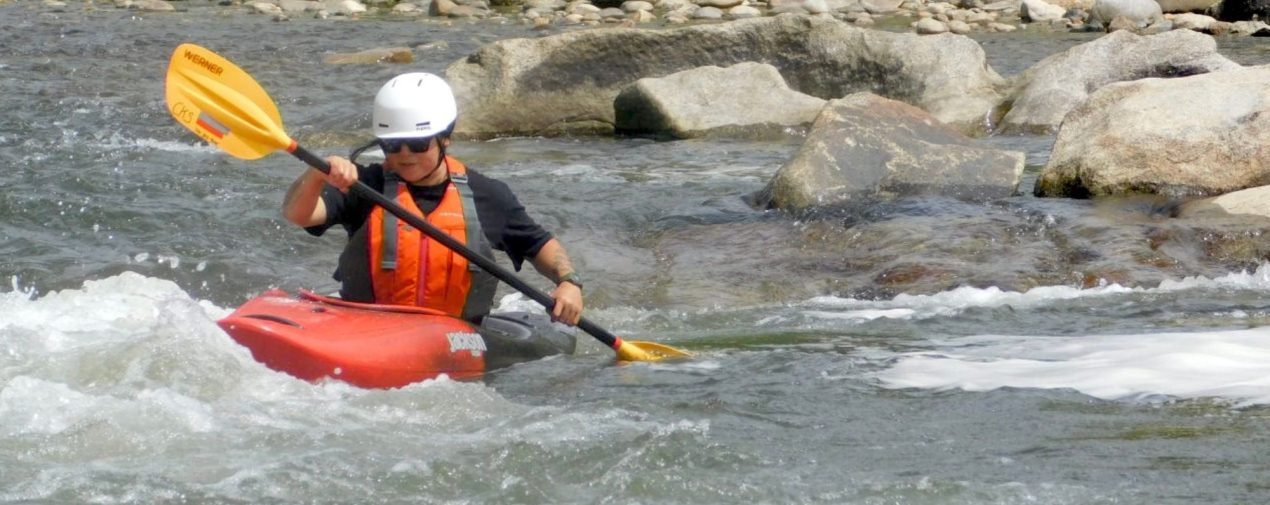
With this past summer in particular, I decided to pursue training for instructing introductory whitewater lessons; in both kayaking and SUP. And from all the hours spent out along the water of Clear Creek in Golden, Colorado, I’ve compiled a few tips for getting started. Here, I will specifically be discussing whitewater kayaking.
*Important Note: This isn’t by any means a comprehensive whitewater guide. Rather, think of the following as more of a go-to digital pocketbook reference, based upon my own on-water training and observations. And it’s intended for those looking to practice roughly within the Class I (beginner) to Class II (novice) levels.
Gear You’ll Need
Outerwear
Like snowboarding, you don’t need to go out and buy absolutely everything brand new for whitewater. Especially if where you’re located experiences major heat waves, it’s possible to get away with wearing basic layers in warm weather. Working in Colorado’s dry heat, my kayaking go-to clothing usually includes durable leggings, lightweight sun hoodies (with built-in UV protection), sunglasses (with adjustable straps), and closed-toe shoes. Many of these items can be found at your local outdoor retailers, raft stores, or used gear shops.
Adjust clothing accordingly to the climate where you live. In order to avoid hypothermia out on the water, bring extra quick-dry layers. Some kayakers even opt for a full-piece wetsuit to have as added warmth when paddling (these can be bought secondhand).
In addition, there are two specific pieces that are an absolute must-have in your kayak outerwear kit: A whitewater-designed helmet, and a Coast Guard-approved PFD (personal flotation device).
You can get away with buying a used PFD, so as long as it’s in good working condition. However, I advise buying your helmet brand new. The reason being that it’s tricky to determine how much prior internal damage has occurred to used helmets. I’d rather be the original owner and know exactly how much impact my helmet is put through.
After all, this sport does involve navigating rocks and other obstacles.
NRS is a brand I personally recommend looking into; not just for whitewater helmets, but also river outerwear and safety gear. My go-to of theirs is the NRS Neso Helmet–for those just starting out, this is a more cost-efficient yet durable helmet option.
And for the final touch: Purchase a PFD-designed emergency whistle to store inside a zipper pocket on your personal flotation device. Better to have it on hand, than none at all!
Paddle-Specific Items
The following are gear and goods that are doable to rent (or borrow):
- Whitewater Kayak: These kayaks are designed as either hard shell, or are inflatable. Inflatable kayaks, by design, are more lightweight on the water; with leg strap systems that allow for a smooth exit from the craft. Kayaks designed with a hard shell exterior prioritize durability and stability. They usually boast a streamlined body with a solo (or tandem) cockpit; built for solid rapid navigation. I’ve used both types before. But, my recommendation would be using a hard shell kayak–such as the Jackson Zen 3.0 or the Jackson Antix 3.0 (a personal favorite).
In addition to building confidence and strong paddle skills on the river, hard shell kayaks help beginners learn how to roll and utilize Wet Exits (we’ll talk more about these techniques later).
- Kayak Paddle: Comprised of two wide blades connected by a shaft in-between, whitewater paddles are built with speed in mind. For beginners, look for a paddle design made out of nylon and/or plastic; these materials are often more cost-efficient, yet sturdy. If you find yourself really enjoying this sport, then you can always upgrade down the line to paddles built with fiberglass or carbon fiber.
*Important Note: In order to reduce fatigue while paddling, make sure that both your kayak and paddle are selected according to your approximate weight and height. The size of kayak you choose will directly impact your paddle length. For further measurement assessment when selecting your proper setup, Paddling Magazine and the Expert Advice tab on REI’s website are great resources to reference.
- Dry Bag or Dry Box: As the names suggest, these portable water-resistant and/or water-proof storage units allow kayakers to keep their personal belongings dry while out paddling. Anything valuable–car keys, phones, sunscreen, snacks, extra clothing, etc.–can be stashed away in these containers, and attached to (or within) the kayak itself. Trust me when I say they’re an incredibly useful tool to have on hand, with plenty of design options for personal selection.
- Throw Bag: This is a crucial piece of safety gear. Throw bags contain a lightweight, highly visible rope (usually 50-70 feet long); used to throw (underhand) at a swimmer in emergency scenarios on the river. Most bags are designed to float on the water, with some having secure attachment systems (such as a quick release lock/belt). Always make sure to have at least 1-2 throw bags on hand, even if you just daytrip short sections of water.
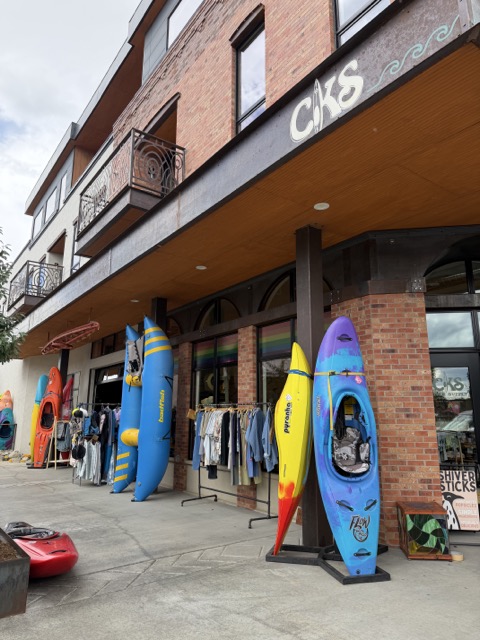
Side note: If ever you’re out exploring Colorado, a notable local go-to spot for kayaking gear–in addition to having an excellent whitewater location–is CKS, located in Buena Vista (plenty of affordable rental options to choose from).
Starting Out: First Practice Paddling on Flat Water
The instructor side of me encourages you to cultivate paddle skills in an approachable environment where there’s more wiggle room for error.
Like any other recreational sport, begin by practicing fundamental techniques through repetition. This requires being patient with yourself in the learning process. If you’ve never set foot in a whitewater kayak before, first become familiarized with the different components of the craft (and paddle) on dry land; preferably a soft, grassy area. Understand the differences between the front of the kayak (bow) and back (stern).
Know how to adjust your seat and where to place your knees within the cockpit (slightly bent and rotating outward, resting against either side of the underside of the deck). You want to make sure that your legs can extend forward enough into the bow to be locked in place; while also maintaining those bent knees. This positioning allows you to control your kayak through steering with the hips and lower half of your body. If we solely relied on paddling with just our arms, we’ll tire out quickly. Utilizing your whole body is key.
While on the grass–sitting in your kayak–try placing your hands on either side of the cockpit opening, and gently rock your hips laterally (side to side). Doing so will emphasize just how much steering control we have in our torso and hips. Especially once combined with paddle strokes.
Paddle Strokes (On Grass)
Before entering the water just yet, practice your first introductory stroke in your kayak out on the grass:
Forward Stroke
As the name suggests, this fundamental stroke allows you to paddle your kayak forward in a straight line. It’s helpful to break this stroke down into three phases.
- Catch Phase: Keeping a firm grip on your paddle, wind your upper body towards one side of the kayak so that the blade of that given side reaches your feet at the bow. Pretend here that the blade is being submerged into the water.
- Power Phase: With the blade “submerged” at your feet, rotate your upper body to allow the paddle to be roughly at a 45 degree angle. Engaging your hips and torso simultaneously, move the in-water blade along the side of your kayak towards your hip.
- Release Phase: As the in-water blade moves past (just behind) your hip, “slice” the blade up and out of the water.
As you practice these combined stroke phases on one side of the kayak, by the time your in-water blade reaches and finishes its release, your upper body and opposite blade will already be poised and ready. Through proper body positioning (sitting upright), practice repeating the Forward Stroke in one fluid motion on both sides of the kayak until you’re comfortable.
*Important Note: When paddling, make sure that the power-face (concave/inwardly curved) side of each blade is facing towards you. In addition, we want the large (knuckle) side of each blade pointing up and out (like bird wings).
To properly hold your paddle, first measure the halfway (center) point by placing the shaft on the crown of your head. Then, slowly move your hands outward–simultaneously on either side–until your elbows are bent at 90 degree angles along the shaft. With your grip now readjusted, you can bring the paddle down in front of you. This “paddler’s box” positioning allows us to maximize our energy and gain more power with each paddle stroke.
Paddle Strokes (On Flatwater)
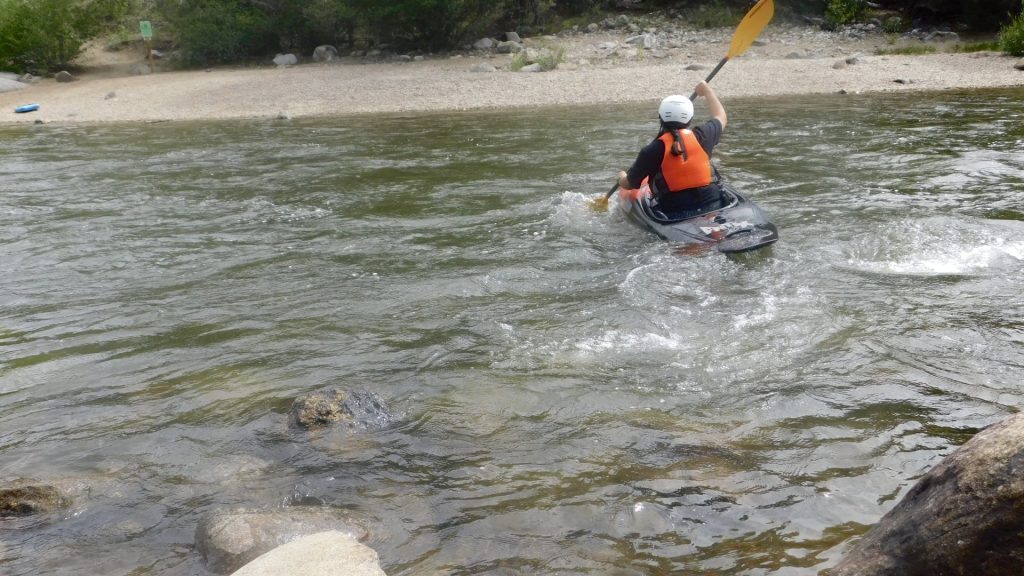
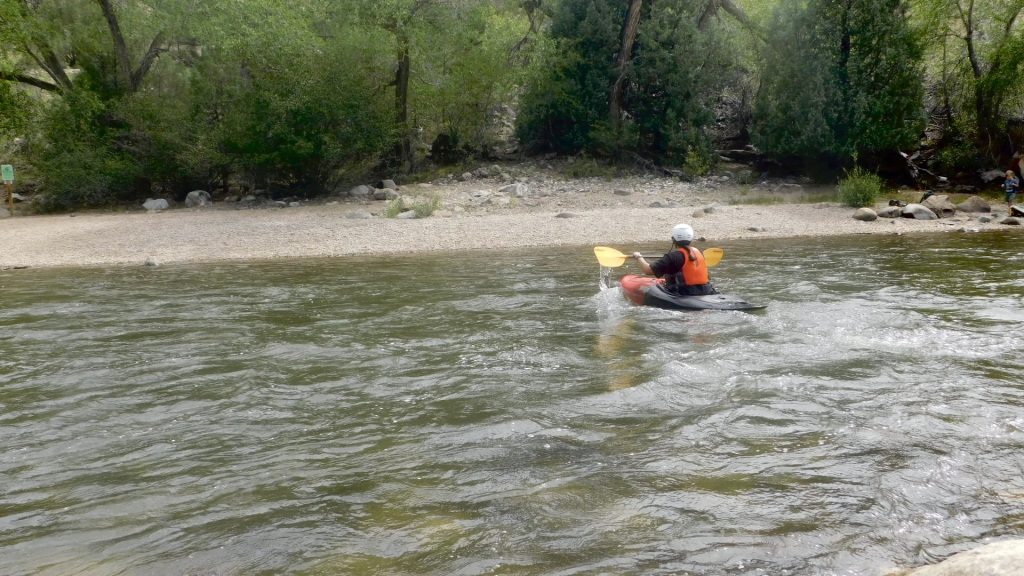
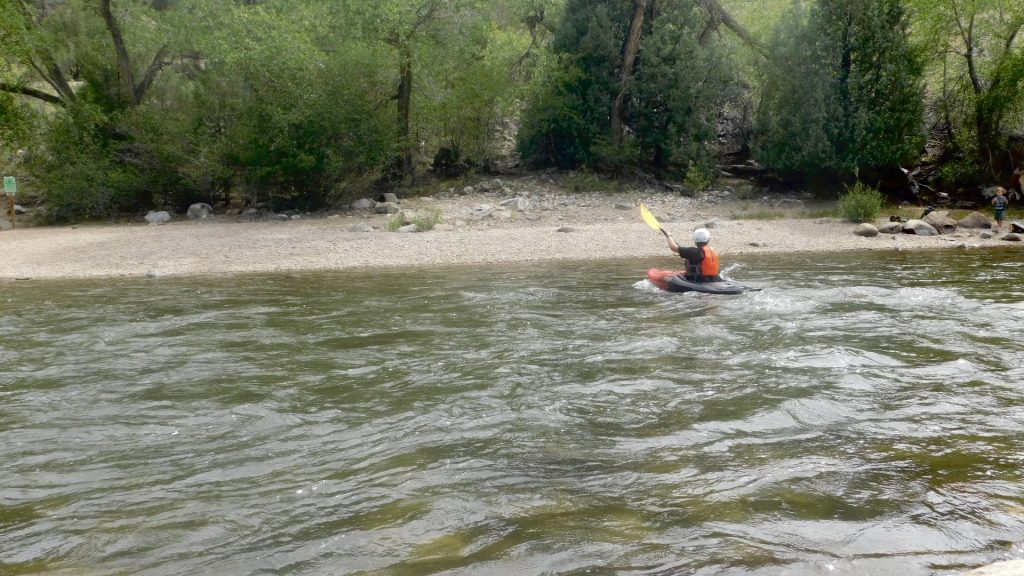
Ideal spots for kayaking on flatwater include lakes and reservoirs. Whichever spot you end up choosing for your designated practice area, be sure to read up on the location in advance and follow all pass/permit guidelines. If possible, go out earlier in the day (ideally morning)–you’ll have a higher chance of paddling in sunnier weather. Here in Colorado, it isn’t uncommon for summer monsoon storms to hit by early afternoon.
When commuting to your chosen flatwater destination, become acquainted with your surroundings. Take into account how many people are out on the water, the amount of craft in use (especially boats), plus any other potential obstacles (including on shore). Adjust accordingly to the conditions. Always follow the safety guidelines and protocols at your given location.
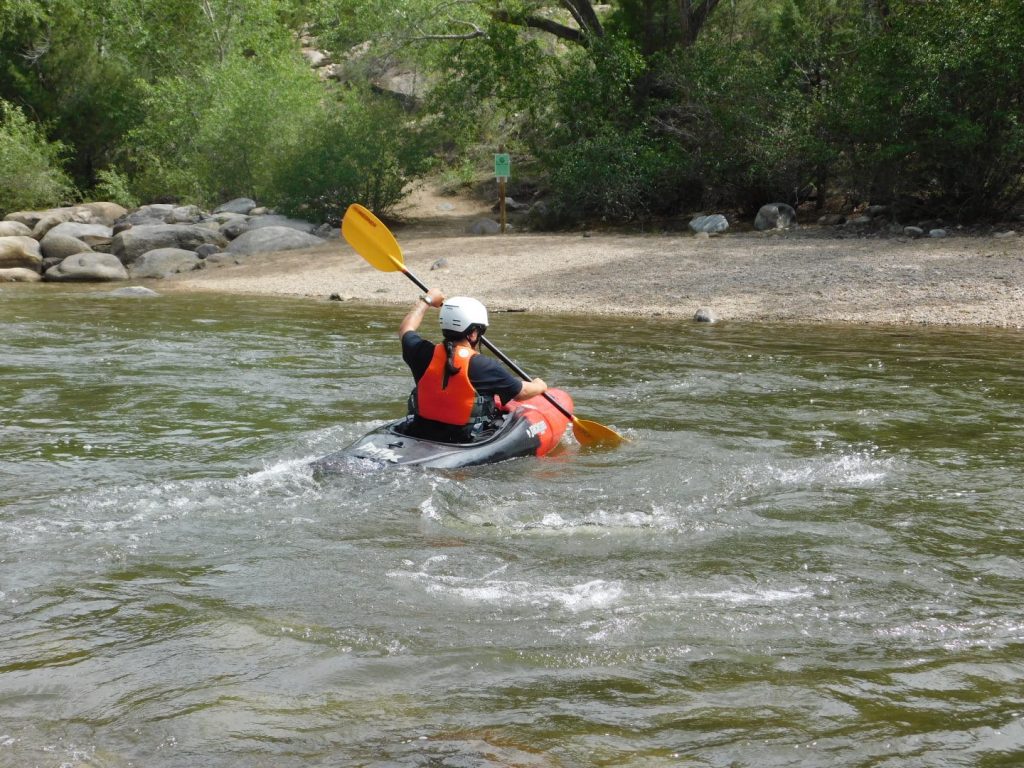
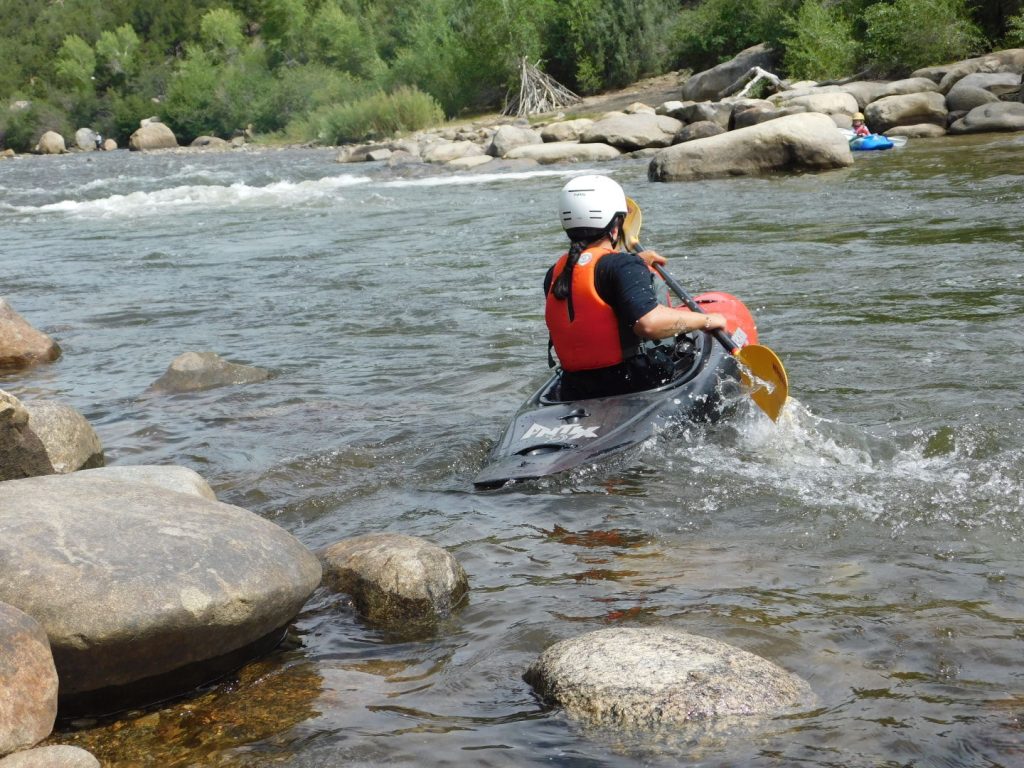
If you can, I highly encourage paddling with a seasoned group. Having a solid support/communication system is key. Plus, the overall kayaking experience becomes much more enjoyable if a couple good friends join along.
Once you’re geared up and ready to launch, have a friend (or an experienced paddle partner) help push you into the water. It’s more approachable for the majority of your kayak to already be dipping in where it’s shallow (bow facing forward). Make sure the shore’s surface is smooth enough–as in, no sharp rocks or objects underneath–before sliding the craft forward. This is assuming you’ve gotten practice beforehand getting in and out of your already-adjusted kayak on dry land.
Now that you’re finally floating out on the water, revisit each phase of the Forward Stroke. See if you can paddle with your whole body in unison, and make the transitions between each stroke as smoothly as possible. Test yourself to see if you can keep a straight line as you paddle. It helps to find a focal point out in front of you. Practice this on repeat until you’re fully comfortable with your movement. Remember, don’t rush the process. Take breaks to rest, then try again.
And when you are ready, it’s now time to explore a few more stroke styles. Let’s add the following to our paddle toolkit:
Reverse Stroke
Once we know how to go forward, it’s now time to learn how to paddle backwards. This specific stroke allows us to not only readjust our line by backing up, but also to help slow us down. Again, let’s break it down into three phases.
- Drop Phase: Instead of catching the water with our working blade at our feet, this time we start by submerging the blade at our hip.
- Power Phase: Winding up your torso, push the working blade forward from your hip and along the side of your kayak.
- Release Phase: As the in-water blade pushes forward, slice the blade up and out of the water near your feet. Repeat the same three step process on the opposite side. Alternate.
Sweep Stroke
If we want to turn our kayaks in one direction (or the other), this is the stroke to utilize.
- Catch Phase: Extend your paddle forward to one side and dip your working blade fully into the water, at your feet.
- Turn Phase: From your feet, push the in-water blade out and away from your kayak in the shape of an arc towards your stern, using one fluid motion. The wider the arc, the more efficient the sweep. Especially when accounting for strong torso rotation in the process.
- Release Phase: Once the in-water blade sweeps past (and behind) your kayak’s cockpit (close to the stern), you can now slice the blade up and out of the water. Now repeat the same process on the other side at your feet. You’ll quickly notice that whichever side you begin your sweep on, the kayak starts turning in the opposite direction.
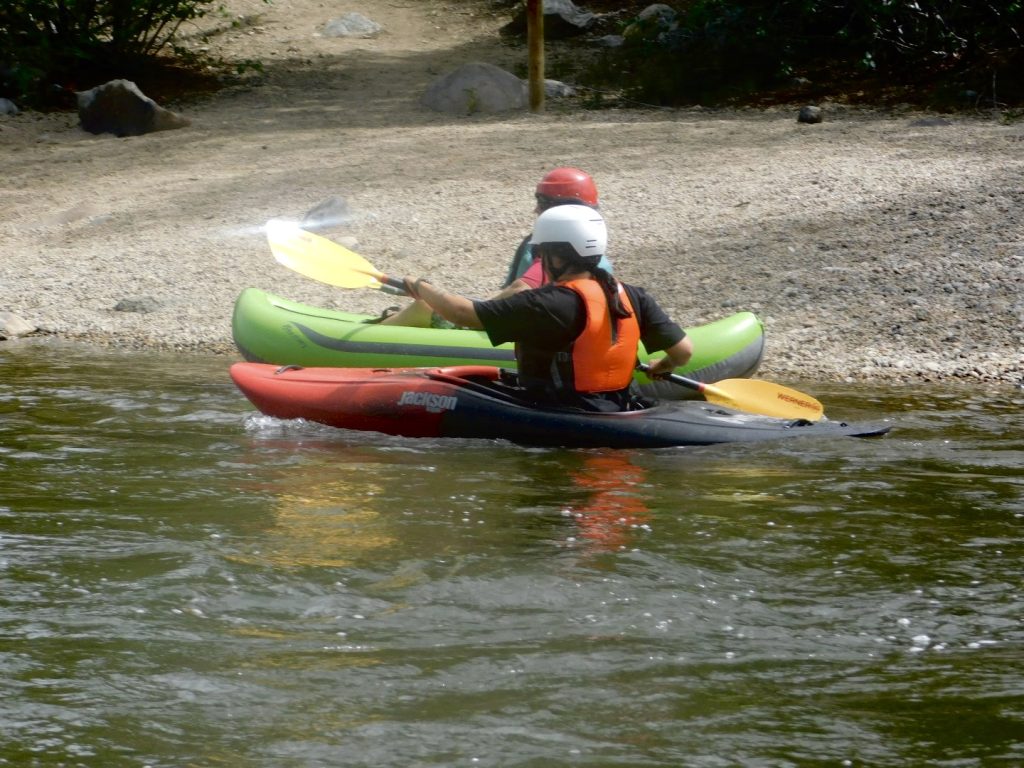
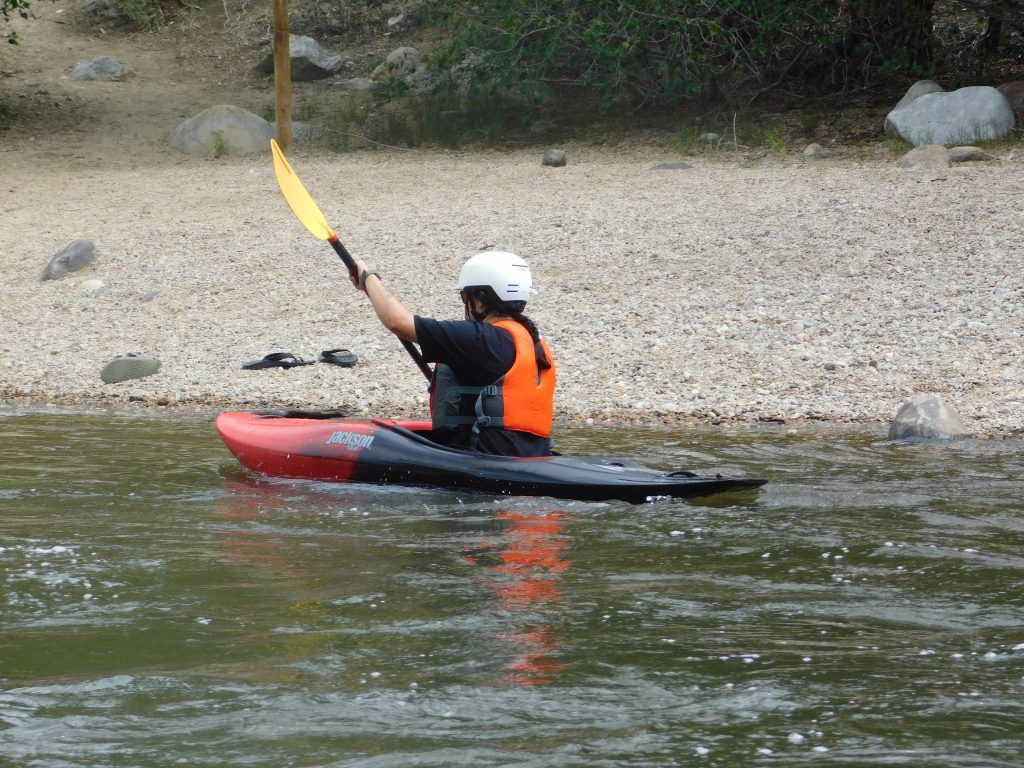
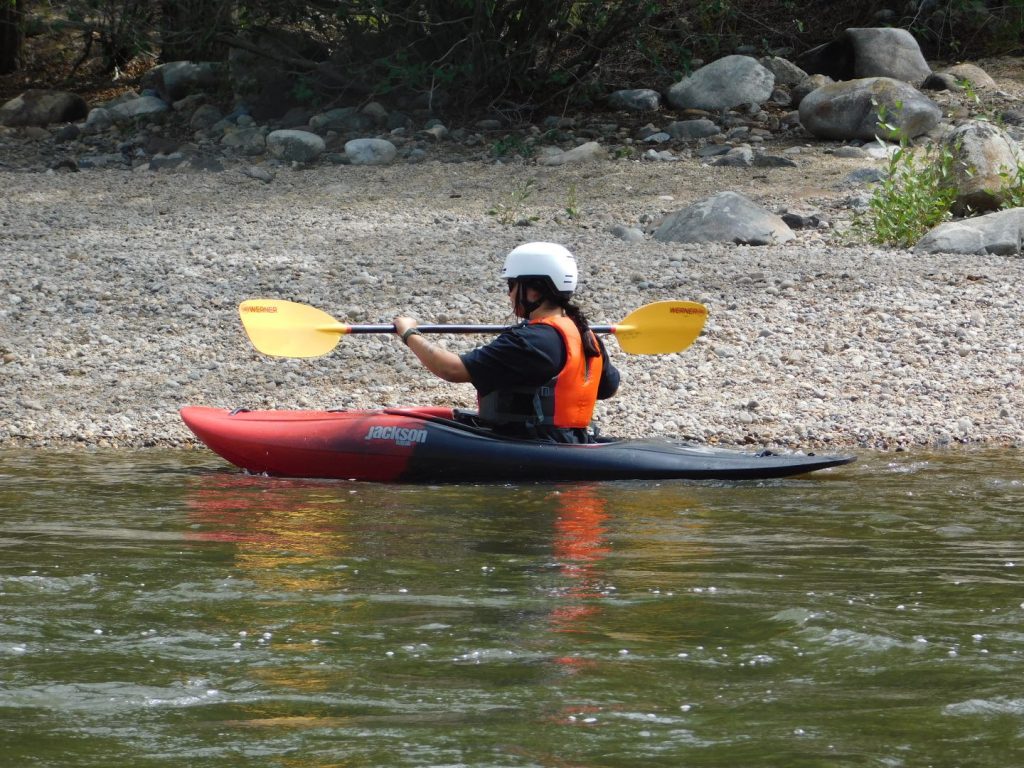
*Important Note: Keep in mind that the above Sweep Stroke method is for turning forward in one direction.
We can use a Reverse Sweep Stroke to turn backward, thereby slowing the kayak’s momentum. A Reverse Sweep is the exact opposite to a Forward Sweep (I’m sure you’ve already picked up on that).
Practice the Reverse Sweep Stroke by dropping your working blade fully into the water, near the stern. Remember, the blade’s inwardly curved power-face will still be facing you in the process. Next, push the in-water blade in a wide arc away from the kayak using a fluid sweep motion, towards the bow. Once the blade is near your feet, slice the blade up and out of the water before it touches the bow.
Draw Stroke(s)
These multi-strokes are used to move our kayaks sideways along the water. Think pulling yourself parallel to someone else’s craft.
- Rotate your upper body so that your chest is facing one side of the kayak (from the cockpit, looking out over the chosen direction).
- Using the shoulder closest to your designated side, move your hand down the paddle shaft; closer to the working blade. Next, rotate the power-face so that the blade tip is pointing downward (45 degrees) towards the water (imagine holding an ice cream scoop).
- Keeping this alignment, extend the working blade out over the water (roughly a couple feet away from your kayak) so that the blade tip dips in and is perpendicular (traces a straight line) to your cockpit. Keeping the working blade tip submerged, pull the blade straight towards you (scooping a ball of ice cream). As you do this, you automatically draw the kayak closer to your blade.
- Before the blade hits the side of your kayak, stop your motion by rotating the blade tip to slice it up and out of the water (in order to avoid flipping yourself upside down).
- Repeat the above steps as necessary. This particular stroke style might feel awkward at first. But the more we practice (including the opposite side), the smoother the process will become.
Transitioning from Flat to Whitewater
Depending on your own background and comfort level, I would advise getting a couple full practice days out on flatwater before making the move to whitewater. Or as long as you need.
Remember, it’s a marathon, not a sprint. And cultivating a solid foundation with the above paddle strokes is a necessary must. Knowing exactly what to do in calm flatwater will help set you up for a smoother transition to moving water. Don’t rush the process in this crucial developmental stage–I honestly can’t stress this enough. Take some time to find enjoyment out of your personal practice. Especially amongst nature.
Apart from learning and building confidence with these foundational paddling techniques, here are a few additional skills and important reminders to follow:
Swimming
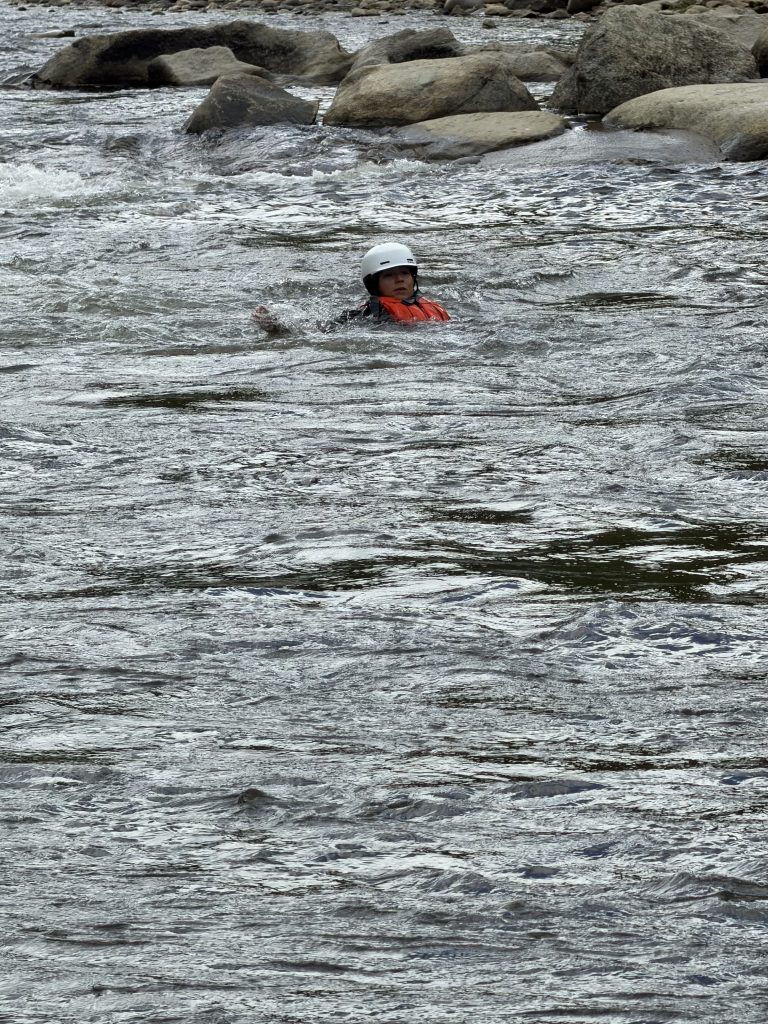
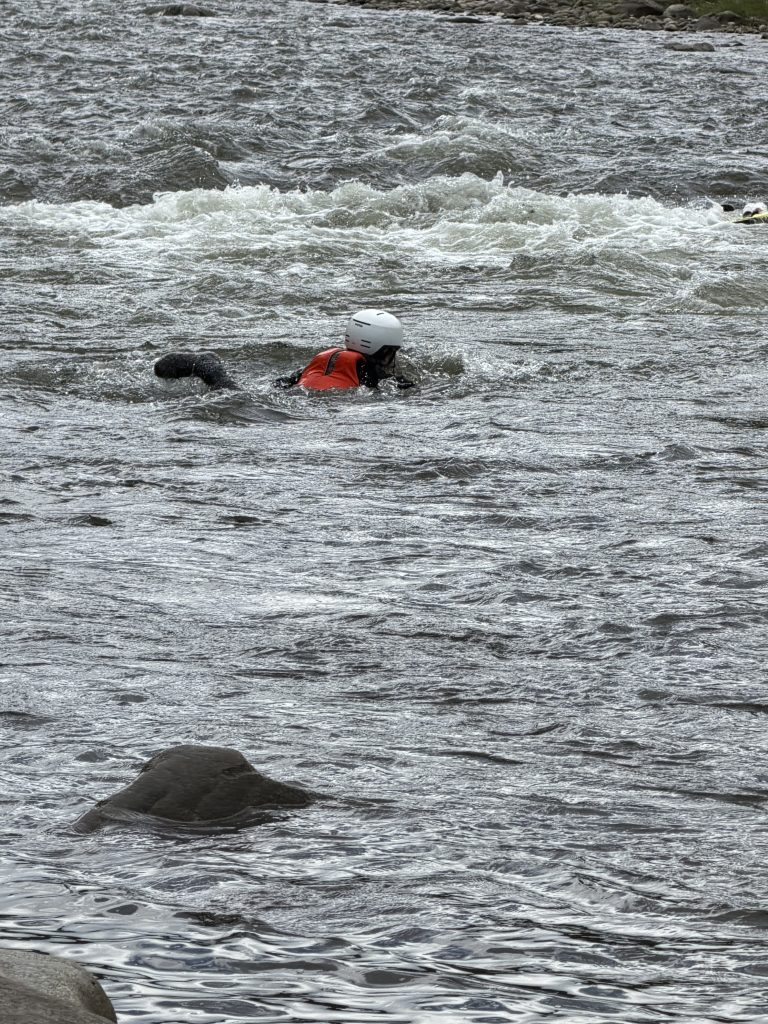
Consider strong swimming a prerequisite for whitewater kayaking. Even when wearing a PFD, we cannot wholly rely on it to do all of the work for us. In between paddling sessions on flatwater, make sure you get some solid swim practice using your PFD.
Wet Exits
A Wet Exit is a technique used for exiting a kayak while out on the water. It involves flipping your kayak upside down and ejecting from the cockpit.
This might feel scary at first (been there). Much like any other valuable skill, this drill will push you past your comfort zone. But with repetitive practice in a calm flatwater environment, it’ll eventually become second nature.
The best way to practice Wet Exits are with a designated partner. If you’re brand new to this, you can opt out of using a kayak skirt to make the exit easier. While in your kayak at your flatwater location, have your partner guide you out into the water until they are immersed waist-deep (they’ll be standing out of their kayak for this). You can set your paddle aside (or hand it off to them) while practicing.
Check in with yourself on how you’re feeling before proceeding. Once you’re ready, have your partner guide you through the following steps (review beforehand):
- Step 1: Grab either side of the cockpit opening near your hips.
- Step 2: Fold your head and chest forward towards your knees and feet. Take a deep breath in and hold it.
- Step 3: Roll your kayak to one side using your hips and upper body strength, until it flips upside down in the water.
- Step 4: Push down on the cockpit using your arms and hands; straighten your legs simultaneously. Once your legs completely straighten, they should be able to eject up and out of the kayak hull (like taking off a pair of pants). From there, you can release your secured grip on the cockpit and swim to the water’s surface.
It’s up to you whether you want to be in control of flipping the kayak yourself, or first have your friend do so for you with a countdown. Whatever puts your mind at ease the most. Either way, they’ll be there to support you by standing at your side while you practice. And to grab your kayak once you exit.
Getting Wet Exit practice ahead of time on flatwater will only prep you further once you’re moving on whitewater. Especially when it comes to eventually navigating your first rapids. It’s not a requirement for beginners to wear kayak skirts once they are out on introductory whitewater. Just keep in mind that without one, you have a higher chance of water getting inside the hull of your kayak–which means flipping on moving water (whether on purpose or by accident) could possibly occur.
Yet another reason why we practice these crucial skills ahead of time in calm water.
Do not skip this technique.
T-Rescues
What happens if you accidentally flip upside down while out paddling as a group on flatwater?
Once you Wet Exit from your kayak (grab both kayak and paddle afterwards), you’ll need to know how to dump the water out of the hull and safely get back into your cockpit. This is where T-Rescues come into play.
While you’re floating in the water, have your partner paddle towards you so that they can position the front of their kayak perpendicular to your overturned bow (thus making a “T” shape).
Keeping hold of your kayak, reposition yourself to straddle and push down on the stern, so that your partner can take the uplifted bow and slide it onto their front deck (not the cockpit). With your kayak balancing on the deck, you can now help your partner drain water out of the hull until it’s empty. From there, assist your partner in flipping your kayak upright, and then slide it off the deck back into the water.
To avoid submerging your kayak hull when you get back in, help your partner line your kayak up side-by-side to theirs, so that they can keep a firm grip to stabilize your cockpit. When ready, use your upper body strength to hoist yourself up, and slide back into a seated position. Readjust your posture if necessary.
Keep in mind that there are varying techniques for performing Wet Exits and T-Rescues. In addition to practicing these two important skillsets with a seasoned group and/or kayak guide on flatwater, the ACA (American Canoe Association) boasts several great paddling resources for use. Both online and in-person.
Kayaing on Whitewater
It’s now time to take everything you’ve learned kayaking on flatwater and apply your paddle practice to introductory whitewater.
Be sure to do your homework in advance and scope out rivers that offer calmer sections to work with (Class I-II). That might mean navigating extremely mellow currents and paddling shorter sections of water in a given day. This is completely okay and encouraged. It’s better to reserve your energy, build upon your foundational skills, and know when to come back for more next time. Always start small. And make sure you’ve got a solid float plan in place with your designated paddle group, in case something does go wrong.
Never kayak whitewater alone.
Reading Whitewater
With your group, scout your chosen river beforehand. Before getting gear out, actively look for an approachable put-in spot for your kayaks. A good river put-in (launching point) usually contains eddies–calm pockets of slow-circulating water that don’t contain rapids, and can be found on either side of a river along the banks. Eddies also are ideal take-out (exit) zones.
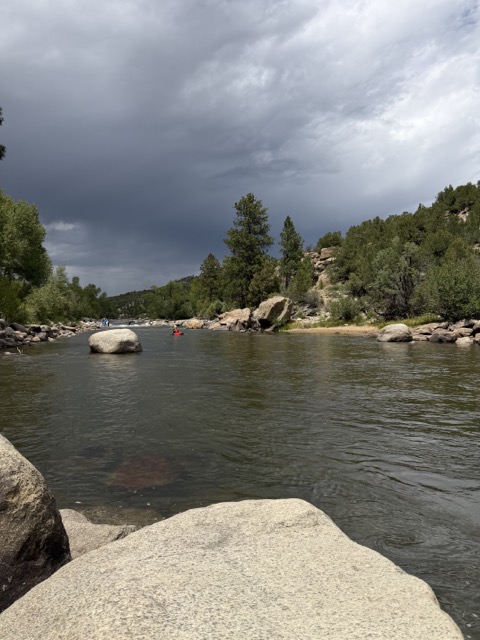
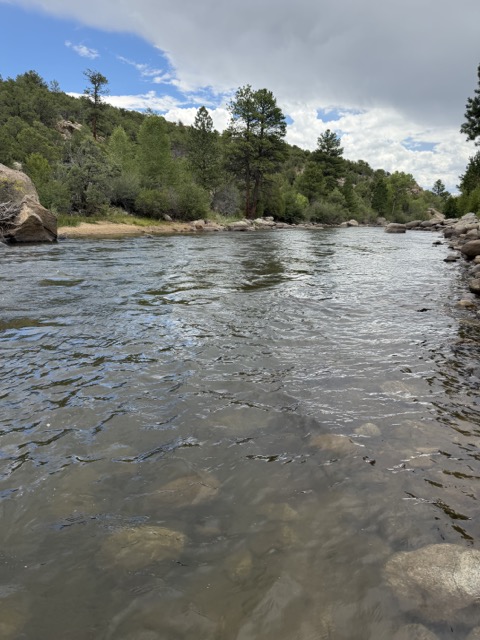
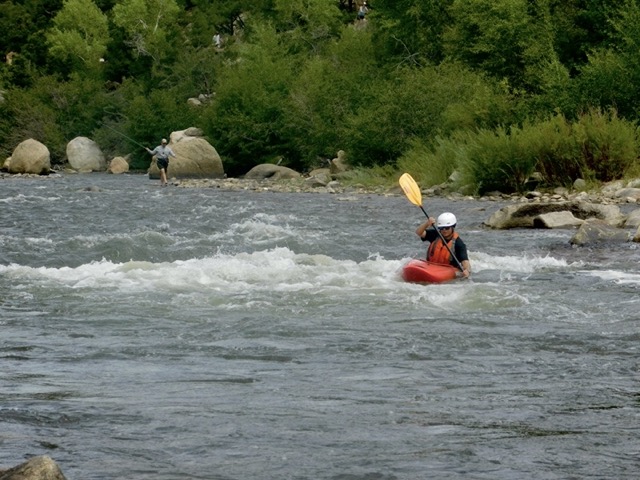
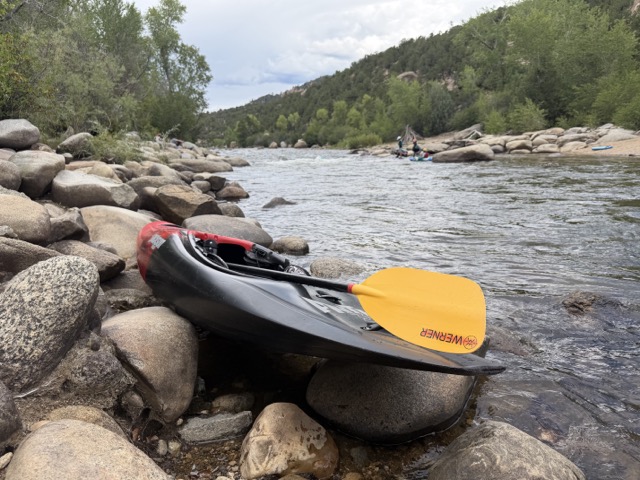
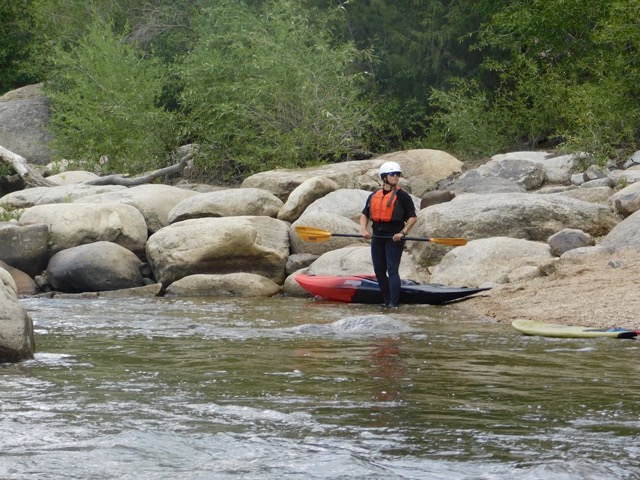
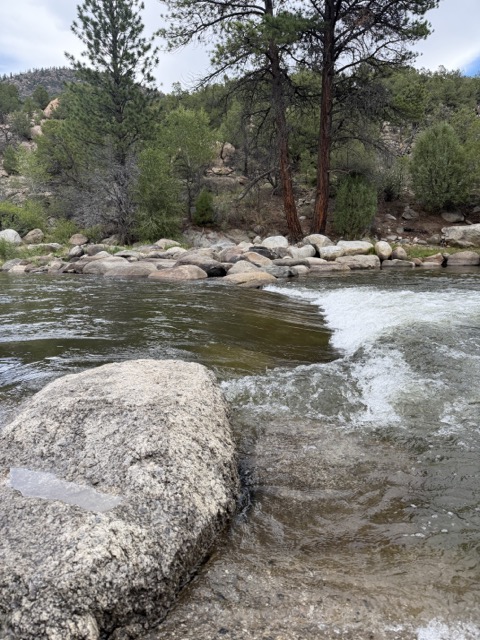
As you adjust to your surroundings, study the river and become familiar with the following terminology:
- Upstream: Higher elevation, points towards a river’s source and moves against the river’s flow. Keep in mind that upstream river traffic (kayaks, canoes, etc.) have right-of-way on the water (because they are constantly being pushed downstream). Before launching, always look upstream first to make sure traffic isn’t approaching.
- Downstream: Where the river moves with the current, away from its source, towards lower elevation. Unless you’re practicing specific paddle techniques that point your kayak against the current (ex: Ferrying), more often than not you’ll usually be kayaking with the downstream flow.
- River Right: The right side of a river when looking downstream.
- River Left: The left side of a river when looking downstream.
- Current: The continuously moving downstream flow of a river. Currents can be found across the river at multiple water levels.
- Rapid: A specific section on the river that is formed by gradients, drops, holes, rocks, or other obstacles underneath the water. Characteristics of rapids include (but aren’t limited to) turbulent water and foaming waves.
- Eddy: As described above, these calm pockets of water can be located on both sides of the river, close to riverbanks. They often form directly behind large boulders. Eddies lack rapids, and the water usually moves in a slow, circular (upstream) manner. Also good spots to revisit Wet Exit techniques with your paddle group.
- Eddy Line: The waterline that separates eddies from currents. Because eddy lines mark the transition from fast moving water to calm (and vice versa), they can be highly unstable points to kayak across and require strong paddle skills for navigation. When crossing over an eddy line, keep your kayak pointing at an angle (roughly 45 degrees).
- Strainer: Any obstacle out on the river that allows water through (or around) it, while potentially trapping a kayak. These can include (but aren’t limited to) logs, trees, branches, roots, etc. To put it visually, imagine a pasta strainer–when draining cooked pasta, water is allowed through the holes inside the strainer while noodles remain entrapped. Hence the name. When navigating your chosen flow path out on the river, actively spot strainers in advance to avoid them.
Learning to read rivers is like learning a new language. It takes time and continuous thoughtful observation. Which is why it’s helpful to begin kayaking by paddling short sections of Class I-II water. The above definitions are a starting point. Always keep building upon your knowledge.
Paddling Your First River Section
You can probably tell by now that mastery of this sport doesn’t occur overnight. As you apply paddle techniques and terminology to your first whitewater kayaking experience, here are a couple more tips to keep in mind:
Shuttling
If you do end up navigating a longer section of whitewater with your designated group, you should have a proper shuttle system already established ahead of time, especially at your take-out zone. For both gear and kayakers.
Communication/River Etiquette
When out paddling with your group, make sure you know the following hand signals.
- All Clear (Take Your Turn): One arm extended vertically overhead.
- Stop: Arms crossed to form an “X”. Or, arms extended out to either side to form a “T”. This halts your group’s paddle operation, or signals potential hazards ahead. Adapt accordingly.
- OK: Making eye contact, repeatedly tap the top of your helmet to ask a paddler if they’re doing OK. If they respond back by mirroring your tapping motion, that’s the signal that they are fine. If they don’t respond back at all, assume something is wrong. Adapt accordingly.
Swimming Rapids
If/when you work your skills up to kayaking an introductory rapid, scout and swim it first. By swimming it beforehand, you’ll know what to expect in case your kayak flips mid-rapid. Find an approachable put-in spot above the rapid (preferably with an eddy), and do the following:
- Observe the rapid’s structure and shape. Is it doable for your level? And is there a good take-out zone below for you to exit? If so, position yourself in calm water using a defensive swimming method–head back, feet up and pointing downstream, tucked tailbone, and arms forming a “T” on either side of you.
- As you float on your back towards the rapid, rotate your arms and wrists in circular motions (forwards or backwards) to steer and/or reposition your posture. Your feet must always be facing downstream first. To avoid possible foot entrapment, never stand up in fast-moving water.
- Hold your breath and maintain your defensive swimming posture as you ride down the rapid, into the waves.
- Once you’re out of the rapid and approaching your designated exit point, roll onto your stomach and transition to aggressive swimming–keeping your body flat on the river while using your arms to swim hard towards the take-out. You can stand once you reach calm, shallow water along the shore. Have one of your group members positioned at your exit in advance –as a visual cue, for support, and for assistance if need-be.
Paddling Rapids
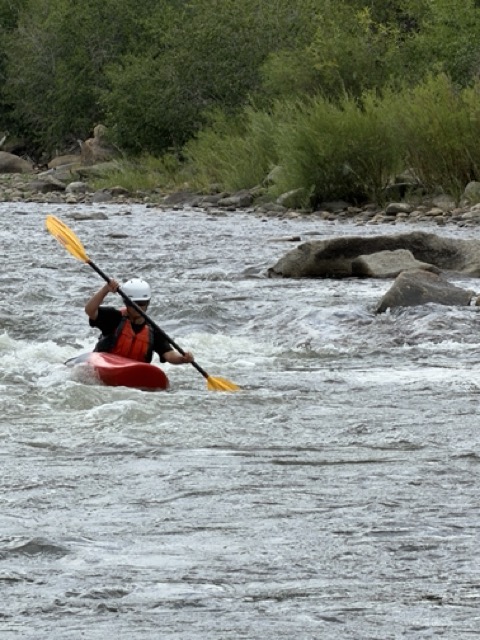
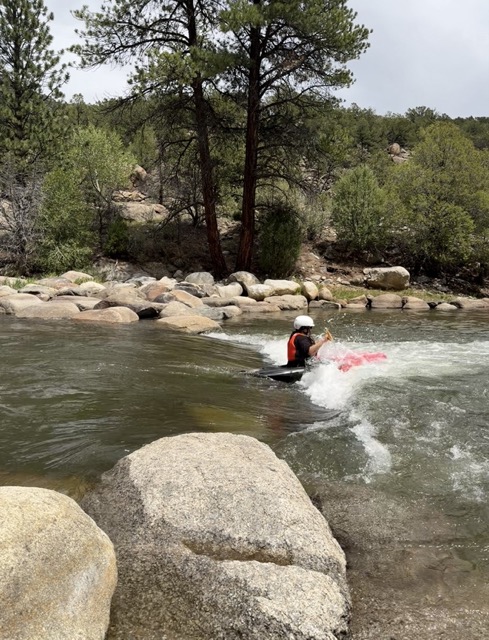
After swimming your rapid of choice, you can now go back and kayak down. Once launched, keep the bow of your kayak pointing downstream as you paddle. When approaching the rapid, make sure your kayak is in a straight line. As you slide down into the waves, lean slightly forward. It’s also helpful to have one end of your paddle already submerged–the working blade acts as a stabilizer, reducing your chances of flipping mid-rapid. Paddle hard across the eddy line towards your designated take-out, into calm water.
Carrying Your Kayak
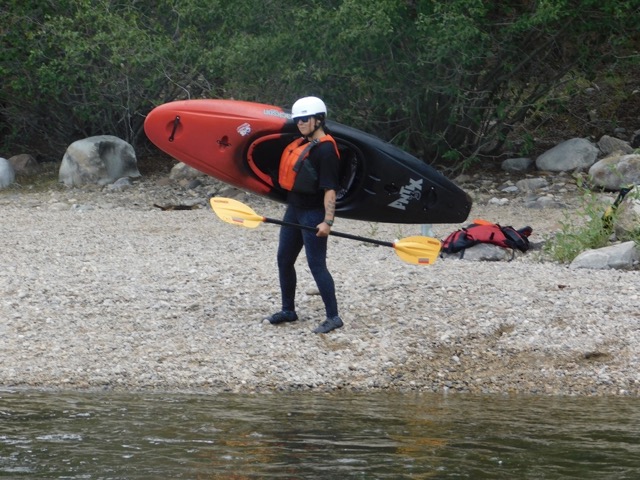
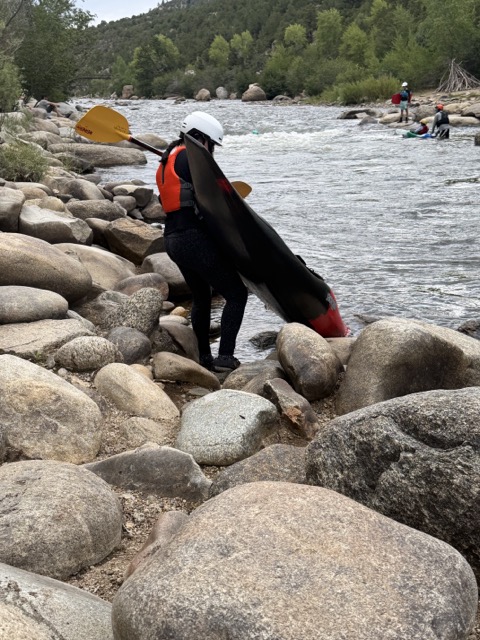
Several kayak designs boast sturdy handles at both the bow and stern. As you daytrip short sections of river, it might be easier to walk back up to your put-in area with the kayak itself. Empty out the water after each use, before you walk. Kayaks can be carried with one shoulder/arm within the cockpit; held off to one side. And of course, you can always snag a friend to help transport equipment (my preferred method).
A Final Note
If you’ve made it this far with me, congrats! Hopefully by reading through this guide you’ve learned something new, and feel a little more at ease about approaching whitewater.
This type of kayaking not only is a valuable skillset, it’s very much a true character builder.
Remember, pace yourself as you practice. Know your limits, and when to come back with fully recharged batteries. Keeping these safety tips and techniques in mind, don’t forget to also cultivate fun in the process.
See you out there!
About the Gear Tester

Amanda Cruz
Amanda Cruz is a certified snowboard instructor, yoga teacher, and DEI (Diversity, Equity, & Inclusion) advocate living in Boulder, Colorado. Having worked at Eldora Mountain Resort for the past four seasons, she has actively taught in her home mountain’s women’s-specific program. When not instructing or educating on the importance of equal representation in outdoor spaces, she’s most likely adventuring along the slopes, practicing freestyle in the terrain park, hiking, or going to yoga and coffee meet-ups with friends.
You can find her on Instagram at @ventureyogi
- Amanda Cruz
- Amanda Cruz

- Amanda Cruz

- Amanda Cruz
- Amanda Cruz