Building Your Kill Kit
Western big game hunting has its set of challenges. Tough terrain requires a certain level of fitness and endurance. Weather can be unpredictable. From heat to extreme cold to wet conditions, sometimes choosing to stay and endure the unexpected for the duration of your hunt rather than returning early to the comforts of home requires mental strength and a highly dialed system of specialized gear.
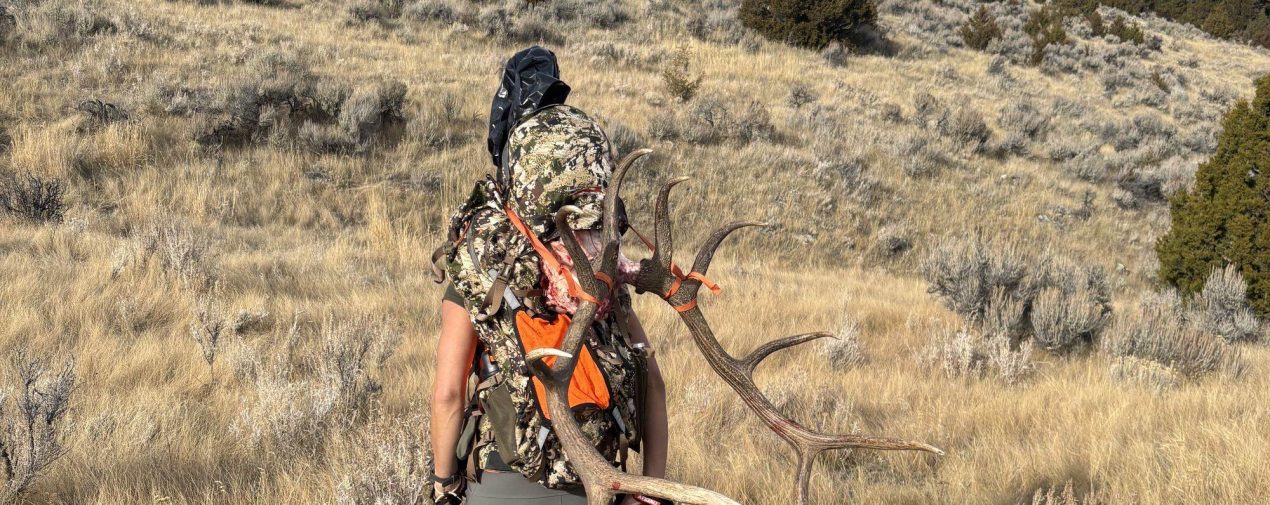
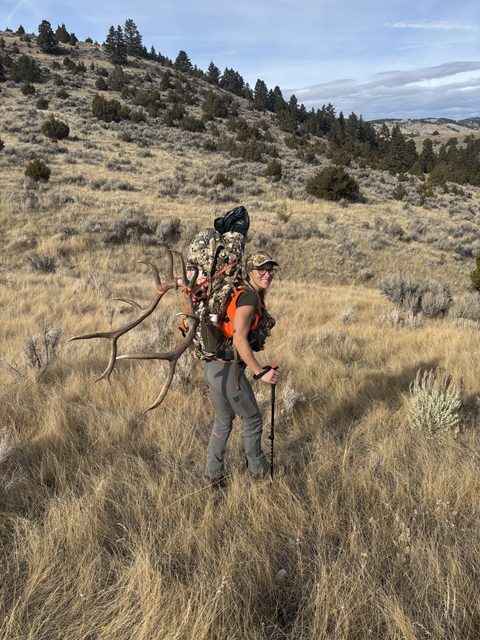
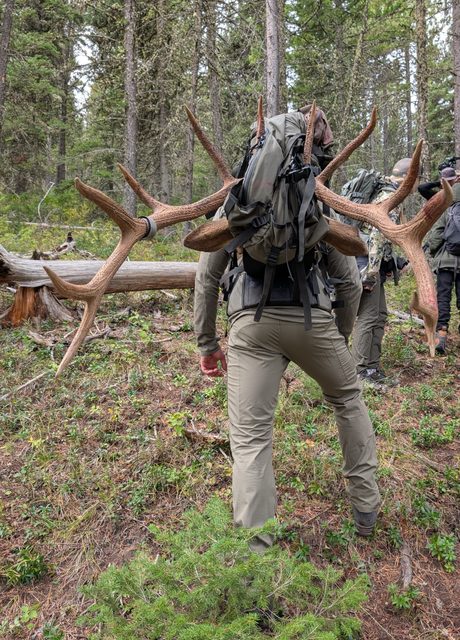
However, in the moments of celebration when your target animal is down and you notch your tag, all of the preparation, tough moments and challenges you’ve faced to get there seem well worth it. This is also the precise moment when a new set of challenges is presented, and your next mission becomes getting your newly harvested meat home.
Part of being an ethical hunter is using as much of your harvested animal as you can. Some people go as far as tanning and using the animal’s hide or making soap from deer fat, but a good rule of thumb is that all edible meat should be removed from the carcass and processed for food. In an effort to preserve hunting ethics, show respect for wildlife (which in the United States is a public resource), and discourage trophy-only hunting, all western states have laws defining which parts of a harvested animal you are required to take home. It is important that you understand the laws and regulations where you are hunting.
For example, Montana waste of game regulations prohibit the waste of any part of a game animal that is “suitable for food,” which, for big game animals, Montana defines as four quarters above the hock, including the loin and backstrap.
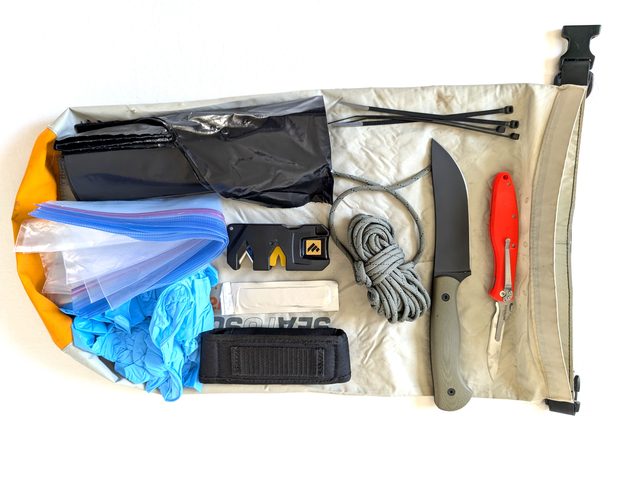
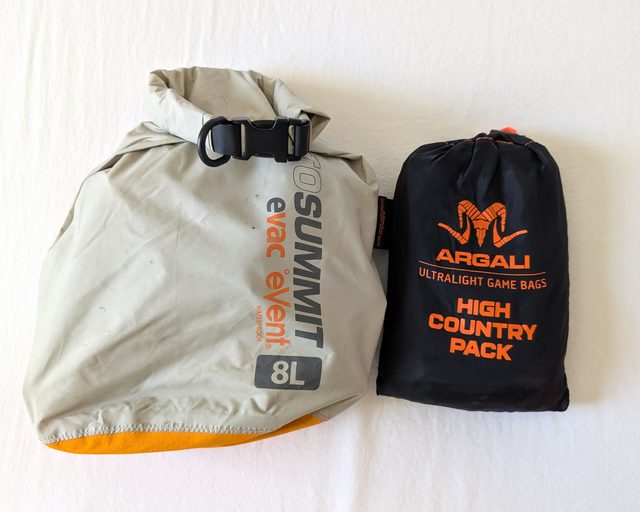
Enter the kill kit – this is where you keep all the tools you will need to get your meat (and any other parts of the animal you wish to keep) home. A kill kit is something I take with me every time I go hunting. It will have some general items as well as some items specific to the type of hunting you’re doing. I like to keep my kill kit in a dry bag. They tend to be lightweight, sturdy and waterproof, but I’ve also used zipper pouches, and some people even use a Ziploc bag. The key is that everything is bundled in one place so that once your animal is down, you can get to work without searching for tools buried in your backpack.
Cutting Tools
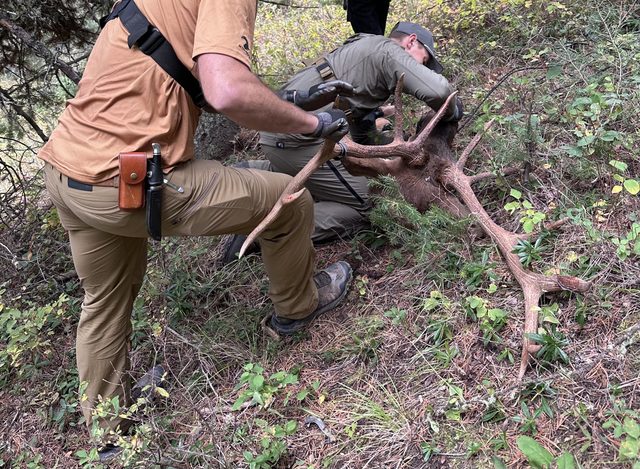
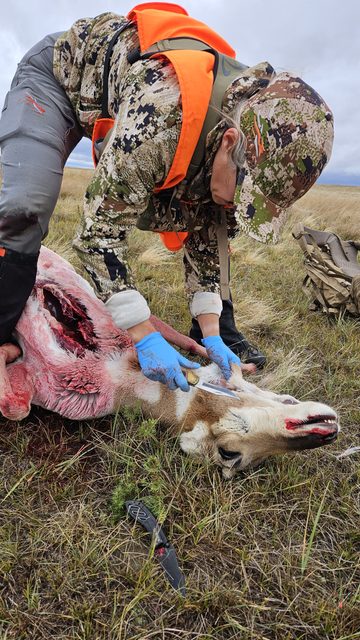
Where an animal has fallen, its size will dictate what to do next. If you can get a vehicle close to the animal, you may be able to load it whole, but you will still want to “gut” the animal or remove its internal organs. This helps to get air circulating around the meat to cool it, which will help you preserve your meat and prevent spoilage. If your animal is too big to lift or too far from a road or motorized trail, you will need to carry the meat out, often in a pack on your back. In this case, you will separate the parts of the animal into four quarters (two front, two back), cut out tenderloins and backstraps, and then trim whatever additional meat you would like or your state requires you to take. This is why your knives and cutting tools are essential investments and a staple in every kill kit.
Knives
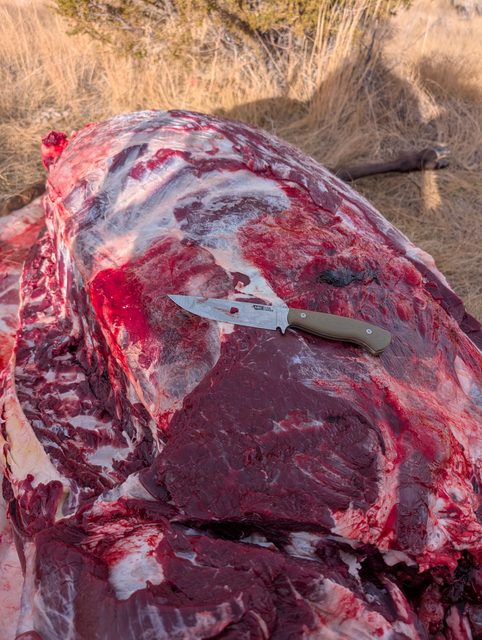
I carry both a fixed blade knife and one with a replaceable blade (with extra blades). Replaceable blades are nice because hide and bone will quickly dull a blade, and having a sharp replacement on hand makes the process move quickly and with more ease. Replacement blades are also fragile and can break on tougher jobs such as cutting around a joint or anywhere else you may need leverage, which is where a fixed blade is handy.
- Muddy Outdoors – SWAP™ 3.5″ Replace-A-Blade Knife
- HME – Replacement Blade Knife
- HME – Skeleton Fixed Blade
- Cold Steel – 3V Master Hunter
- Cold Steel – Drop Forged Hunter
Knife Sharpener
I also carry a small knife sharpener for when my fixed blade inevitably dulls. Often a minute with the sharpener gets me back on track for dressing the animal.
Small Bone Saw or Folding Saw
While not necessary, some hunters choose to carry a saw for making jobs like splitting the pelvis or removing a head for mounting quicker and easier.
Compliance Tools
All hunters must tag their animals, although when and how they do so varies by state. Some states require you to validate your tag before you leave the kill site or move the animal; others require it immediately after the kill. Once again, it’s a hunter’s responsibility to know the laws and regulations for their hunting units. I often download a copy of the regulations to have on my phone at all times even if I don’t have service. Some states allow you to validate your tags digitally with a smartphone app while other methods may require validation on a paper tag either by cutting notches on a date or sometimes filling out a portion of a form which would mean adding a pen to your kill kit. For paper tags, I like to have a small Ziploc bag to preserve the tag and protect it from moisture. I also like to snap a photo of my validated tag before I leave the kill site just in case something happens to it along the way. You also may be required to attach your tag to the animal; sometimes zip ties or electrical tape come in handy for this as well. Again, it’s important to understand the regulations before you leave for your hunt so your kill kit includes anything you may need to validate and attach your tag to your harvest.
Game Care
Gloves
Many hunters like to carry gloves in their kill kit to keep their hands clean and dry when processing a carcass. I carry disposable nitrile gloves, although latex and rubber are common too. Some hunters choose to carry long elbow-length gloves that can be useful if you’re having to reach deep into the body cavity of your animal. I tend to get very cold, so I also carry wool glove liners to go under rubber gloves for added warmth in colder temperatures.
- Mechanix Wear – Nickelbacks: 6 Mil Sweat-Absorbing Nitrile Gloves 50-BX
- icebreaker – Unisex Merino 200 Oasis Glove Liners
- Black Diamond – Lightweight Screentap Liners
Game Bags
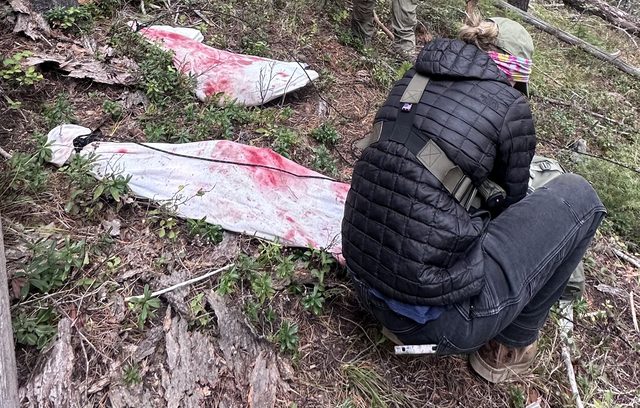
If you are packing out an animal a piece at a time, you will need game bags to hold the meat that will eventually go in your backpack. These bags are lightweight, breathable and strong, which allows the meat to cool more quickly and reduce spoilage. Most game bags come in a set of four, but I like to have five to six with me, which allows one for each of the four quarters, a bag for backstraps and tenderloins, and a bag for miscellaneous parts and trim like rib or neck meat. I prefer game bags I can wash and reuse.
Small Tarp or Contractor Bags
A small tarp or contractor bag is a great ground cover and allows you to lay your meat on the ground as you remove it from the carcass and set it aside. I will often use a contractor bag to line my pack before putting the meat in it – this allows for easier cleanup later. It’s important to note, in warm temperatures, it’s probably best to skip the contractor bag as it will delay the cooling process and could promote more moisture and bacteria growth. In that case, it’s better to preserve the meat and spend a little more time cleaning your pack out later.
Ziploc Bags
I like to bring some gallon-size Ziploc bags to harvest organs. Liver, kidney, and heart (if it hasn’t been shot) are edible and popular among hunters. Extra bags also come in handy to collect dirty gloves, knives and other tools before leaving the kill site.
Paracord
Depending on the size of the animal and hunting party, packing out all of your meat may require multiple trips. Keeping 25-50 feet of paracord in your kill kit will allow you to hang your meat bags off the ground in your game bags until you can come back for them – this allows air to circulate around the meat helping it cool quicker, and it can keep scavengers (and if you hang it high enough, predators) from claiming some of the meat as their own. Additionally, sometimes it’s helpful to tie an animal’s leg to a nearby tree when skinning or separating quarters if you don’t have an extra set of hands to help position the animal.
Odds and Ends
Field dressing an animal can take hours, sometimes leaving you in the dark, so having a headlamp and extra batteries is always a good idea. Hand sanitizer or wipes can help you clean up bloody hands and wipe down knives. A first aid kit is a pack essential whether it’s a part of your kill kit or knives. It’s easy to cut yourself when you’re fueled by adrenaline or starting to feel fatigued and working with sharp knives. Being able to stop bleeding and keep any cuts clean can reduce delays at the kill site.
- Niteize – Radiant RH1 PowerSwitch Headlamp
- Black Diamond – Astro Ops 300 Headlamp
- MyMedic – Sidekick
There’s so much preparation and planning that goes into a hunt, but it doesn’t end with the shot. It can take hours to carefully skin, quarter, and get each piece of meat packaged into game bags, and every piece of gear in your kill kit exists to make this go a little smoother. So build it, use it, and expect it to fail you a few times — that’s how it actually gets good.
About the Gear Tester
Lauren Whiddon
Lauren is happiest waking up next to an alpine lake, snacking at the summit, floating down a river, and chasing bulls and bucks in Montana's vast wilderness. When not romping around outdoors, Lauren builds websites, teaches yoga, and volunteers on an organic farm. You can find her on Instagram @laurenrose_mt.
- Lauren Whiddon
- Lauren Whiddon
- Lauren Whiddon
- Lauren Whiddon