So You Want To Transition into the Backcountry?
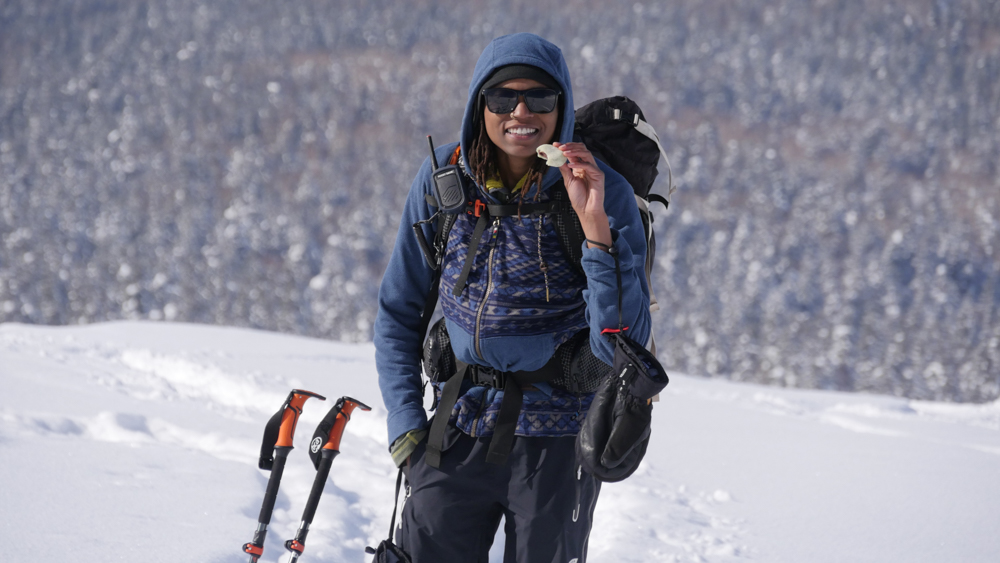
My alarm melodically sang at five AM but I was already wide-eyed with excitement thinking about the unfamiliar task ahead. The cold mountain air that crept in through my poorly crafted astro van felt different on my skin that morning. In spite of my depressed state of mind I was intentionally going to embrace life that day and hike uphill in the snow, which intimidated me. My backcountry journey did not start in the backcountry with fancy gear. It started with sheer determination to go “uphilling” at Arapahoe Basin Ski Area and to catch the sun rising over Lenawee Mountain with its grace.
Throughout the years as a snowboard instructor and more recently, touring in Japan, I’ve quickly learned the thrill and the dangers of backcountry touring. I’ve curated this guide for those transitioning from resort riding to backcountry touring. It’s also for folks seeking inspiration to step outside their comfort zone or those itching to return to outdoor adventure.
Getting Started
Why tour in the backcountry?
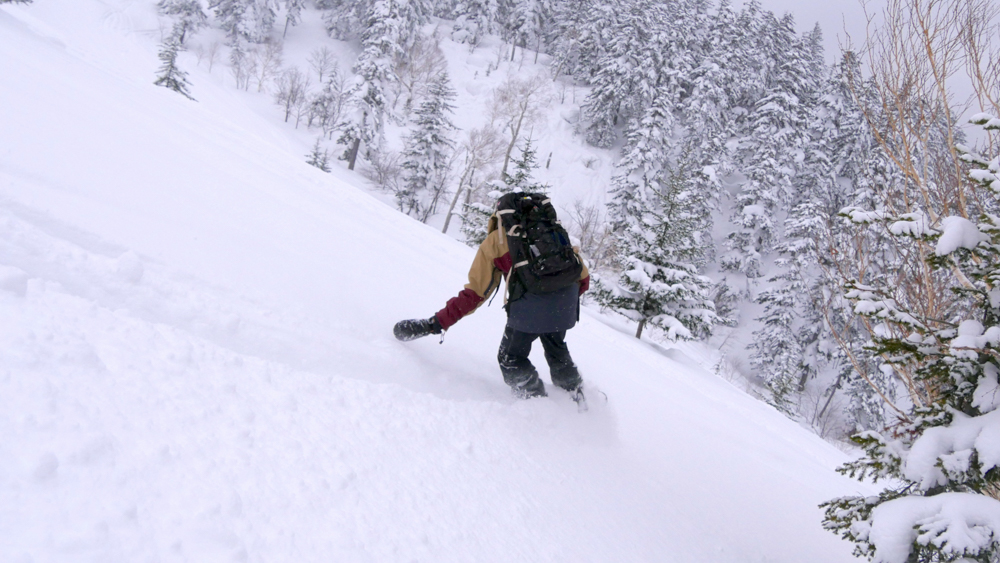
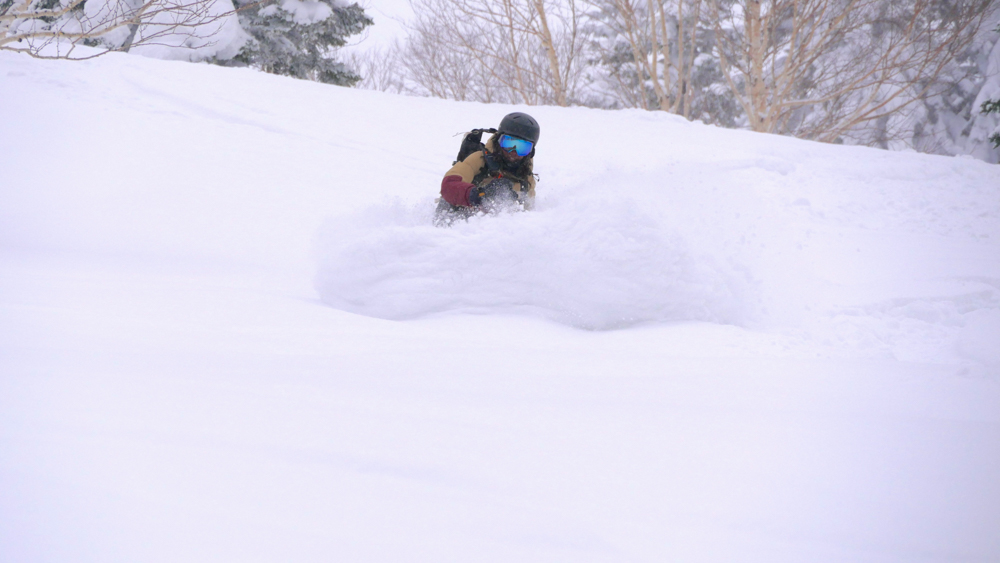
For me, snowboard touring is a test of my will and determination. It’s also a form of active meditation, a kick-ass (ass-kicking) workout, and one of the most exhilarating winter activities a human can experience. Everything—from the hairs on your head to the blood vessels in your toes—comes alive. Touch, smell, taste, hearing, and sight are heightened while plowing through untouched snow, facing danger, and maneuvering past obstacles.
The flow state is heightened in the backcountry. I love drifting through snow and radiating gratitude for being alive, for being able-bodied, and for being brave. Simply put, backcountry touring is for adventure seekers hoping to liberate their body, mind, and spirit.
Are you ready to begin? Here are some basics before starting your backcountry journey.
Bootpacking
Bootpacking is digging your toes into the snow as you go uphill. That’s it: just good ol’ left foot, right foot. This may be a difficult technique for skiers when going up extended distances since ski boots aren’t designed for walking. For softboot snowboarders, bootpacking will be a breeze. Here’s the downside: while bootpacking in the backcountry IS possible, you will sink to your knee or higher (posthole) with every step. This process becomes exhausting quickly, and you can’t get far. Bootpacking is more suitable for hard-packed snow – like fresh groomers, not fresh powder. It also helps build calf muscles (burn, baby, burn).
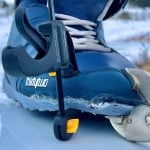
Snowshoe
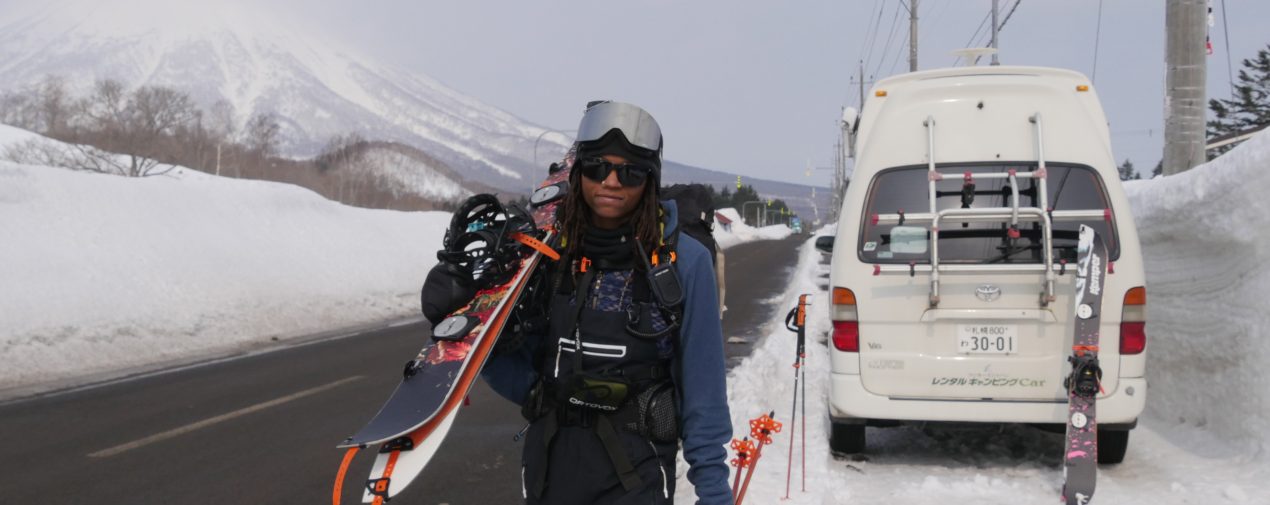
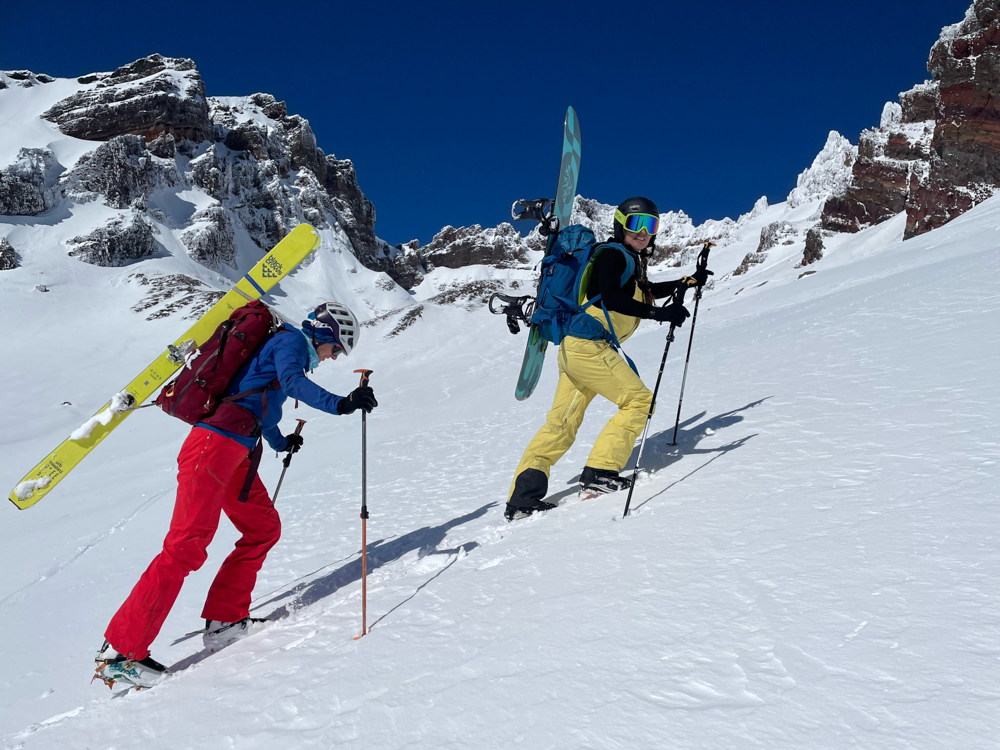
Snowshoeing is a nice in-between step before plunging into a full backcountry setup. You can strap your snowboard boots into the snowshoes for the uphill hike, which allows for better traction. The downside is riding down the mountain with bulky equipment sticking out of your backpack.
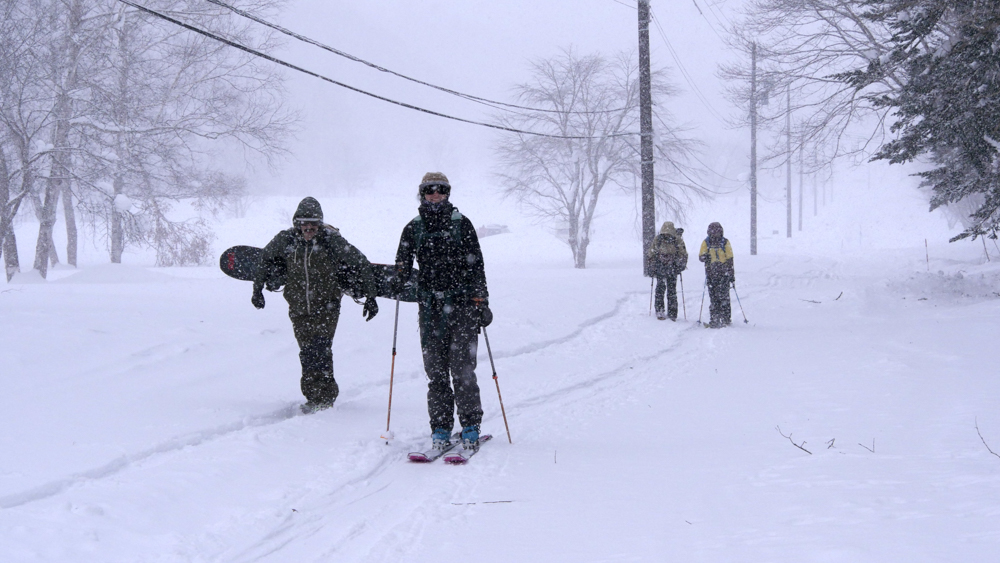
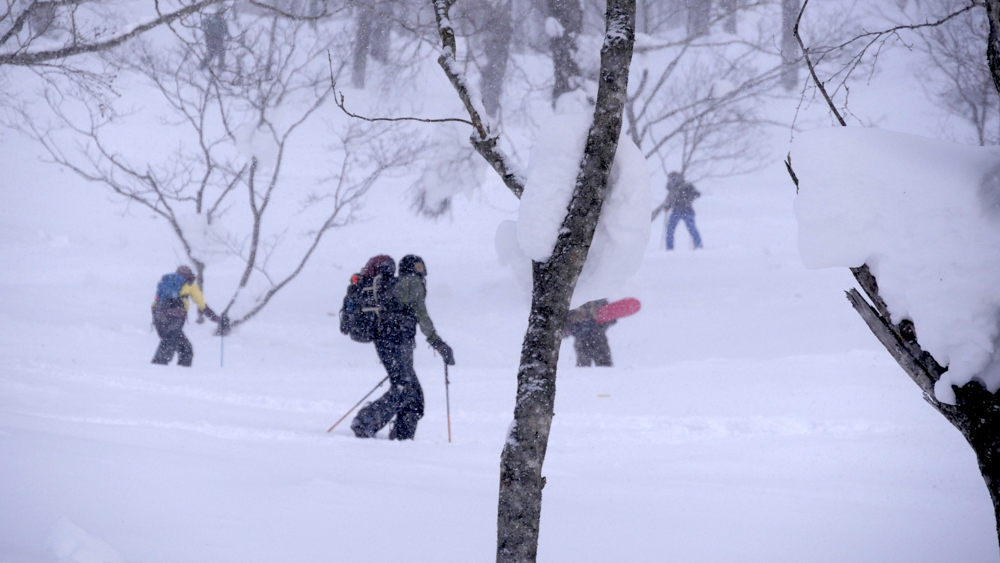
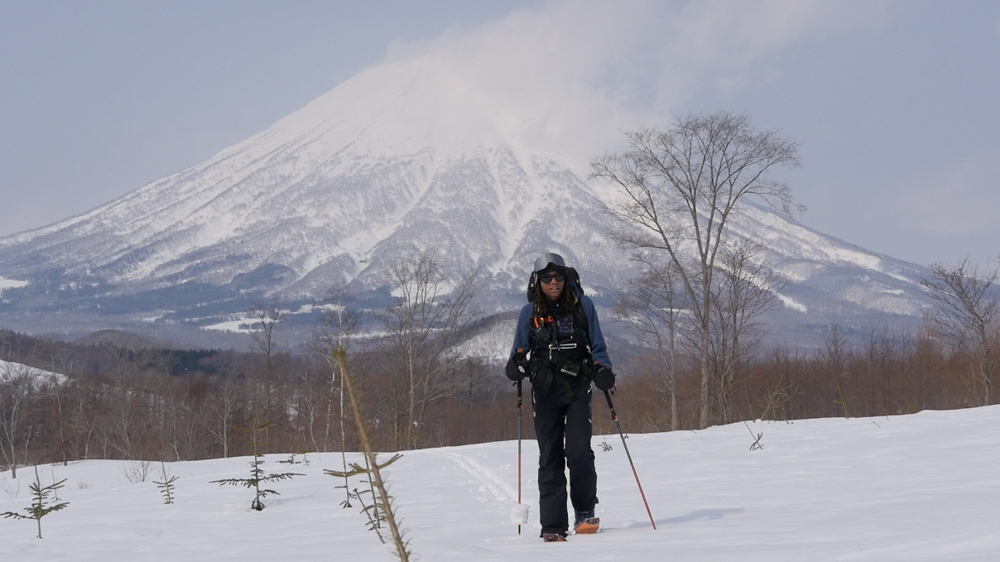
In the backcountry, you will sink significantly into the snow. I witnessed this first-hand when my friends and I visited Japan in February 2023. We were touring up Mt. Yotei, a well-known volcano resembling Mt. Fuji, and our buddy Manny used only snowshoes. With his board secured to his backpack, he kept up with the splitboarding and skier crew, but he was sweaty and out of breath. We traveled the same distance, but it was twice the effort for him. If splitboarding is out of the question for you, then snowshoes are a great alternative and are available for rent at local ski shops. Alternatively, if skiing, it may be uncomfortable to snowshoe in your ski boots, so you will need to wear snow boots and pack your ski boots, too.
Splitboard/Ski
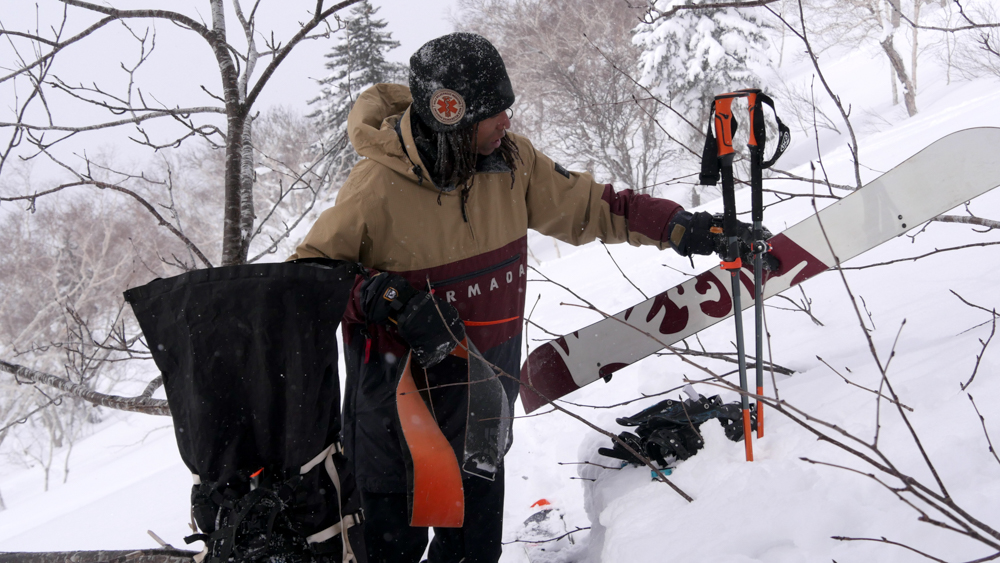
Obtaining a splitboard or backcountry ski setup is the first step in taking backcountry touring to the next level. A splitboard is a snowboard that splits in half into two “skis.” These “skis” are used with splitboard skins and special bindings to hike uphill and access backcountry terrain.
Acquiring a backcountry-specific splitboard/ski setup was a monumental moment for me, one filled with relief and excitement. After three years of boot packing and snow shoeing, I finally obtained my full setup through a sweet package deal on Denver’s Craigslist. For $900, I purchased a 147 Never Summer Aura splitboard, ThirtyTwo snowboard boots (new!), Spark R&D touring bindings/pucks, and skins. WOW!
I practiced on familiar resort terrain before heading to the big leagues. I spent months relentlessly hiking up Keystone Ski Resort twice a week. As a snowboard instructor at Keystone, I had the locker room in the morning to get ready, which helps tremendously when you live in your vehicle and want to go uphill before dawn. Most mornings in the peak of winter, I woke to 30-degree temperatures, but sometimes much colder. I was lucky to have a locker room at the resort. It was a place to get ready for difficult conditions.
After much practice, opportunity knocked. Three experienced friends, a newly acquired backcountry setup, and perfect weather conditions on Mt. Baldy came together for my first tour. I was accustomed to well-maintained and avalanche-mitigated areas. Other riders and trees had been my biggest safety concern until then. In the back of my mind, I’d trusted that ski patrol would save me if necessary. But once I set foot out of the resort and began journeying through uncharted territory, I was at the mercy of nature and the skills that my partners and I possessed.
Introduction to Backcountry Gear
Beacon/Shovel/Probe
Avalanches are becoming more prominent in Colorado due to varying weathered terrain and inexperienced backcountry tourers. A beacon is your lifeline should you or someone else ever get buried in an avalanche. If you are venturing into the backcountry, make sure you have a trustworthy partner and a beacon set to transmit for both of you at all times. Prepare for accidents; they happen in nature.
Beacon Suggestions:
Mammut / Barryvox S – The Barryvox S is a high end beacon that combines a simple interface with intricate features.With a range of 70 meters this beacon is considered one of the leading beacons on the market.
Backcountry Access / Tracker S – The BCA Tracker S is the simplest model in the BCA Tracker series and offers 55 meters of range. Includes features such as a multiple burial indicator and signal suppression mode.
Ortovox / DIRACT VOICE – The DIRACT VOICE offers breakthrough technology as the first beacon to incorporate voice navigation. It also features secondary avalanche protection by automatically switching from search mode to transmit if it detects a burial. Check out Outdoor ProLink gear tester Alli Hartz’s Dirtbag Dreams review for more detailed information.
Portable Shovel
When choosing a portable shovel, consider its weight, packability, and shape. There arecompromises to every design, so select hardware that works best for your body type. Some shovels have a “hoe mode” that allows the head of the shovel to be placed at a 90 degree angle which gives you more leverage to quickly move a high volume of snow. It is a very valuable feature on shovels. Compacted snow is extremely heavy, weighing over half a ton (1000 lbs.) per cubic meter. In many cases, you cannot crawl your way out. Survival chances decrease rapidly depending on how long a victim remains buried. You have a 90 percent chance of survival if found in the first 15 minutes.
Shovel Suggestions:
Backcountry Access / BCA Dozer 1T – A small blade shovel offering a design suitable for most people.
ORTOVOX / Ortovox Shovel Pro Light – Weighing less than a pound, the Shovel Pro Light offers compactability along with lightweight. It also happens to be the shovel I currently own.
After selecting your beacon and shovel, you will also need a probe—a long, collapsible pole.
Probe
Probes provide various uses, such as pinpointing an avalanche victim’s location. They come in various lengths, weights and materials so choose what combination works best for you. Aluminum probes tend to be more mid-weight compared to carbon but are more affordable. Steel probes provide the most precision at the expense of weight.
Probe Suggestions:
Backcountry Access / Stealth 240 – The BCA Stealth 240 is a beginner-friendly probe that packs well and is made out of aluminum weighing 8.8 oz.
ORTOVOX / Carbon 240 Superlight – Weighing only 6.5 oz the ORTOVOX Carbon 240 offers more rigidity and less weight than its aluminum counterpart.
Do your research, and don’t cheap out on obtaining essential backcountry gear—especially the beacon. It’s your most important life line.
Skins
Would you believe me if I told you I was hesitant about the legitimacy of skins? I was. But they are essential. Backcountry climbing skins are strips of material that attach to the bottom of your backcountry splitboard/ski to allow you to climb uphill with skis on your feet. Most skins attach to splitboards/skis with tip loops, tail clips, and sticky glue.
They are made of mohair (Angora goat) or synthetic material, allowing riders and skiers to defy gravity and hike mountains. I didn’t understand how my skins stopped my board from sliding backward once I planted my foot. To experiment, I stuck a skin on one stick and free glided on the other while trying to go uphill. And then I got it. The splitboard with the skin on it held traction from hairs moving against the grain. When the hairs were in the opposite direction, they moved smoothly. The concept is kind of like petting a cat. If you pet them one way, the hair feels soft. If you pet them in the opposite direction, the hair will push up and create resistance.
Skins provide you a stairway to heaven, and without them, you cannot splitboard uphill—take my word for it. Do not skimp out on skins, as they need to be repeatedly stuck and unstuck year after year. I’ve seen skins that don’t hold and I’ve seen skins that stick too well on a poorly waxed board. Do your research and read reviews before buying.
Contrary to the your-skis-are-on-the-wrong-foot joke, it’s possible to place your skins backwards. While touring Loveland Pass one day, I didn’t realize my skins were backwards until we started going uphill. I figured my backcountry technique was terrible and pushed on. I grew unbearably tired from lifting my legs and became hangry, but it was because my skins were backwards. Putting your skins on wrong at least a few times is a rite of passage.
Skin Suggestions:
POMOCA / Climb 2.0 – A mohair and nylon blend designed for great gripping, gliding and longevity.
Contour / Guide Pure (~$180 without ProDeals) – These are the skins I currently own. With 100% mohair plush, the Guide Pure makes backcountry touring easier. It offers the right balance of stick for an easy put on and peel off.
Snacks
Bring bars and G.O.R.P. When on a tour, you’re exercising heavily. Stress on the mind/body is real, and most accidents happen when blood sugar is low.
Backcountry Education
Backcountry Courses
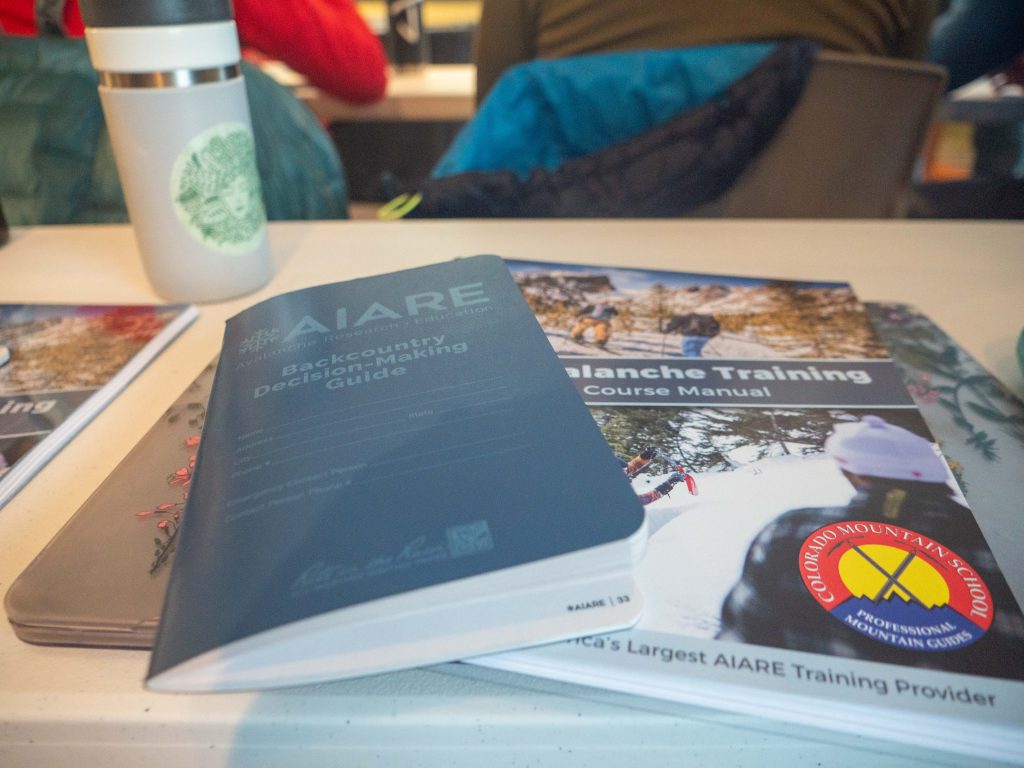
Any avid snowboarder or skier looking to venture beyond the resorts should plan to take an avalanche safety training course. These in-person, and sometimes hybrid online/in-person, courses offer fundamental knowledge in choosing, navigating and identifying avalanche terrain. You also learn more about snow science and snowpack assessment. Courses offer irreplaceable on-snow practice with qualified professionals to play out scenarios that develop decision making skills in high-stress situations. You do not want your first drill of an avalanche rescue to be real. When choosing a course, ideally you should consider taking a course in the region you will spend the most time backcountry touring in. Different regions possess different snowpacks along with other various traits.
Course Suggestions:
NOLS / Teton Valley Backcountry Avalanche Training ($2600 – $2750 for seven days) – NOLS (National Outdoor Leadership School) is one of the top outdoor education programs offering a wide variety of courses and trips for people to educate themselves along with experiencing the great outdoors.
Recreational Course Providers (roughly $500 – $800 for three days) – Course providers can include: Avalanche Education Centers, mountain guides and colleges.
Courses can be expensive so planning to save money may be necessary. There are various scholarships and grants available for those who qualify as I mention further in this article.
Educational Books
Reading educational backcountry books is a great way to learn about keeping yourself and others safe. If you can’t afford a class you can educate yourself with various references. Below is a book recommended by Arapahoe Basin Ski Patroller Benjamin DeSutter:
“Staying Alive In Avalanche Terrain” by Bruce Tremper – “It’s a great guide that is easy enough for anyone with a little bit of snow common sense can understand.” – Benjamin DeSutter, Arapahoe Basin Ski Area Ski Patroller
Getting Started
So, you’ve got your gear, but where should you go? The backcountry is like exploring a whole new universe, and you are a visitor. And how do visitors act when in a new place? With respect, diligence, and thoughtfulness. In an ideal universe, one could pick any mountain on any day at any slope angle, hike up, and then slash down. Unfortunately, that is not the reality of our universe. There are numerous factors to consider when choosing a place to tour.
Assessing The Slope Angle
Just as gravity helps us go down the mountain, the same principle applies to snow. The steeper the slope’s angle, the more gravity pulls snow down the mountain. In terms of avalanches, they are the most common on slopes 30 degrees or higher. Consider getting an inclinometer to help measure a slope’s angle.
Inclinometer Suggestions:
Backcountry Access / Slope Meter – An affordable, pocket-sized inclinometer.
SnoWander / PoleClinometer – A sticker placed on poles that measures slope angle by line of sight. PoleClinometer offers an easy, accurate and durable way to assess slope angles.
Assessing The Aspect (Slope Facing Direction)
Knowing which slope to tour varies throughout the year. This is why becoming knowledgeable and going out with experienced people is key to safety. For example, mid-winter south facing slopes in the northern hemisphere are generally the safest backcountry because they get the most sun. Their layers stabilize faster. Yet, come spring, south-facing slopes are more prone to ice in the afternoon, creating a significant safety risk of sliding down the mountain and not being able to stop.
Assessing The Difficulty
Advanced, Intermediate, and Beginner terrains still exist even though you’re not at a resort anymore. When scoping out terrain make sure you are skilled enough to handle the area as you would at a resort. If your danger senses tingle, let your group know and turn around. There is no shame in letting the group know you’re out of your comfort zone and toning down the adventure.
Assessing The Popularity
It’s not always a good idea to follow random people’s skin track because you have no idea if they know what they are doing. You’re probably safer in a well-trafficked area. If you see multiple groups ascending, or better yet, snowshoers, you can bet it is a relatively safe area. BUT STILL, never assume anything. Conduct your research before touring.
When To Backcountry
Different regions will have specific times on the best time to backcountry, but the consensus is that spring touring offers the most stable snowpack because layers begin to melt better as temperatures rise. Please note: Spring conditions do not equal invincibility.
Who Can Backcountry?
I want to say backcountry touring is for everyone, but that statement is more for the fairytale universe I mentioned earlier. There are limitations as to who can participate in the backcountry. For one, it is not lift-accessible, and there are currently few backcountry adaptive snowboard or skiing companies. Thus, those with a cognitive and/or physical disability may find it more difficult or put themselves in high danger trying to tour. Another significant factor to consider is that snow sports are already an expensive hobby, and acquiring a whole new set of gear is out of the question for some people. Additionally, you must have friends who can afford such a luxury and obtain avalanche education to stay safe. AIARE is informative yet expensive (~$700).
As intimidating as this sounds, you do not need all the fanciest gear on the first day – but DON’T skimp out on a beacon! Looking on Craigslist, Facebook Marketplace, and Outdoor Prolink can point you to reasonably priced gear. You might also seek scholarships through organizations willing to bridge the gap between underrepresented and BIPOC groups recreating outdoors.
Companies have begun waking up to the unwelcoming disparities in the outdoor industry. And some outdoor companies are striving to welcome diversity through marketing, scholarships, and DEI committees.
Scholarship Opportunities
SheJumps / Snowpack Avalanche Scholarship – SheJumps strives to bring affordable avalanche education to low-income women and women of color. The Snowpack scholarship is offered within various states to receive AIARE 1 and AIARE 2 certifications.
Backcountry Babes / Backcountry Babes Scholarship – Backcountry Babes offers partial scholarships to women taking AIARE Level 1, AIARE Level 2, AIARE Avalanche Rescue Courses and Beginner Backcountry Tours.
The Final Word
If you walk away with only one detail from this article, please remember to approach and treat the backcountry like your grandma. She’s delicate but strong. Though she may be slow-going, she can become fierce. Sometimes she might hold the key to your life. Respect her.
Frequently Asked Questions
- What are the common mistakes beginners make when transitioning to backcountry activities?
From personal experience, I have made the mistake of thinking I can’t go touring if avalanche danger is high. When conditions aren’t pleasant you can still tour in non-avalanche terrain and have a good time. Proper layering is also critical when backcountry touring because you most likely will sweat and have moments of being still (like transitioning). Wearing sweat wicking t-shirts is crucial since it’s cold outside and wet gear from sweat can make you colder. As always, pack lots of snacks. It’s cold and you’re working out. Your body really needs the calories.
2. How can I find reliable backcountry partners or groups to explore with as a newcomer?
My backcountry partners were also my co-workers at some point while working at ski resorts. If you aren’t tied to the industry, then try to google “backcountry snowboarding groups in ____.” In this day and age, if you search it on google you’ll find what you’re looking for. The snow community is a very friendly one. There are many clubs or organizations created because the snow community knows these types of activities are best shared. Specific groups like LGBTQ, or all women, are also out there, so be sure to include those keywords in your search if that’s important to you.
3. How do I select the right gear for different backcountry conditions and activities?
I personally bring all my gear every time I tour unless it is spring then I will leave my waterproof snowboard shell behind. In Spring, I bring a rain coat and a small umbrella for spring showers. The reason I bring all my gear every time is because mountain conditions can change at any moment. It can start out sunny and, in a moments notice, become cloudy and cold. Being prepared for any situation ensures you have the best time while touring. As my good friend says, “there’s no such thing as bad weather, just bad preparation.”
About the Gear Tester
Amber Davis
- Amber Davis

- Amber Davis

- Amber Davis
- Amber Davis

- Amber Davis
- Amber Davis

- Amber Davis
- Amber Davis

- Amber Davis

- Amber Davis
- Amber Davis
- Amber Davis
- Amber Davis
- Amber Davis

- Amber Davis
- Amber Davis

- Amber Davis
- Amber Davis
- Amber Davis
- Amber Davis
- Amber Davis