So You Want to Go Backpacking
There is no wifi in the backcountry, but I promise you’ll find a far better connection out there. Backpacking isn’t just an outdoor activity; it’s a life-altering invitation to strip away the noise and reconnect with the land, yourself, and the people beside you.
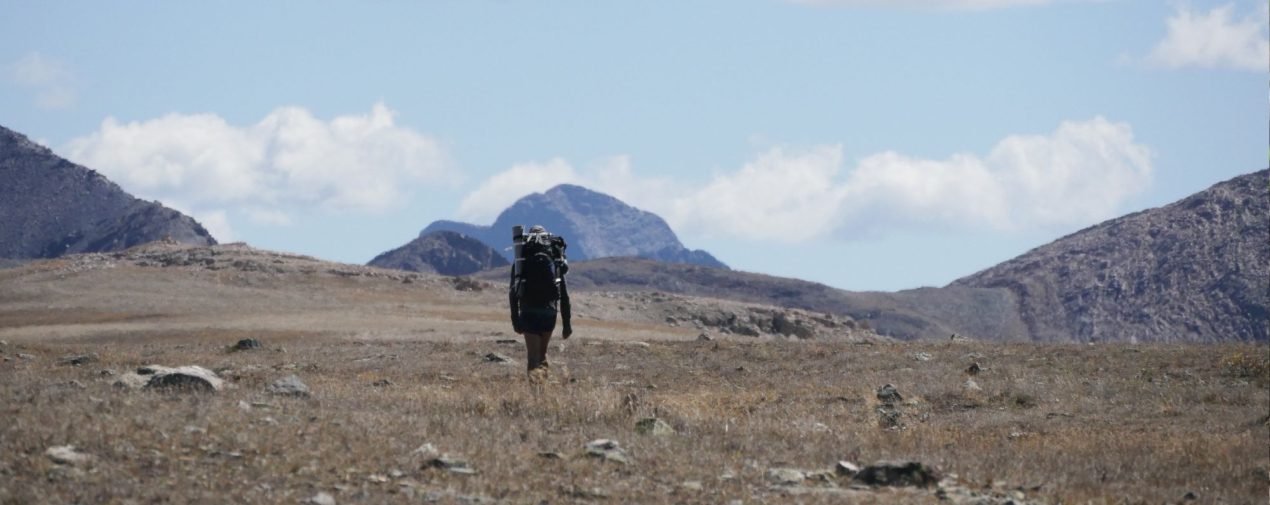
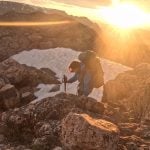
In April of 2020, I took my first backpacking trip. While the rest of the world was beginning to stand still due to covid, my hiking partner and I decided to trek the West Rim of Zion National Park in Utah. Seven miles in, we pitched our camp under the sprawling branches of a massive tree. When we woke up the next morning and began our hike back, we realized the entire National Park was completely empty! It had been shut down overnight. Having one of the world’s most famous landscapes entirely to ourselves is a moment I will never forget.
Since that quiet spring morning in Zion, I have spent countless nights under the stars. I’ve gone on to lead expeditions as a NOLS backpacking instructor, worked deep in the woods as a wilderness therapy field guide, and logged numerous miles on personal trips.
Whether you are a complete novice or looking to take your first steps off the paved trails, here is a practical guide to trading your screen time for trail time.
Backpacking vs. Hiking
While hiking is a wonderful day-use activity, backpacking is an overnight expedition. The moment you intend to spend at least one night in the wilderness and carry everything you need to survive on your back, you have crossed over into backpacking.
Of course, regardless of which activity you choose, there are a few safety non-negotiables. Even on a short afternoon day-hike, a basic first-aid kit and an emergency headlamp should always live at the bottom of your pack.
Where to backpack?
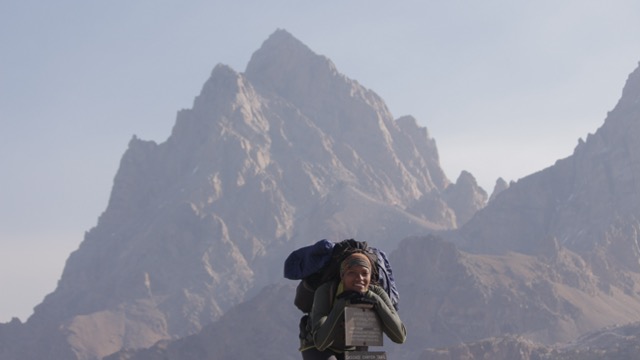
If you’re just starting out, the world is your oyster, and you really are the pearl!
Start local. Choose a longer trail close to home where you can test your gear, get a feel for the weight of your pack, and easily bail if things go…downhill. Once you build confidence, you can work your way up to state parks, national forests, and public lands. I chose Zion National Park as my first trip because I had an experienced person to go with.
Wherever you decide to go, pick a route, stick to it, and always let someone back home know your exact itinerary. We don’t plan to have accidents, but when you are miles deep into the backcountry with no cell service, a minor slip can quickly turn life-threatening.
Finding the Perfect Campsite
When it’s time to call it a day, don’t just throw your pack down anywhere. Consider these golden rules for picking a safe sleep spot:
- Find flat ground: Your hips and your camp stove will thank you.
- Look up for “Widowmakers”: Never camp directly under dead trees or hanging branches. They are called widowmakers for a reason.
- Scan the ground: Check the immediate area for anthills before laying down your shelter.
- Practice Leave No Trace (LNT): Avoid setting up camp on sensitive areas, camp at least 200 feet away from trails and water sources, and steer clear of fragile biological occurrences like desert cryptobiotic soil.
When to go?
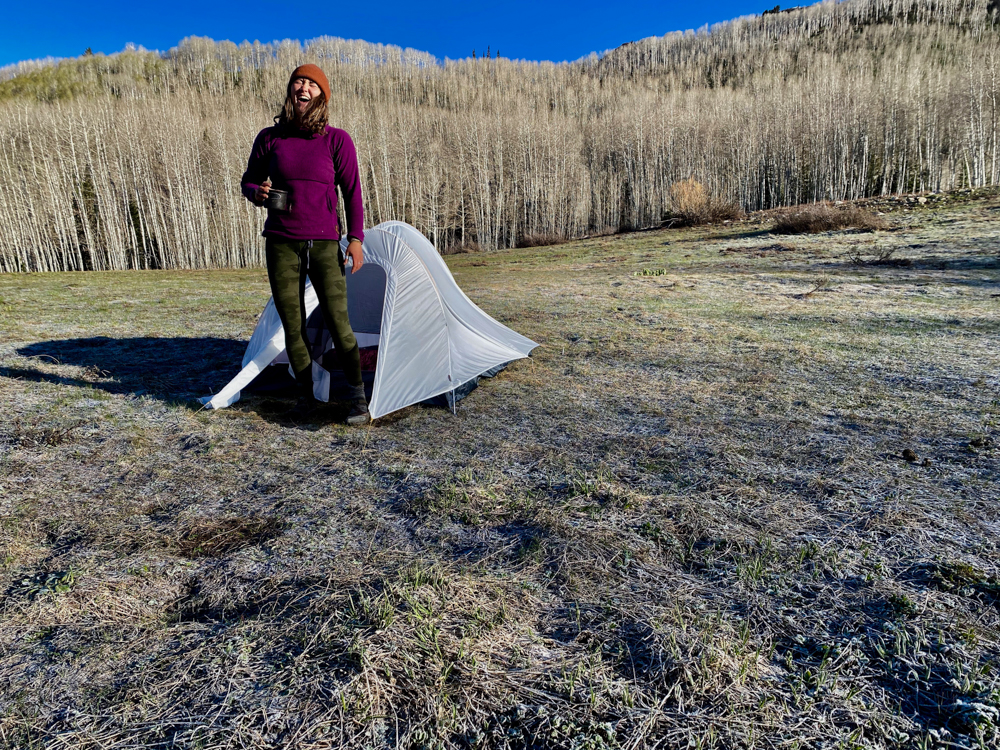
Technically, you can backpack year-round, but summer and early autumn are the golden windows.
- Summer & Fall: Friendly weather, predictable water sources, and lighter packing lists.
- Spring: Highly variable. Depending on your elevation, you may encounter lingering deep snow, muddy trails, and sudden cold snaps.
- Winter: Beautiful, but the risks increase exponentially. You are dealing with cold-weather injuries, heavy snow travel, and the physical exhaustion of melting snow for drinking water (which can easily drain your stove fuel if you don’t pack extra).
How to do it?
1. Packing (The NOLS ABCDEs)
At NOLS, we teach a simple acronym to help students pack their bags efficiently. Think of your gear as “water” (squishable items like sleeping bags and clothes) and “rocks” (rigid items like stoves and cups).
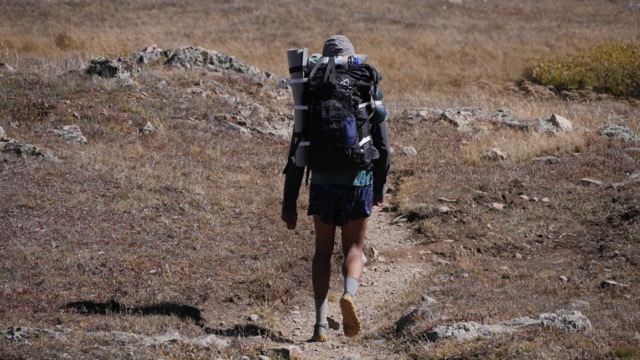
- A – Accessibility: Pack what you don’t need until camp (sleeping bag, warm layers) at the very bottom. Keep highly accessible items (rain gear, headlamp, snacks, first aid) right at the top.
- B – Balance: Keep the heaviest items centered and close to your spine. Make sure the weight is evenly distributed so your pack doesn’t pull you to one side.
- C – Compression: Push down your gear to eliminate “dead space.” Wrap your soft “water” items tightly around your hard “rock” items to create a solid, compact load.
- D – Dry: Line the entire inside of your backpack with a heavy-duty trash bag before packing. If you fall in a creek or get caught in a downpour, wet gear in the backcountry can quickly lead to hypothermia.
- E – Everything Inside: Keep your gear inside the pack. Loose water bottles or sandals dangling on the outside are easy targets for grabbing tree branches, which can throw off your balance or leave you empty-handed.
2. Water Treatment
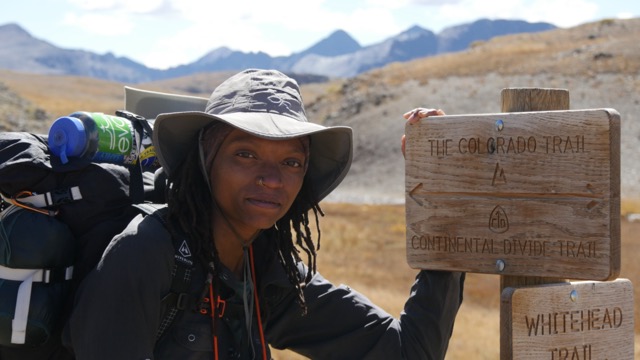
Sweating under a heavy pack means hydration is a high priority. Start your trip with at least two liters of clean water. When refilling on the trail, try to always pull from a running stream rather than stagnant pools whenever possible.
While backpacking in Bears Ears National Monument, the only water source near our break spot was a stagnant, lukewarm pothole. It was filled with tiny swimming bugs and floating sediment, but since it was the only water for miles, I had to make it work. Aquamira, a packet of Gatorade powder to mask the taste, and closed eyes were the only way to gulp it down. I don’t recommend it, but in the backcountry, sometimes you have to drink what the wild gives you.
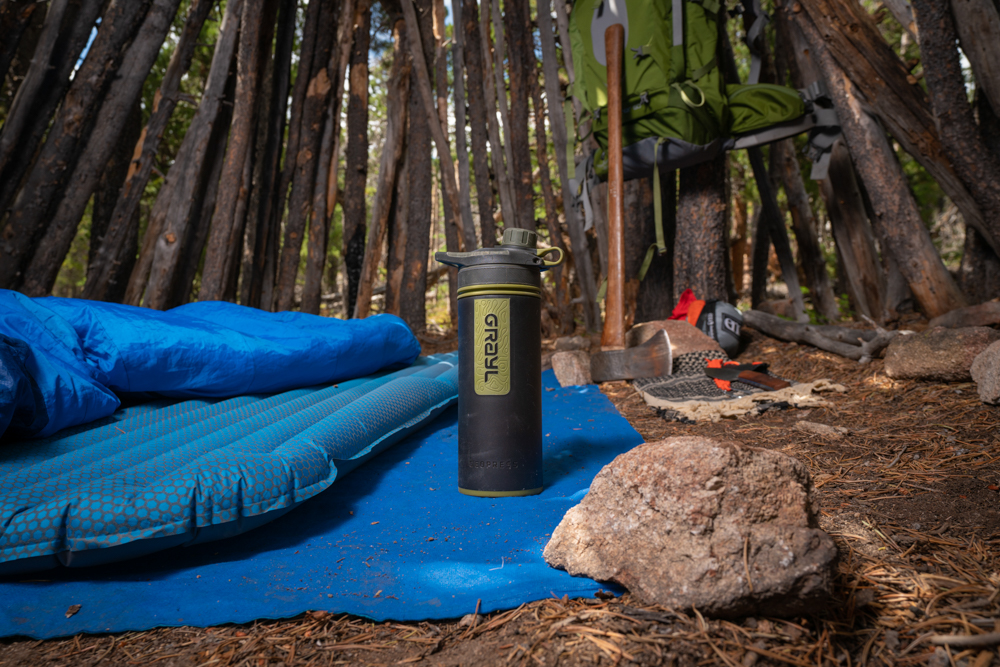
To make it safe to drink, you have options: gravity filtration systems (great for groups), Aquamira chemical drops (lightweight and reliable), or UV purifiers.
3. “Facilitrees” (Going to the Bathroom)
Yes, you have to go outside. For urinating, simply find a spot away from trails and water sources (women should consider a reusable antimicrobial pee cloth like a Kula Cloth).
For solid waste, you will need a small trowel to dig a “cathole” at least 6 to 8 inches deep. Do not bury your toilet paper. Animals will smell it, dig it up out of curiosity, and scatter it. Always bring a sealable plastic bag (wrapped in duct tape for privacy) to pack your used toilet paper out with you. Pack it in, pack it out.
4. Food
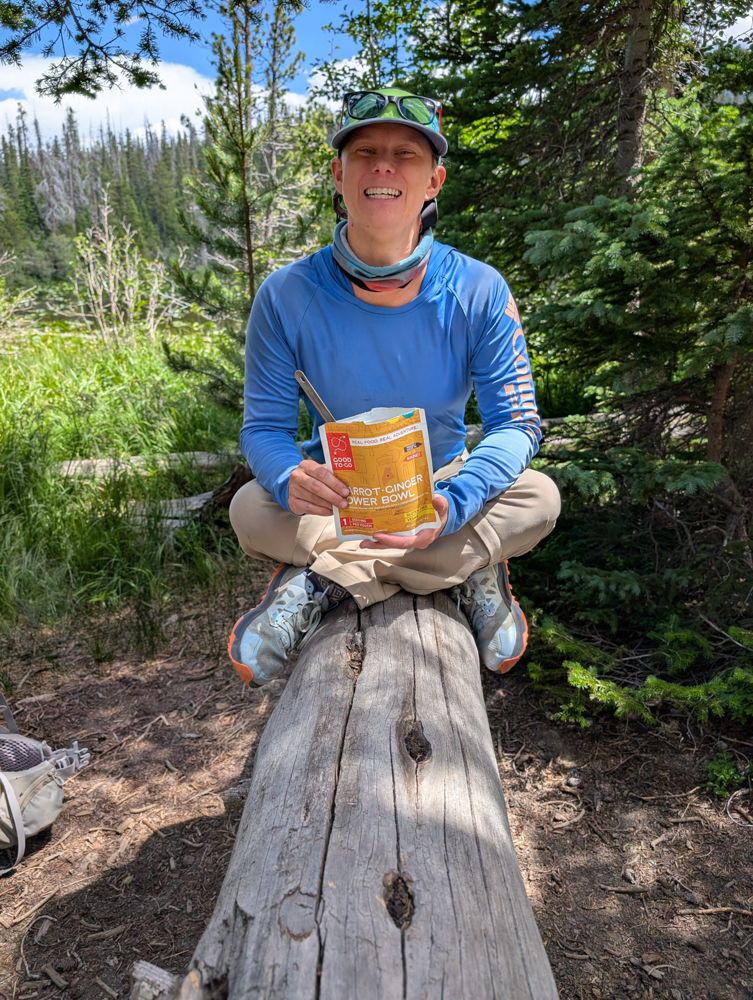
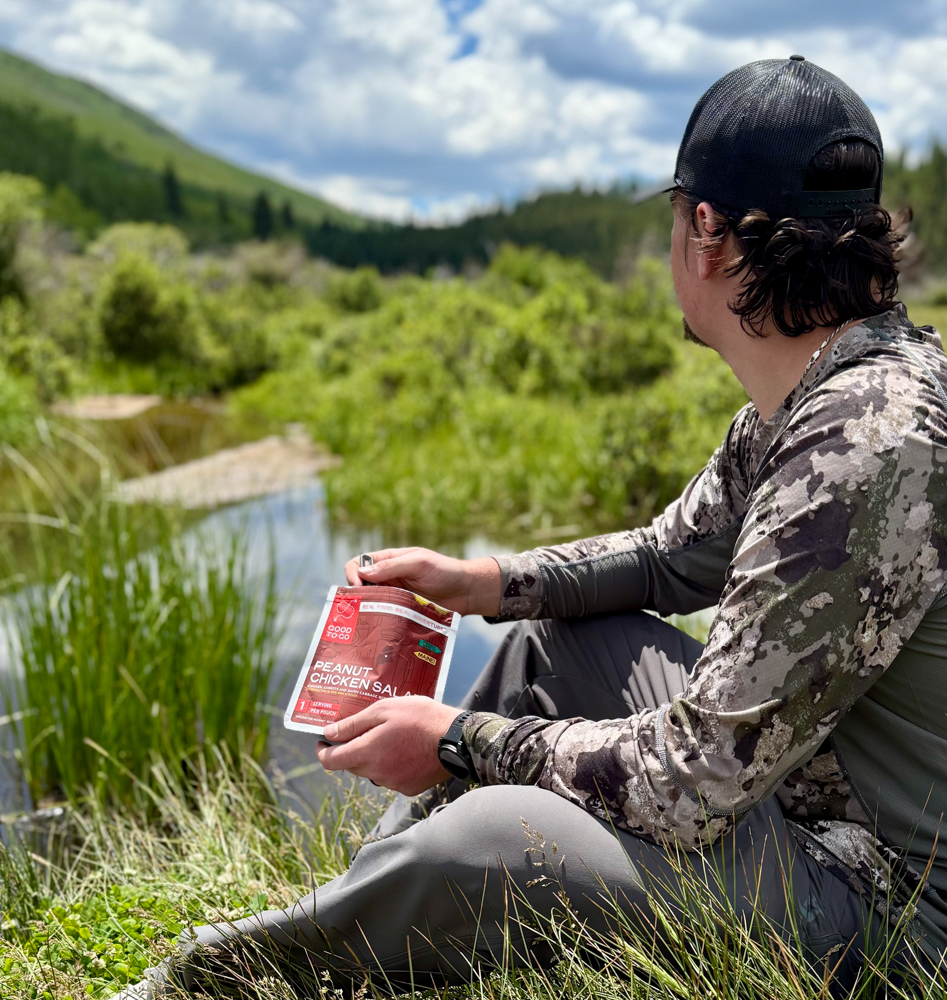
You need dense, high-calorie foods to keep your internal furnace burning, especially to stay warm at night. Focus on high carbohydrates and healthy fats like butter, olive oil, and nut butters.
An example:
- Breakfast: Oatmeal loaded with peanut butter and dried fruit.
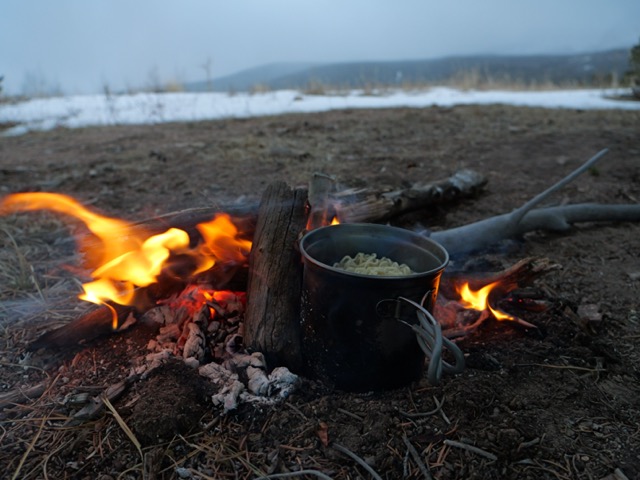
- Dinner: Ramen noodles supplemented with a heavy pour of olive oil or packets of tuna.
- Stove Gear: You’ll need a compact canister stove, a lighter, a single pot, and a utensil. Keep it light and simple.
5. Shelter
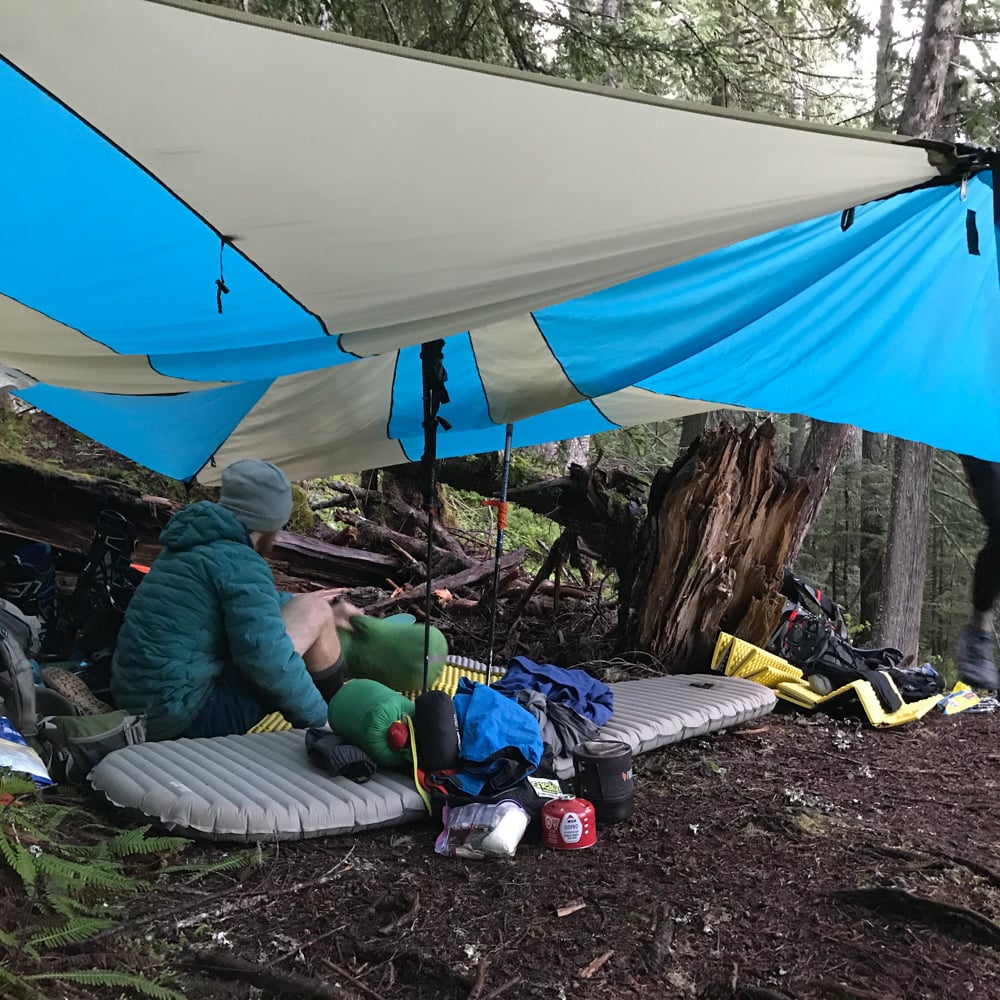
You might be surprised to learn that you don’t actually need a tent. On my very first backpacking trip, and for years afterward, I never used one. I prefer “cowboy camping,” which means sleeping directly on a ground tarp under the open sky, or pitching a simple A-frame tarp. There is nothing quite like waking up at 2 AM to a clear view of the Milky Way winding across the Utah sky.
If you do choose a tent, invest in a dedicated, lightweight 3-season backpacking tent. Your spine will thank you for keeping the weight under three pounds.
Why put yourself through it?
Sleeping on the ground with nothing but miles of wilderness around you does something profound to the human psyche. It resets an overworked nervous system, strips away the daily digital static, and forces you into the present moment. If you want help unplugging while at home – check out my article So You Want to Unplug?
Backpacking is a beautifully humbling experience. It reminds us of how comfortable and convenient our modern lives have become, making us realize that everything we truly need to survive can fit right on our backs. Out there, meals taste better because you earned them. And when things don’t go according to plan, you learn to adapt, breathe, and keep walking.
You don’t need to be an expert to take the first step. You just need the willingness to step out of your comfort zone and let the wild teach you the rest.
About the Gear Tester
Amber Davis
- Amber Davis
- Amber Davis
- Amber Davis
- Amber Davis
- Amber Davis

- Amber Davis
- Amber Davis
- Amber Davis
- Amber Davis

- Amber Davis
- Amber Davis
- Amber Davis
- Amber Davis
- Amber Davis
- Amber Davis
- Amber Davis
- Amber Davis
- Amber Davis

- Amber Davis
- Amber Davis
- Amber Davis
- Amber Davis
- Amber Davis