Carabiners 101
The Basics
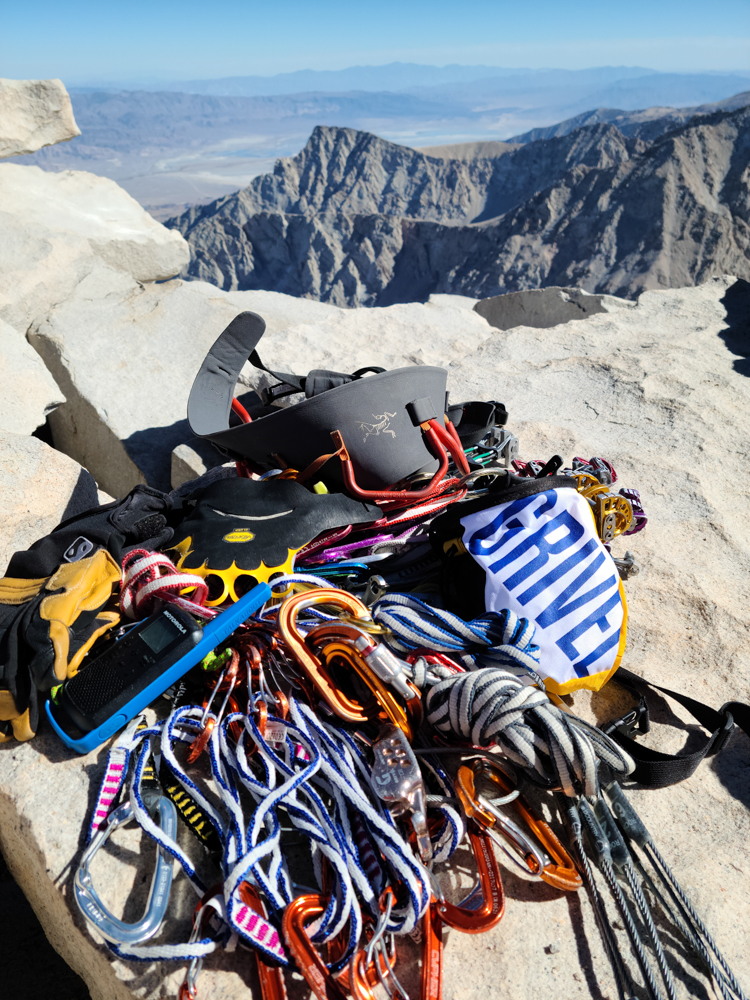
Try this for your next climbing group icebreaker: “If you were a carabiner, which one would you be?”. Some people might not have much preference, or maybe they are just sad little boulderers who don’t know what carabiners are, but for the climbing community at large there is no more iconic piece of gear than the humble carabiner. Maybe your carabiner would be some sporty, racing bentgate built for overhanging limestone caves. Or a rusty old oval for crusty sierra climbers to clip on their pitons. Dare I even mention the Amazon “not for climbing” carabiner you secretly keep in your pack? The point is, while the important parts of a carabiner are that it opens, closes, and sometimes locks shut, the different styles out there can actually have vastly different performance and uses.
Nomenclature/Anatomy of a “Krab”
Let’s start at the beginning with some basic terminology so that no one gets lost along the way. I’ll dive deeper into what some of the words mean for carabiner purposes along the way. But, for now, I want to make sure we can all picture the same carabiners in our heads as we talk about their different uses. First on the list is my choice of slang for carabiner, a “krab”. Why krab you ask? Well because it is old school, way more underground, and avoids apparent issues with the commonly used “biner” that may or may not have racial connotations/controversy. So start using krab just so you can sound cool, unique, and show up your friends at the crag. Below is a list of other terms I may throw at you along the way:
- Gate = a spring tensioned arm that allows entry and exit to the carabiners frame. (See how fancy I made that sound? That’s what four unused years of engineering school will get you.)
- Spine = The straight section of the frame opposite the gate. The spine provides the main strength of the carabiner and helps define the direction of best loading.
- Axis = the direction of best loading for the carabiner, determined by the spine.
- Basket = the wide sections of the frame where connected objects lie when loaded. The major basket is wider and at the front of the gate, and the minor basket lies at the back of the gate.
- Nose = the end of the carabiner frame where the gate arm connects when closed.
Locker vs. Non-locker
One of the simplest distinctions between our krabs is if locks or not. Non lockers are probably the most frequently used carabiners since we have them on all of our quickdraws and cams that are placed along the way as we climb. They are prized for their light weight and ease of use, but only in series where the failure of one can be backed up by a succession of prior placements further down the chain. For the important parts of our climbing system, we always rely on locking carabiners. The obvious answer as to why we use a locking carabiner in these positions (generally the belay and anchor) is that these are critical points, and we don’t want the gate opening and the rope slipping out. But is the rope slipping out really much of an issue? If someone were to fall, wouldn’t the rope be pulled into the basket and any chance of it coming out would essentially be negated? Well, while keeping things inside the carabiner may be one of the functions of a locking gate, perhaps more important than that is keeping the gate shut for strength purposes. Remember those silly little numbers and symbols on the side of your carabiner? It turns out that if the gate of the carabiner is open, the frame itself loses about two thirds of its strength, even when loaded in the proper direction. This means that when you whip on to your quickdraw and the gate gets pushed open on that little flake of rock it was leaning against, it will take significantly less force to break the poor thing.
The Frame or “Chassis”
Carabiners come in all shapes and sizes, although nearly all the variety is in the locking ones. Most people are probably aware of the differences between a D-shaped carabiner, an oval, and pear-shaped (a.k.a. HMS) carabiner. But the purpose of those specific shapes can be a bit more of a mystery.
Oval Shaped
Beginning at perhaps the oldest of designs, the oval shaped carabiner can be seen in climbing films a good century old, and yet it still holds up and has its purposes in modern use. The design is easily identified by both the spine and the gate being straight, while both baskets are equally sized and curved. The design is symmetrical on both axis, and gives the carabiner its unique advantages. Since it is so symmetrical, there are no corners or acute angles for things to get trapped down into, meaning this carabiner is impossible to cross-load. Cross-loading is when the force is applied perpendicular to the main axis that is designed to take force, and in this orientation carabiners have only a fraction of their normal strength. It can also be useful when you want to spin things around its length, so it is popular as a racking carabiner for a set of nuts or when aid climbing to allow daisy chains to lift when high-stepping.
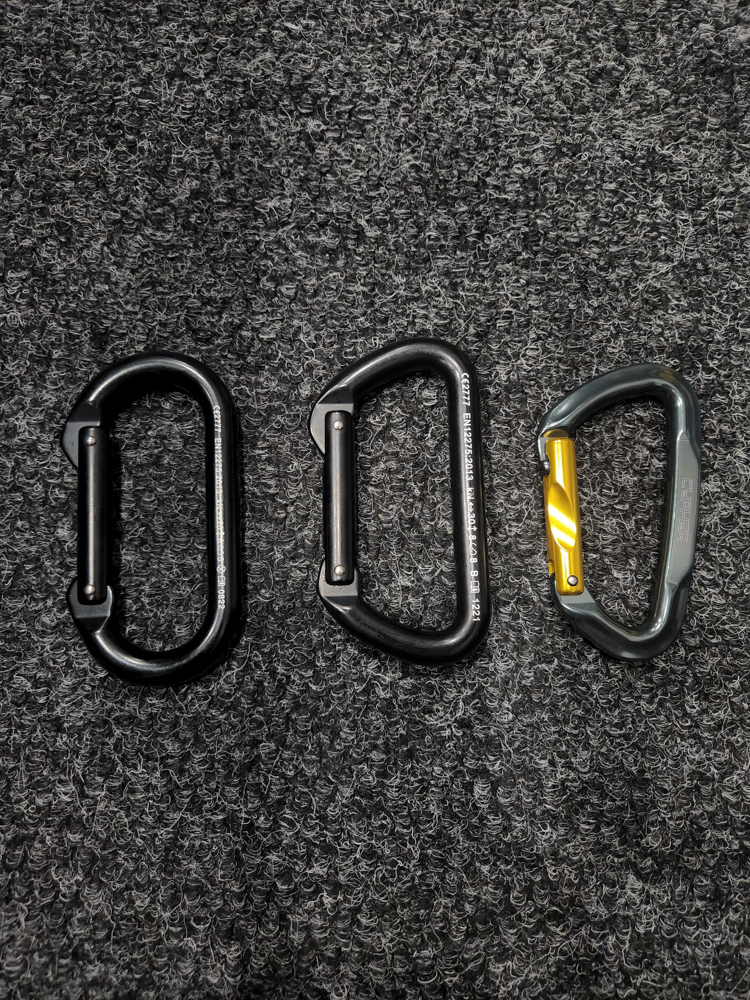
D-Shaped
From the oval carabiner, you get its squashed cousin, the D-shaped carabiner. The most significant difference here is that the spine side of the carabiner is longer than the gate side, which pushes the focal point of each basket into a corner on the spine side. Focusing the baskets down to corners allows the carabiner to reduce how much material is needed to reach the same strength, and more modern iterations of this design have a smaller minor basket for similar reasons. It’s important to note that certain climbing devices don’t work well and probably shouldn’t be used with this style of carabiner. A great example is progress capture devices like the Petzl Micro Traxion, which has a wide clip in point that, when shoved into the corner of a D-shaped carabiner as load is applied, is deflected to one side and causes issues with the device’s performance and safety.
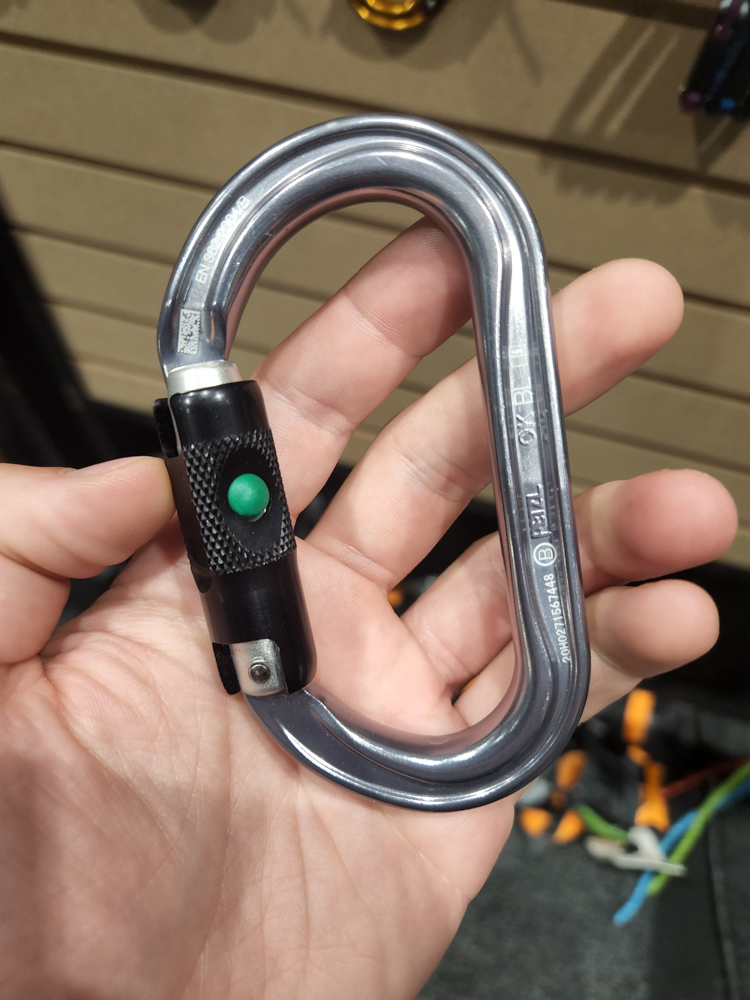
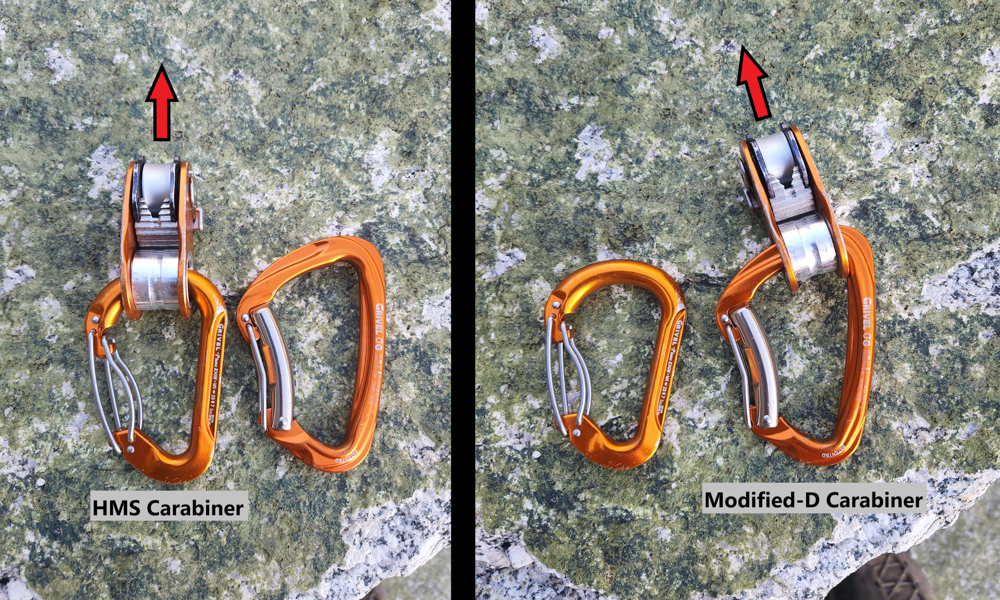
HMS/Pear Shaped
Pear-shaped/HMS carabiners are mostly used at anchors and belay stations. This is because they have an incredibly wide basket that better facilitates multiple or wider applications of load. Wider loads could be things like clove or munter hitches, and rappels with two strands of rope in the system. They also work well as a master point carabiner when you need to attach multiple other carabiners at a belay. One of their greatest downsides is that they are prone to cross-loading. This happens because the front corner of the major axis where it meets the gate can trap one of the attached objects, while the opposing object is held in the acute angle of the back corner of the basket. To prevent this, some carabiners have “keeper” gates in the minor basket and/or horns of metal on the outside of the major basket’s back corner to prevent certain belay devices from rotating past it. Both of these features reduce the overall ease of use for the carabiner, and are generally only used for designated belay devices.
Materials
Within each of these shapes, there is another, often overlooked characteristic. All of these designs can be made up of either bar-stock or i-beam, referring to the cross sectional profile of the frame itself. Bar-stock carabiners are round, and have a continual circumference of metal which improves friction, performance, and durability. I-beam frames have sections of metal removed from the center of the bar, and maintain wider surfaces where loads will be applied. This removal and focusing of the metal allows for significantly less material which saves weight at the cost of durability. Some krab designs utilize a hybrid model, with i-beam construction along the spine and minor basket where durability isn’t as necessary, but the material expands to bar-stock at the major basket to maintain a healthy life span in that high-work zone.
As far as actual materials go, virtually all climbing carabiners will be made of aluminum, since steel is much heavier and provides strengths far above what is necessary for most climbing uses. There are instances of hybrid carabiners in the market, where similar to krabs with bar stock on the basket, hybrid carabiners will have a small insert of steel into the basket to greatly improve its durability. The overall strength of the carabiner isn’t changed on these types however, as the majority of the frame is still aluminum and would fail long before steel under strain.
I’m not really even going to address the old myth about microfractures here, because I think at this point we all know the only realistic durability issues that affect carabiners are burrs from friction on the basket, and seizing of the mechanical parts.
Gates/Locks
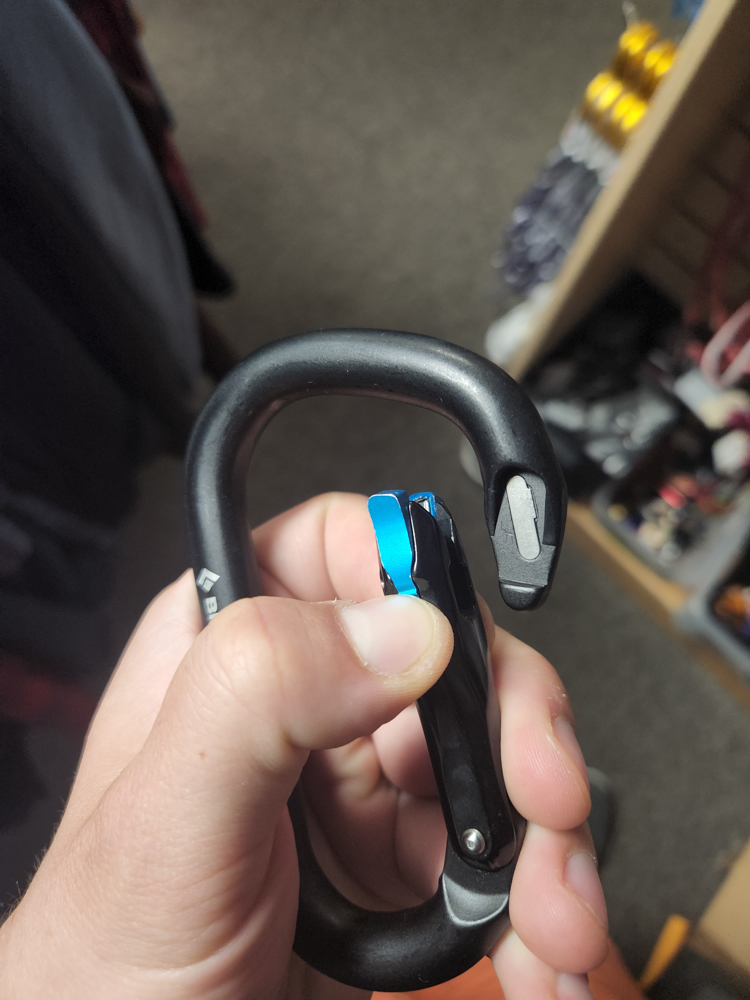
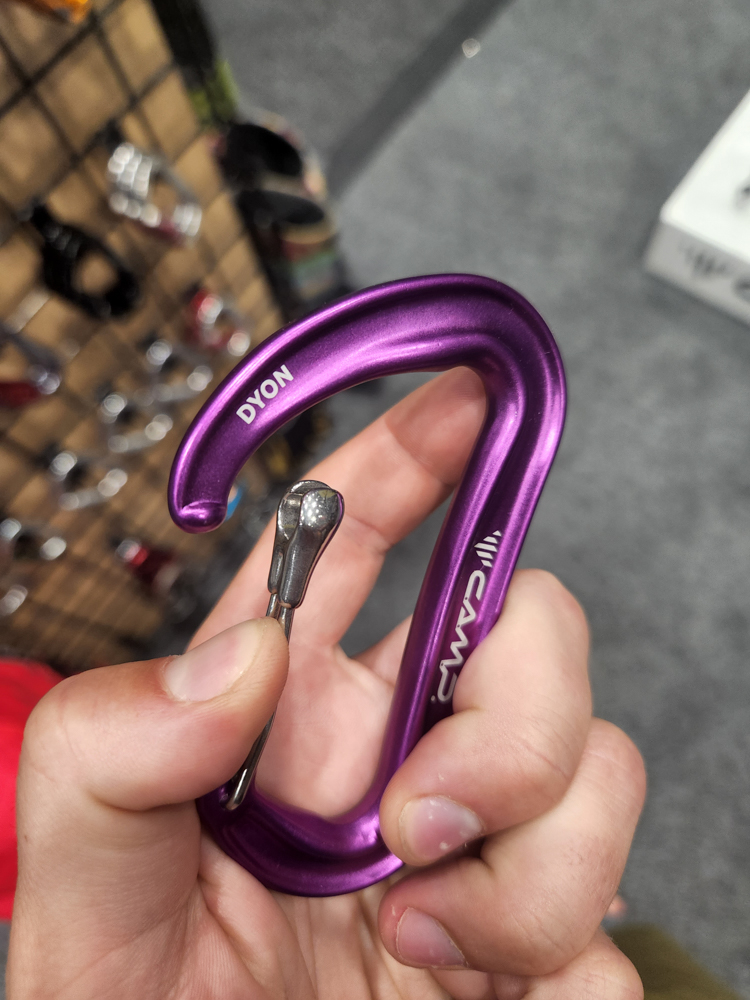
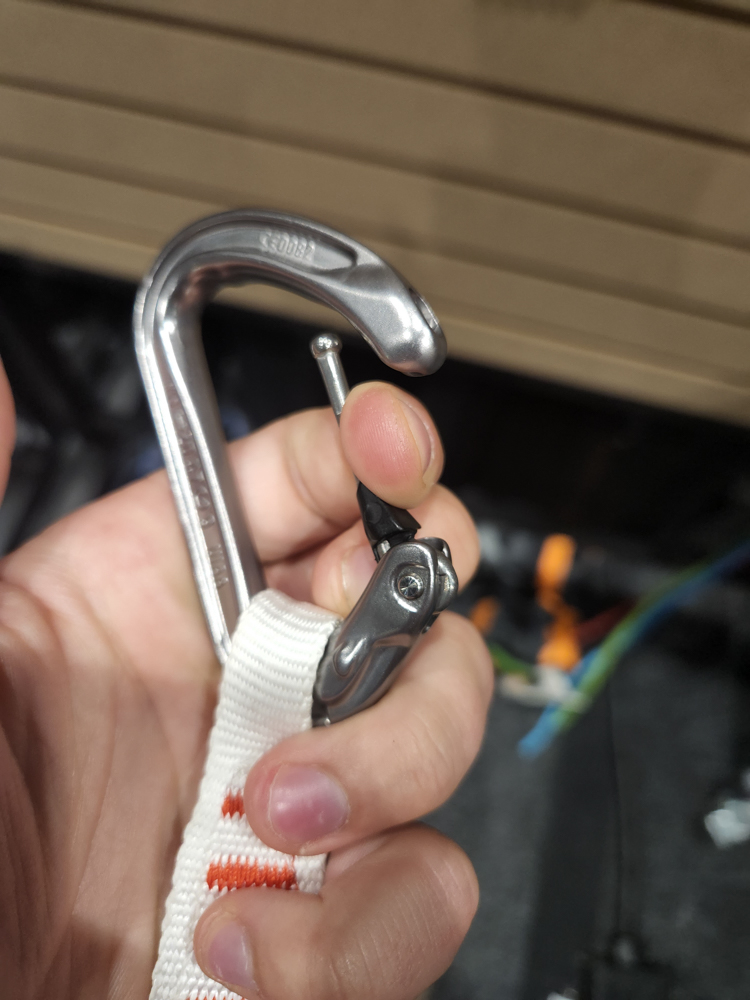
So let’s talk about different gate types. To start off, we need to distinguish between solid and wire gates. Wire gates are pretty easy to identify from name alone, and obviously add less weight. This lower weight can add up across a rack of quickdraws to really save you pack pain on the back, but it also comes with the added benefit of being less likely to freeze shut in snowy or icy environments. The large downside to wire gates is that they normally require a hook on the nose of the carabiner to close them in, which can snag easily when clipping things in and out. Several brands have creative solutions that create “snag-free” wiregates, but they are generally significantly more expensive.
Solid gates come with their own advantages and disadvantages. The solid stem of the gate allows for a surface to put textures on that make clipping the rope easy when you are pumped and scared, and most modern solid gates have snag-free or “keyhole” noses. The downside of the added mass at the gate is not just weight on your back, but some studies have shown that when impacted quickly along the axis of the gate opening (i.e. whipped into the wall as you fall) the added mass of the gate can cause it to slightly open, which can momentarily compromise the strength of the carabiner. It’s probably a fraction of a percent chance that this might happen, but it is mentioned from time to time by AMGA super-nerds.
When it comes to locks, I am sure we are all familiar with the standard screw gate system, but there are many more options that offer varying levels of security and useability. The level above screwgates is populated by locks that don’t require a lengthy screwing process, and are consequently lumped into the category of autolockers. Autolockers generally require one or two actions to be completed before the gate can be opened, and since opening the gate is an action of itself, the certification powers that be have decided to call these styles dual-action and tri-action respectively. A common dual-action is a beefy looking sheath around the gate that requires a twist before opening. That platform is often built on to become a tri-action, with a press of a button or a lift of the sheath required before the twist and open process. Other autolocking actions include pulling a slider, pinching magnets, and operating twin-gates. Now here is where I need to pull aside for a quick second and get on my personal soapbox about twin-gate auto lockers.
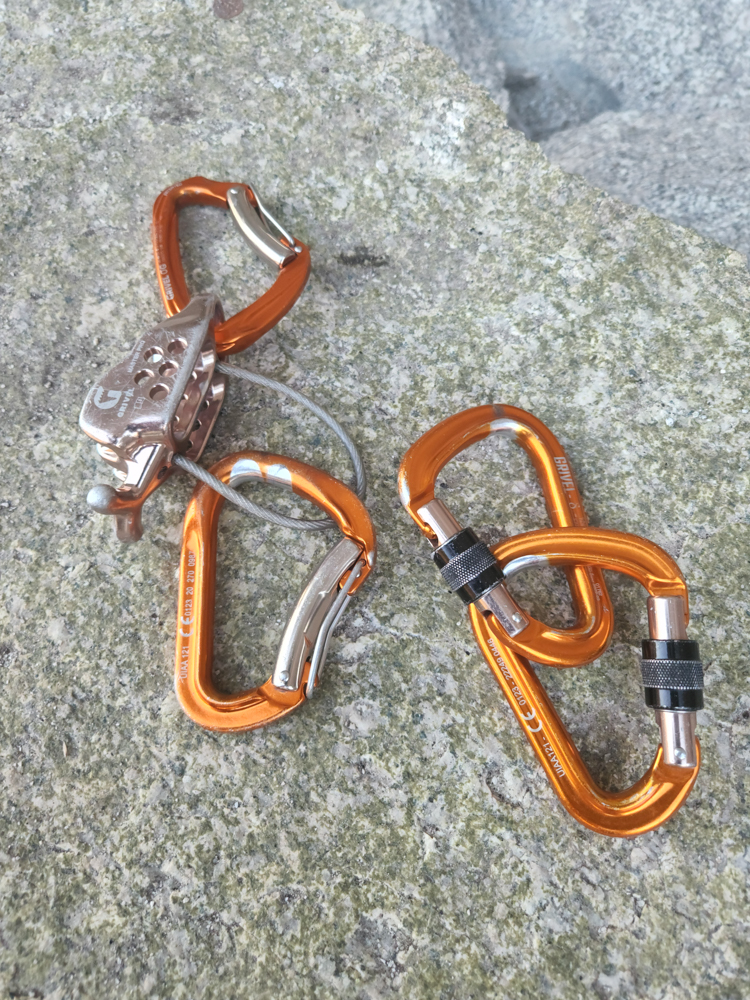
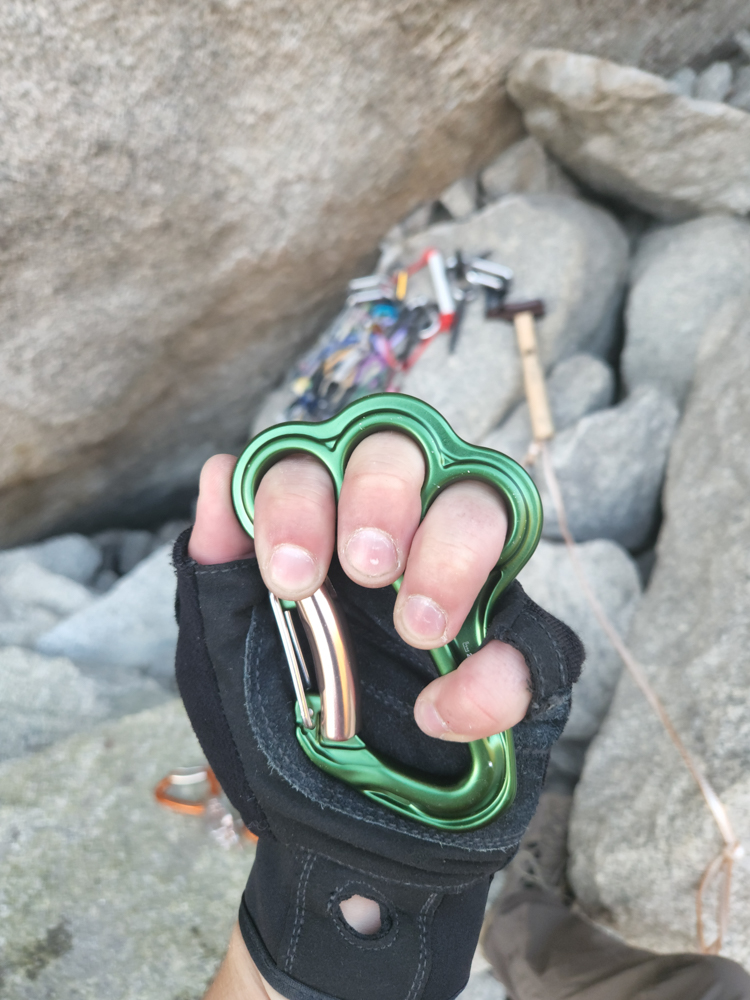
Twin-gate carabiners (currently only made by Grivel due to their patent) are perhaps the most revolutionary and yet tragically underappreciated advance in carabiner technology in the past few decades. A twin-gate carabiner is the only single-action auto locker design currently on the market, meaning all you have to do is open a single gate to get things in or out of the carabiner. And this incredible ease of use will not be opened by rubbing on rock at the belay, or having the rope twist around it; it is far more difficult to open without a human hand than any other design on the wall. Add to this, its gates don’t freeze, clog or jam, are easy to operate with slippery gloves on, and in some cases are lighter than their alternatives (wire-wire twins) and you get the best darn locking carabiners out there (in my opinion). I’ve even heard of one person who, presumably with a lot of money, uses exclusively twin-gate auto lockers for his quickdraw rack since they are single action and easy to operate. The only reason we aren’t all using these, is because when you first pick them up they feel strange to use, although this doesn’t last long in my experience.
Usage
So how do you choose which carabiner to use at what time? Well that is a tough question to answer since there are so many different scenarios and systems within climbing. To give some quick example that is relatable, let’s take a look at the carabiners that I use at a belay on a multipitch climb, or bring along on any day where building more sophisticated systems might be necessary.
To start, I have a good solid HMS carabiner that lives with my belay device. I make sure that this carabiner has barstock on the major basket since it will see a lot of wear-and-tear as the belay piece. These days I only use twingates for these carabiners after having one too many carabiners freeze shut in the snow and render my belay device useless. To set up my ATC style belay device in “guide” mode I bring a second carabiner to live with it, and this is normally just a simple D-shaped locker since the connection is simple between the device and anchor.
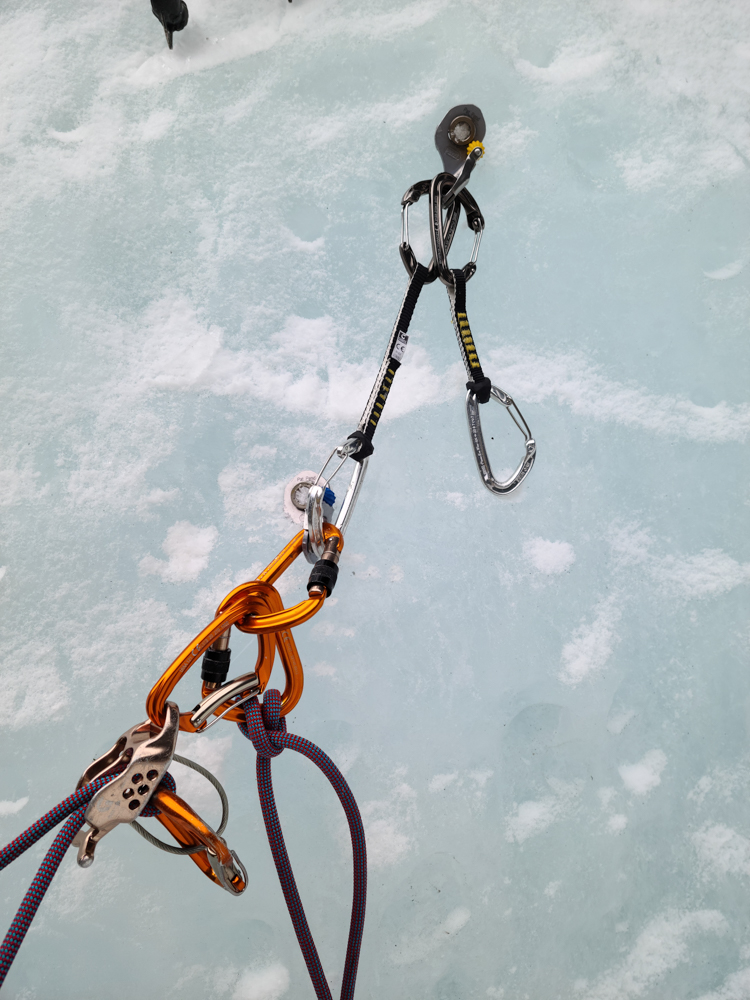
Apart from the lockers that live with my belay device, I also bring along two additional HMS lockers on all but the most lightweight climbs. These lockers are used to build my anchor, with one generally serving as a masterpoint carabiner, and the second serving my clove hitch. It’s important for both of these to be HMS style so that they disperse wide loads or multiple other loads well along their baskets. If I am looking to save weight, I would bring I-beam lockers for these, since they won’t see too much wear-and-tear.
In addition to these, it can be useful to bring other lockers for other rope systems. I generally carry a fifth locker that my prusik cord lives on, and this one is a super light D-shaped locker, since it doesn’t get used much and weight savings is nice. I also appreciate bringing along a small progress-capture pulley on all of my climbs in case I need to haul bags or facilitate self-rescue, and so my sixth and final locker would live with this device. This carabiner is a mini HMS one, since you need a wider basket for the device to function properly/safely. I can’t stress enough that mini progress-capture pulley devices really shouldn’t be used on D-shaped carabiners where the angular basket causes them to deflect to one side when loaded.
Hopefully this run down on the differences in our carabiners was helpful for some. While there are many “correct” ways to use the varying styles, the important thing is that you learn the systems and use the right gear for the job. Ultimately, all properly certified carabiners can get the job done, but some are better in specific scenarios. But maybe next time you are at the gear store or browsing the web, you can put some more thought into these little buddies that help us reach great heights.
About the Gear Tester

Evan Watts
Evan grew up in the small hometown of Boring, Oregon, where he cut his teeth hiking and backpacking in the local Cascades. He now enjoys ice climbing, backcountry skiing, and trail running around in the Western States, and manages to fight off permanent employment despite an environmental engineering degree and perturbed parents.
- Evan Watts

- Evan Watts

- Evan Watts

- Evan Watts

- Evan Watts

- Evan Watts

- Evan Watts

- Evan Watts

- Evan Watts
- Evan Watts

- Evan Watts

- Evan Watts

- Evan Watts

- Evan Watts

- Evan Watts

- Evan Watts
- Evan Watts
- Evan Watts