What I Learned Preparing for My First Bike Race
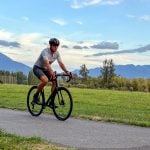
Historically, I haven’t been much of a bike racer. I often ride my bike solo, on post-work sanity cruises and weekend rides with friends. This year, though, I signed up for a gravel race in Iceland in mid-July, originally as an excuse to travel, but as time passed I got psyched on the idea of the race!
Before the July race, I participated in a local ‘gran fondo’, not a race but an organized ride pretty close to a race. I learned so much in the lead-up and post-reflection of these two events! I’ll go into some lessons learned, some tweaks to approach for future races, and in general my takeaways.
Things Will Go Wrong. . . It’s How You React
Well, this isn’t isolated to bike racing, this is just a life concept. But yes, it rings very true with bike racing.
Bikes are mechanical devices, and as such, they can fail. It’s important to know how to repair them! But equally important to have access to the tools and components you’ll need to repair. Here’s a story. . .
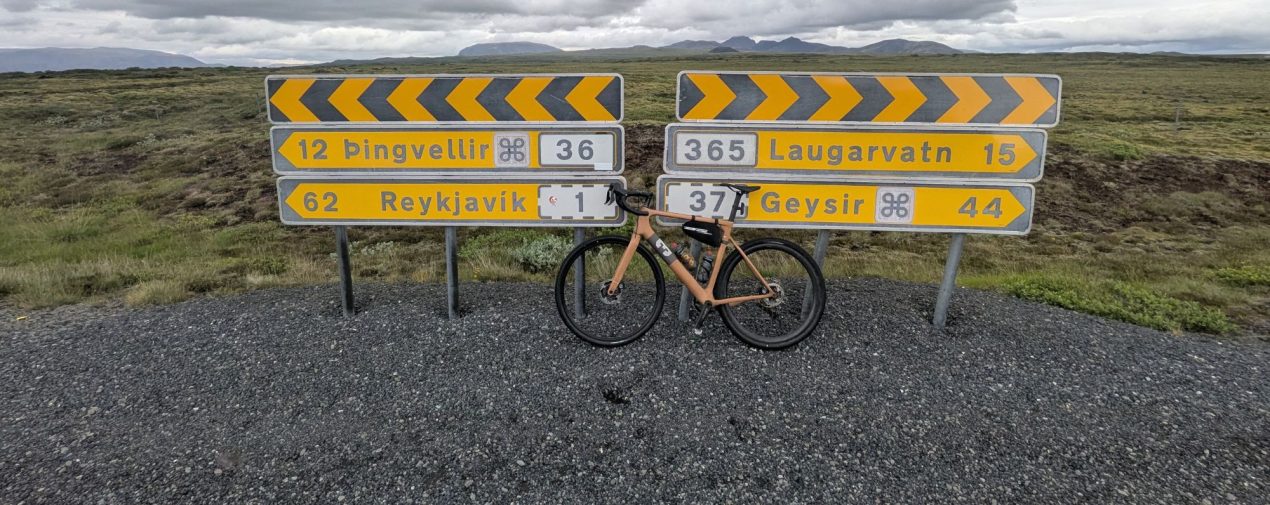
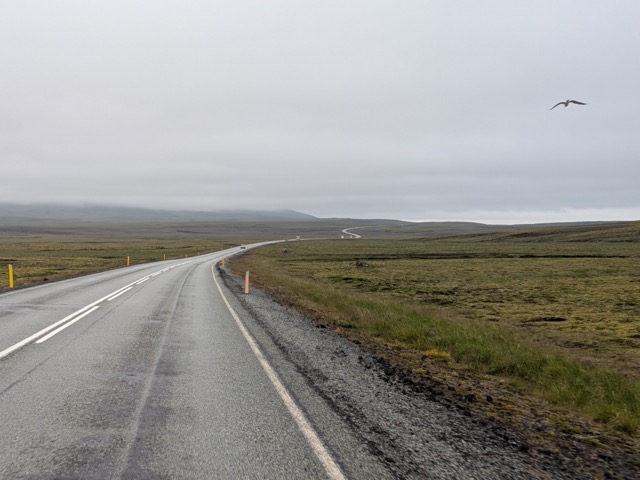
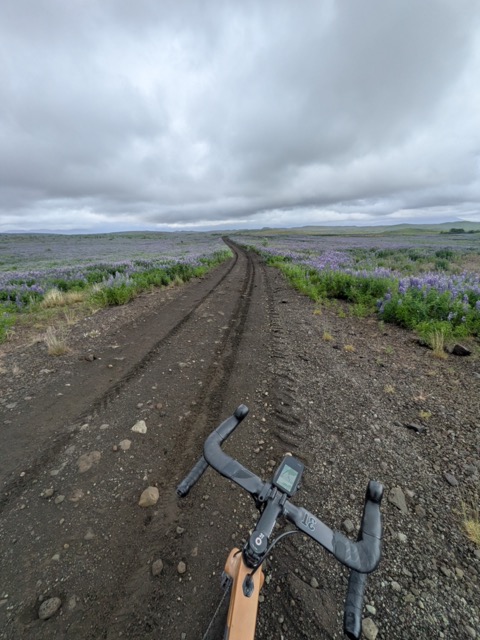
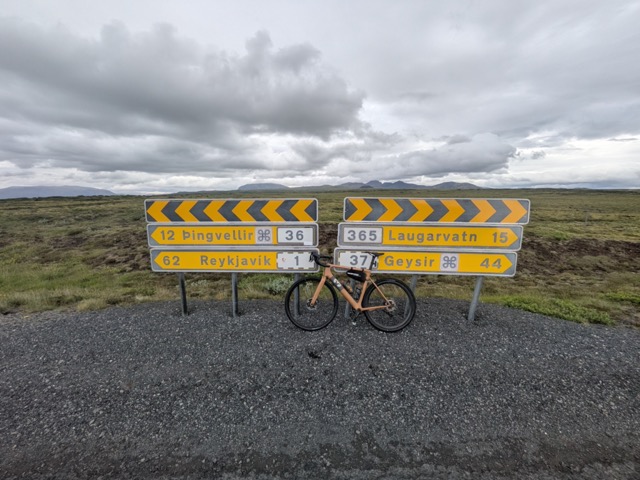
I was in Iceland on a training ride days before the race I’d signed up for. I was in the Icelandic Highlands, riding through dark, lava gravel and fields of lupine, so beautiful! In that beauty, though, there are some sections of wheel and tire eating volcanic sand and in one of these pits I lost my balance. I had a clean fall, I was uninjured, but I landed on the front wheel of my bike and broke a spoke in half. Darn!
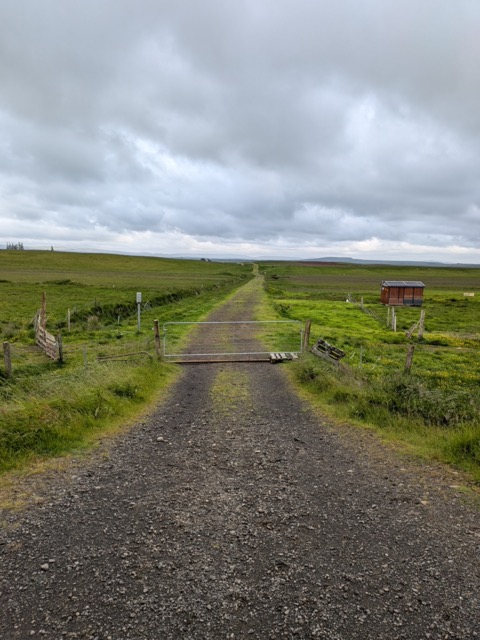
I managed to ride out alright and my wheel still spun okay. The next morning I headed into Reykjavik to a bike shop, hoping I could just get a spare spoke put in and call it good. The mechanic informed me that the hub and spoke design on my wheel was quite unique, and that I’d only be able to buy a spoke from the manufacturer. I’d bought these wheels from a friend-of-a-friend back home, and they are made by a small manufacturer in Denmark, a high-end bike maker that doesn’t use standard components. Dang it! The bike mechanic graciously offered to sell me a spare wheel of his, which was much heavier than my fancy carbon wheel but at least would get me through the event.
Takeaway: If you’re going to travel to far away places, or use fancy equipment, ensure that you’ve thought through sourcing replacement parts.
If I’d traveled with a spare one of these proprietary spokes, no problem. . . the mechanic would have been able to repair my wheel.
—
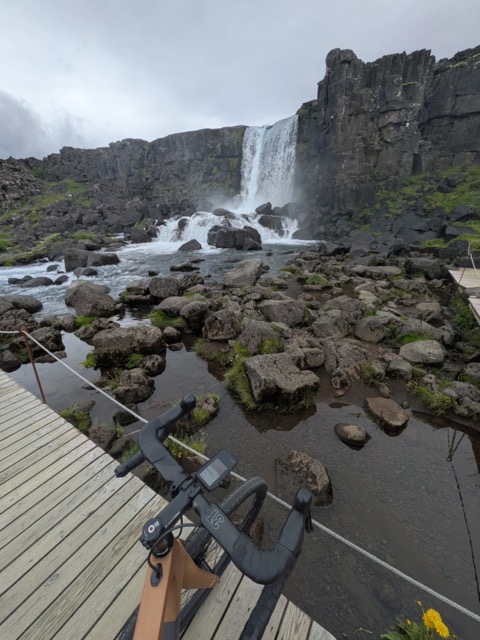
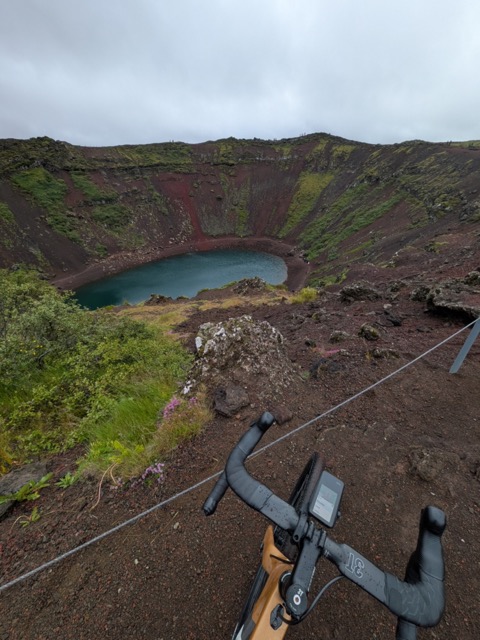
Second story: the morning of the race in Iceland, our car wouldn’t start. We were 50+ miles from the start line, with no jumper cables in our rental car and not enough time to catch a hitchhike to the start line. Bummer! I didn’t make it to the start line, which yes, was a huge bummer. But things go wrong! I headed out for a consolation ride that morning and tried to make the best of the situation.
Racing involves more than just trying your hardest on the actual day of the race. It involves getting to the start line (which sometimes can be the crux, as I found), healthy and psyched, and giving your best!
Traveling with Your Bike
This was the first time I traveled with a bike and it went pretty smoothly, all things considered! I borrowed an Evoc Bike Travel Pro bag from a friend, which was an excellent bike bag. Walking through the airport I saw plenty of these bags, they seem to be pretty popular. Here’s a bulleted list of some tips for traveling with your bike:
- Don’t put tools in your carry-on. TSA may confiscate them!
I was trying to be clever and spread out the weight of parts across my carry-on and bike bag, so I put my chain and my torque wrench in my carry-on. They aren’t sharps so I figured it’d be fine! TSA flagged them, as they are over 6 inches in length, which apparently isn’t allowed? Long story short: don’t put critical tools in your carry-on, just check them!
- Deflate your tires to ~20 psi but don’t deflate them entirely, keep them seated!
You don’t need to entirely air down your tires for air travel, but definitely air them down a bit. Just air them down enough so that when they expand in the cargo haul they don’t pop. You really only need to air them down to ~20 psi.
- Re-assemble the bike in a nice open space and take your time!
I used the laundry room of my AirBnB and it worked great! As with any bike project, start the re-assembly calm. . . things never go well if you’re stressed.
- A bike bag is better than a bike box
A bike box will suffice, but the travel bags like the Evoc Bike Travel Pro are really worth the $. If you can’t find one to borrow, like I did, ask around! Or just use a box, but try padding it with clothes.
- Pad the bike with loose clothes
Take clothes that would otherwise go in your duffel or carry-on and wrap them around the frame! It’ll help pad the bike.
- Take off pedals, handlebar from stem, and derailleur
I chose to take the pedals off the crank arms, the handlebar out of the stem (I kept the stem/headset interface fastened), and the derailleur off. I also opted to take the disc brake rotors off the wheels to avoid them getting bent. This involves a little more work but all the components arrived unharmed and my peace of mind was much quieter!
Don’t Do Too Much in the Lead-Up
If you’re traveling to a race, like I did to Iceland, don’t do too much riding in the lead-up to the race. I was in Iceland for a week beforehand and I got a little carried away with volume leading up. Oops!
It’s helpful to show up a few days prior to your race so that you’re adjusted to the time zone, recovered from the travel, etc. But consider how antsy you may be if you have more time than that on your hands!
About the Gear Tester
Sam Chaneles
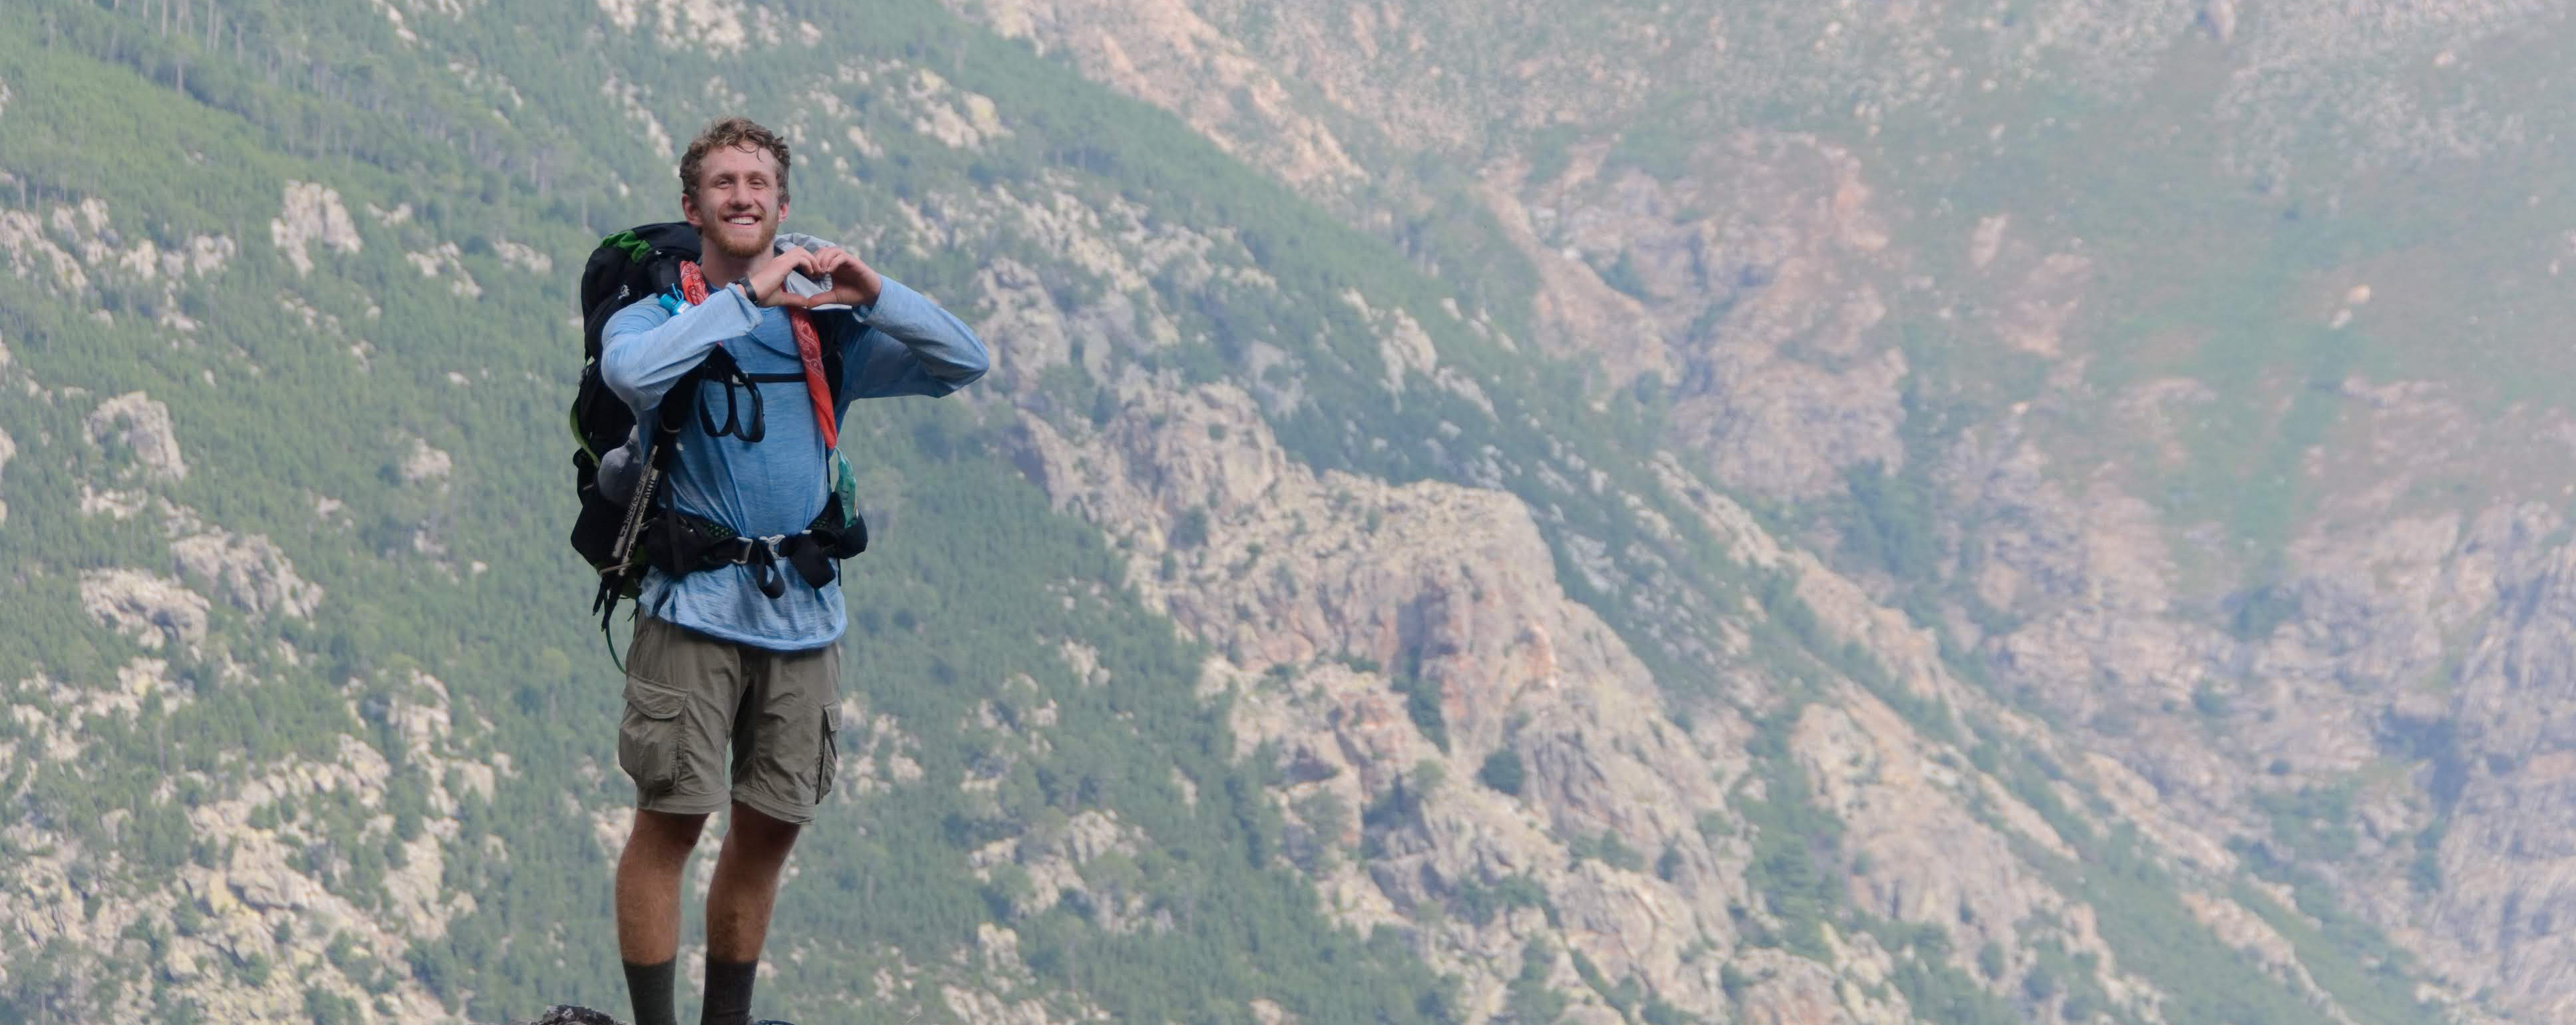
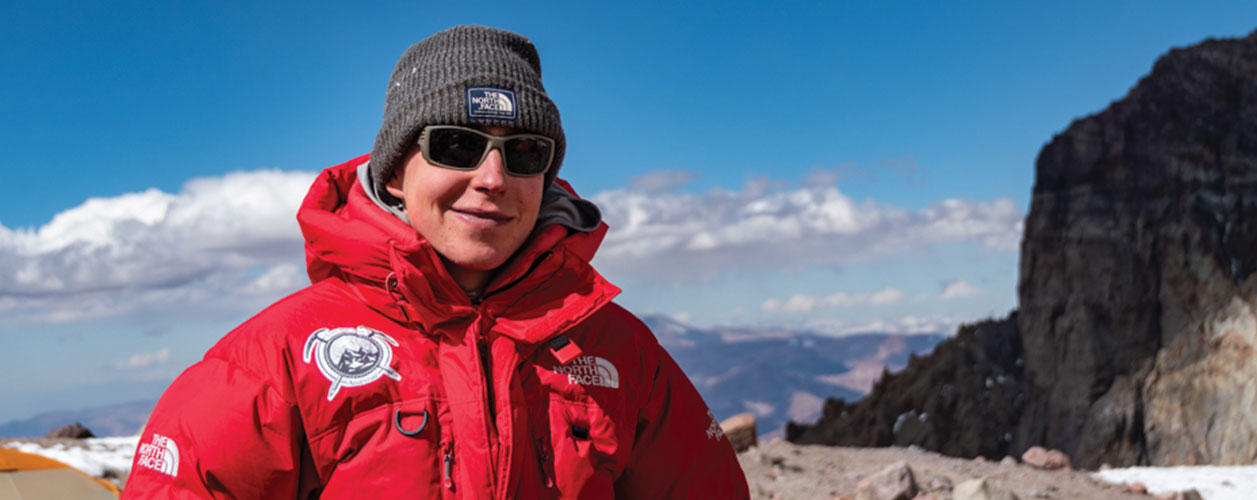
Sam Chaneles is an avid mountaineer and backpacker, climbing peaks in the Cascades, Mexico, Ecuador, and Africa, as well as hiking the John Muir Trail and off-trail routes in Colorado. He has climbed peaks such as Aconcagua, Mt. Rainier, Cotopaxi, Chimborazo, Kilimanjaro, and many more. Sam graduated with a B.S. in Mechanical Engineering from Georgia Tech. During his time there he was a Trip and Expedition Leader for the school’s Outdoor Recreation program (ORGT). He has led expeditions to New Zealand, Alaska, Corsica, France, and throughout the United States. Sam is based in Issaquah, WA just outside of the Cascade Mountains. You can follow Sam and his adventures on Instagram at @samchaneles, or on his website at www.engineeredforadventure.com.
- Sam Chaneles
- Sam Chaneles
- Sam Chaneles
- Sam Chaneles
- Sam Chaneles

- Sam Chaneles
- Sam Chaneles
- Sam Chaneles
- Sam Chaneles
- Sam Chaneles
- Sam Chaneles
- Sam Chaneles

- Sam Chaneles
- Sam Chaneles
- Sam Chaneles
- Sam Chaneles
- Sam Chaneles
- Sam Chaneles
- Sam Chaneles
- Sam Chaneles
- Sam Chaneles
- Sam Chaneles
- Sam Chaneles

- Sam Chaneles
- Sam Chaneles
- Sam Chaneles
- Sam Chaneles
- Sam Chaneles
- Sam Chaneles
- Sam Chaneles

- Sam Chaneles

- Sam Chaneles
- Sam Chaneles
- Sam Chaneles
- Sam Chaneles
- Sam Chaneles
- Sam Chaneles
- Sam Chaneles
- Sam Chaneles
- Sam Chaneles
- Sam Chaneles
- Sam Chaneles
- Sam Chaneles
- Sam Chaneles
- Sam Chaneles
- Sam Chaneles