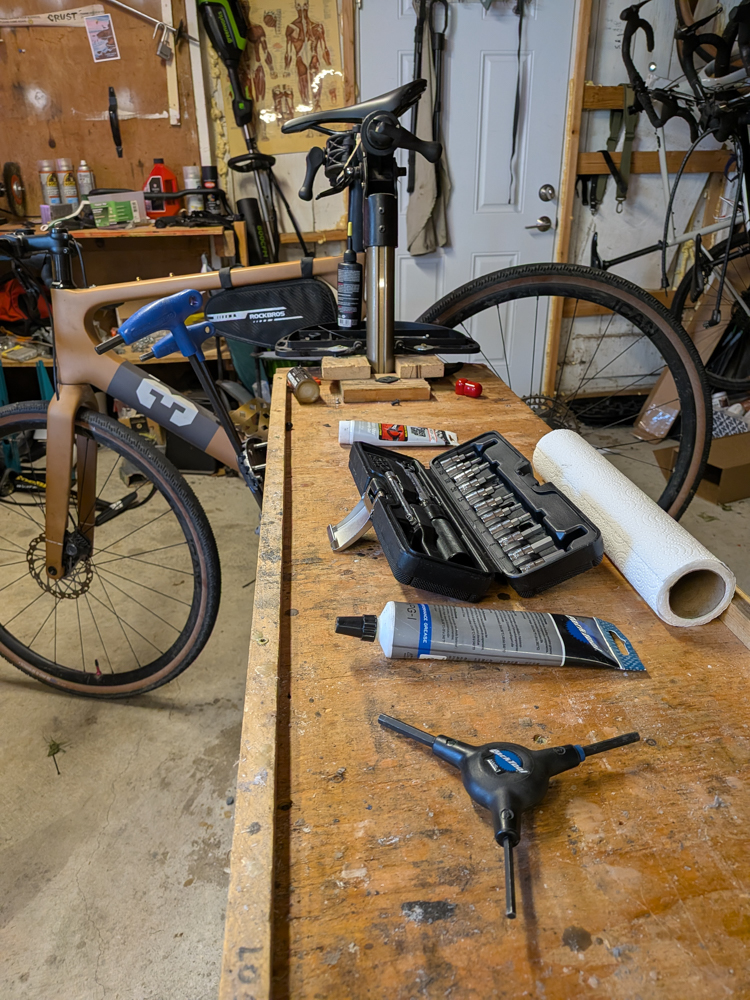
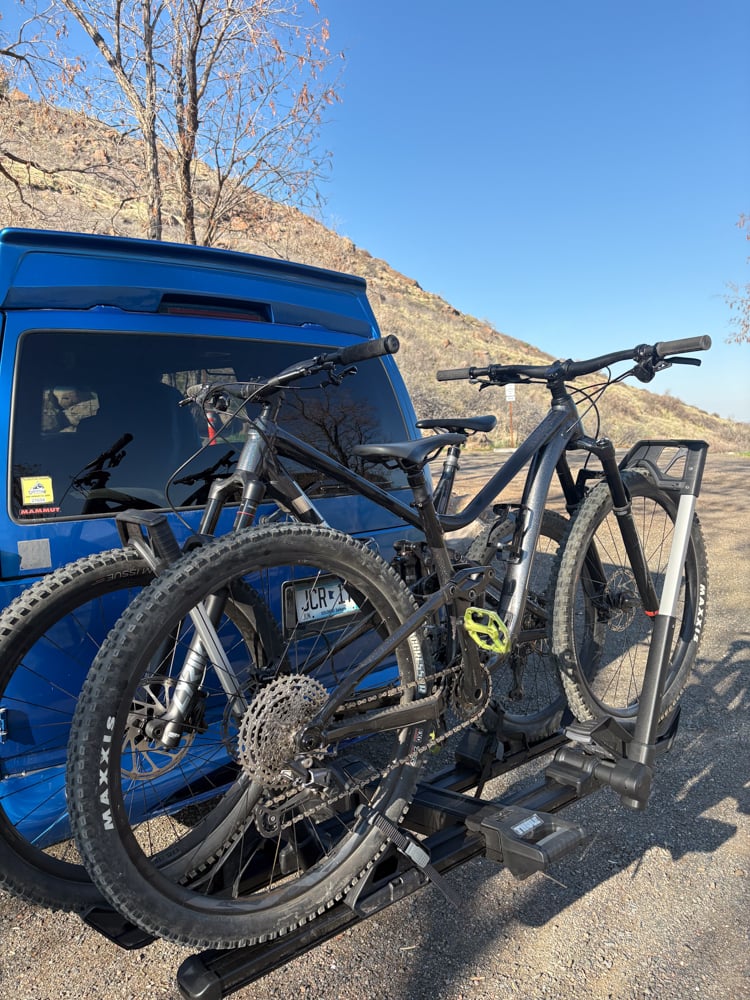
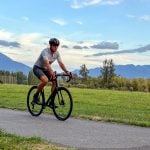
5 Step Checklist Before Your First Bike Ride of the Year
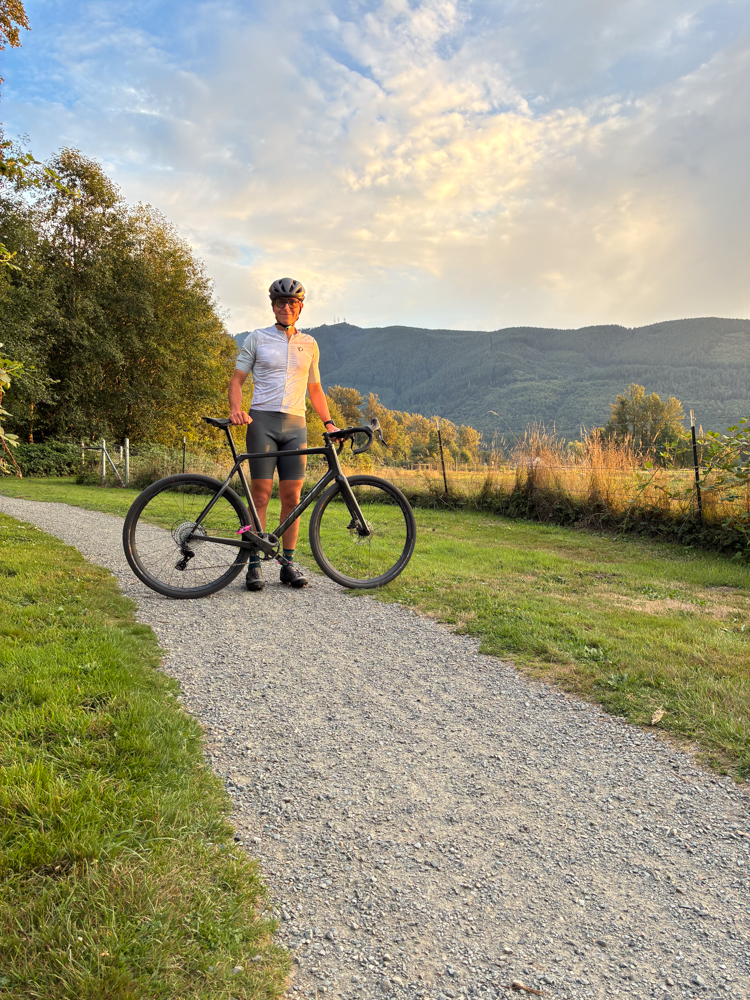
Living in the Pacific Northwest, I don’t ride my bike much between the months of October and April. Maybe I’m not a dedicated enough rider but once it gets to be dark, rainy, and cold, I put the bike in the garage and leave it for sunnier days.
Since my bike sits idle for a few months of the year, it’s important to show it some love once it’s time to ride again! I’ll cover five quick inspections that I like to do once the time to ride again rolls around. These are pretty simple and not revolutionary in any way, but they are a good base to keep your bike healthy, happy, and rolling smoothly.
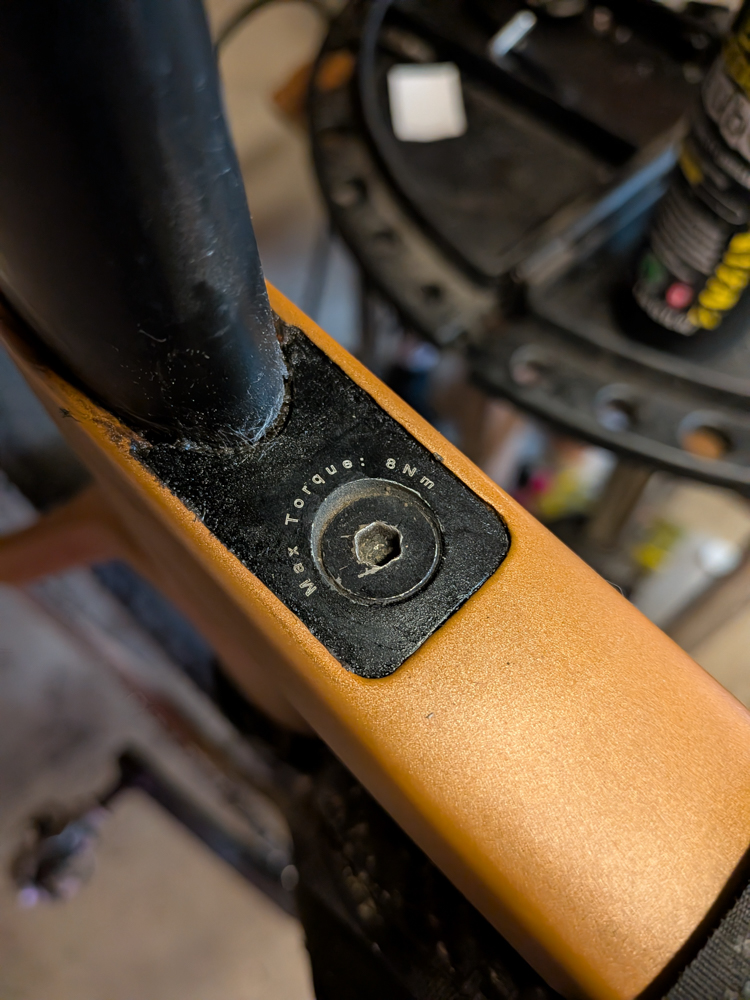
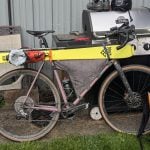
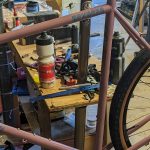
1. Check Torque on Bolts
It’s easy to just tighten bolts on a bike to hand-tightness (I certainly do this from time-to-time). But at the start of another spring/summer season, I like to go through the various bolts of my bike and check their torque: headset, bottom bracket / cranks, brake mounts, etc. It’s possible for bolts to back out overuse, and oftentimes I just put my bike away for the season without a thorough maintenance check.
Getting a nice torque wrench is a great investment in maintaining your bike. They don’t have to be expensive either, here’s one that I have in my garage. I’ll go through the various bolts on my bike with the specified torque values and ensure they are still at the right torque values. If I take bolts out to re-grease threads, I’ll come back through with the torque wrench as well.
2. Add Sealant & Clean Presta Valves
For riders using tubeless tire setups, cleaning out old and caked up sealant from tire valves is a good ritual at the start of a riding season. I like to remove the presta valve core, clean out any gunk that might have built up, then add sealant into the tire. If you really want to show your bike some love, you could take the tire off and clean off any old sealant that has built up, but I personally don’t do that nor feel it is necessary.
When riding tubeless, it’s good to add sealant every couple of weeks to months. I’ll do a quick web search, inputting my tire size to determine how much sealant to add; internet tools have gotten so powerful that you never have to guess anymore, especially when it comes to bikes!
3. Check Your Chain for Stretch & Add Lube
Chain wear is easy to ignore on your bike but it is important every now and again to check that your chain is not overly stretched and in need of replacement. I like using this Park Tool chain wear tool to check my chain’s wear; it’s super easy and intuitive and takes only a few minutes. You may start to notice chain wear if your shifting is not as smooth or if you’re experiencing your chain drop off the chainring from time to time.
Here’s a great video on YouTube that captures the concept and explains why it is so important.
4. Charge Shifters / Check Derauiller Cable
Your drivetrain needs love too! If you have electronic shifting, it’s important to check your batteries. Unless you have been regularly charging them over the course of the winter, they’ve almost certainly self-discharged and need a top off. Many electronic brifters also have a coin battery that may need to be replaced (they are often a CR2032 battery that can be purchased at most grocery stores).
If you have mechanical shifting, check the shifting and see if it’s still indexed appropriately. It’s possible that the derailleur cable has stretched and/or you may just need to re-index your shifting a bit.
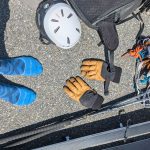
5. Grease Bolts and Rotating Parts
It’s good to re-grease rotating components where there’s metal-on-metal to reduce friction and improve wear life. Take a few minutes to re-grease the threads on bolts, the through-pins on your wheels, etc. I like to use the Park Tool grease but most bike greases should work.
One important note though: don’t put grease on carbon! Instead, use carbon paste for carbon seat posts and steer tubes. It helps add grip between carbon-on-carbon so that you don’t need to overtighten / overtorque carbon components, which could damage them.
Those are just a few simple but hugely important maintenance steps to take when you’re getting ready to start riding again! It shouldn’t take you more than 10 – 15 minutes per step, clearing some space helps too. Get your tools staged, play some music, have some tea or coffee. . . bike maintenance is also about being calm and ready for the faff. I’ve started too many bike projects angsty and stressed out and they always just go wrong. Show your bike some love and get riding!
About the Gear Tester
Sam Chaneles
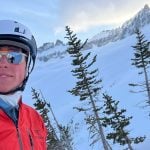
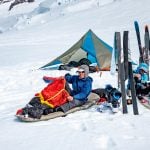
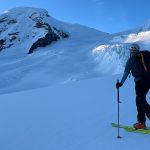
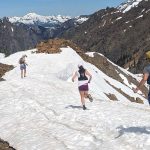
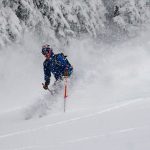
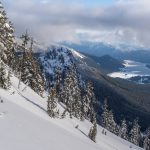
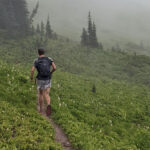
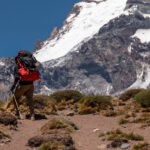
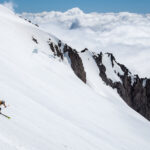
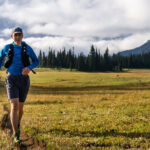
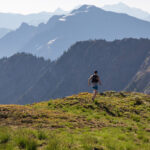
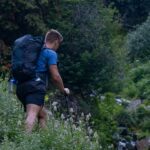
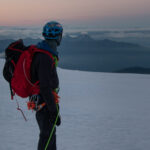
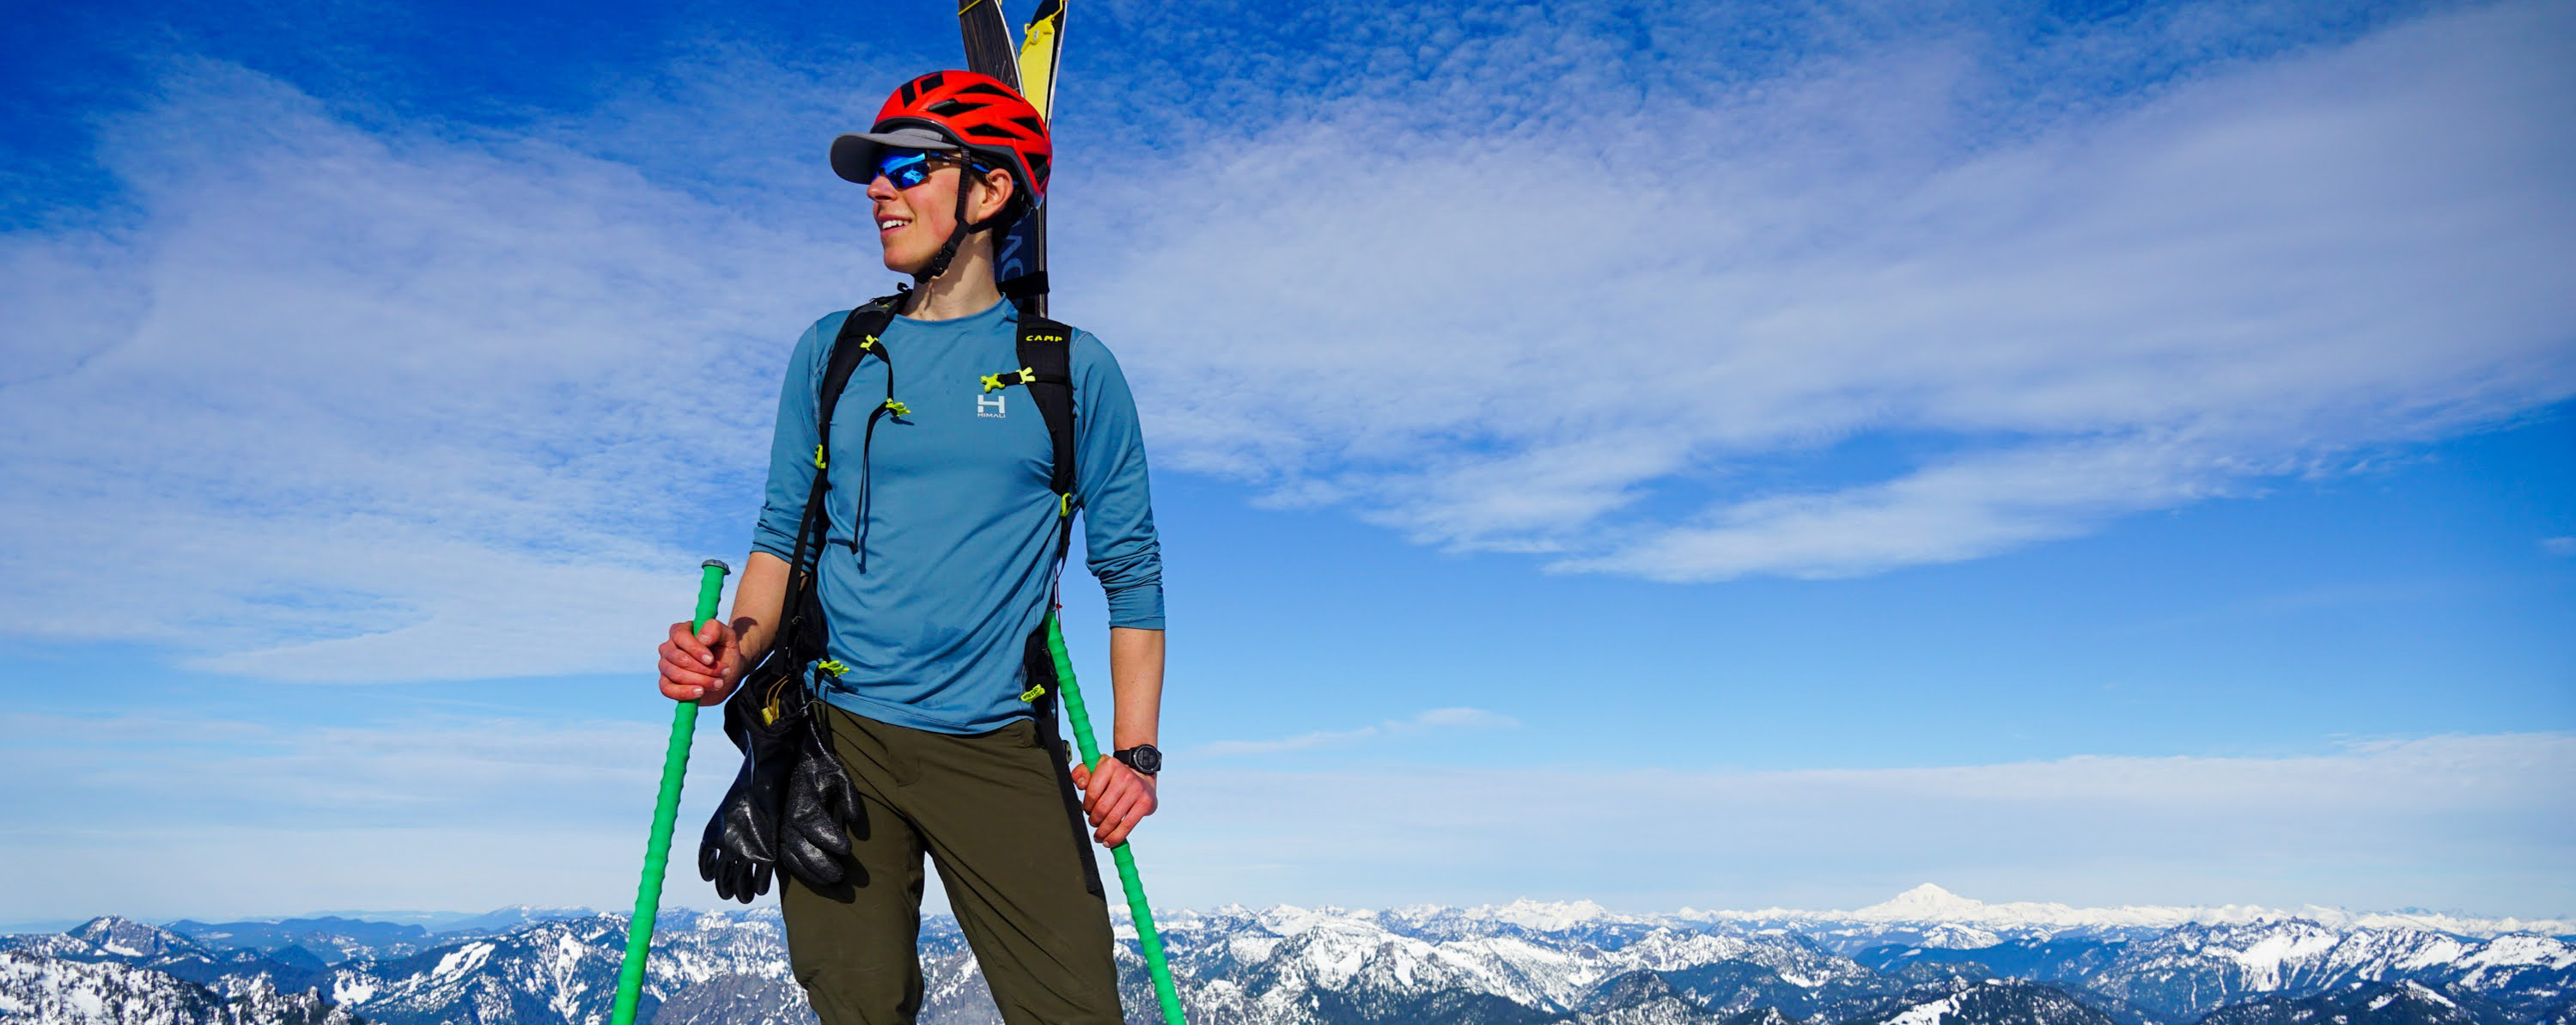
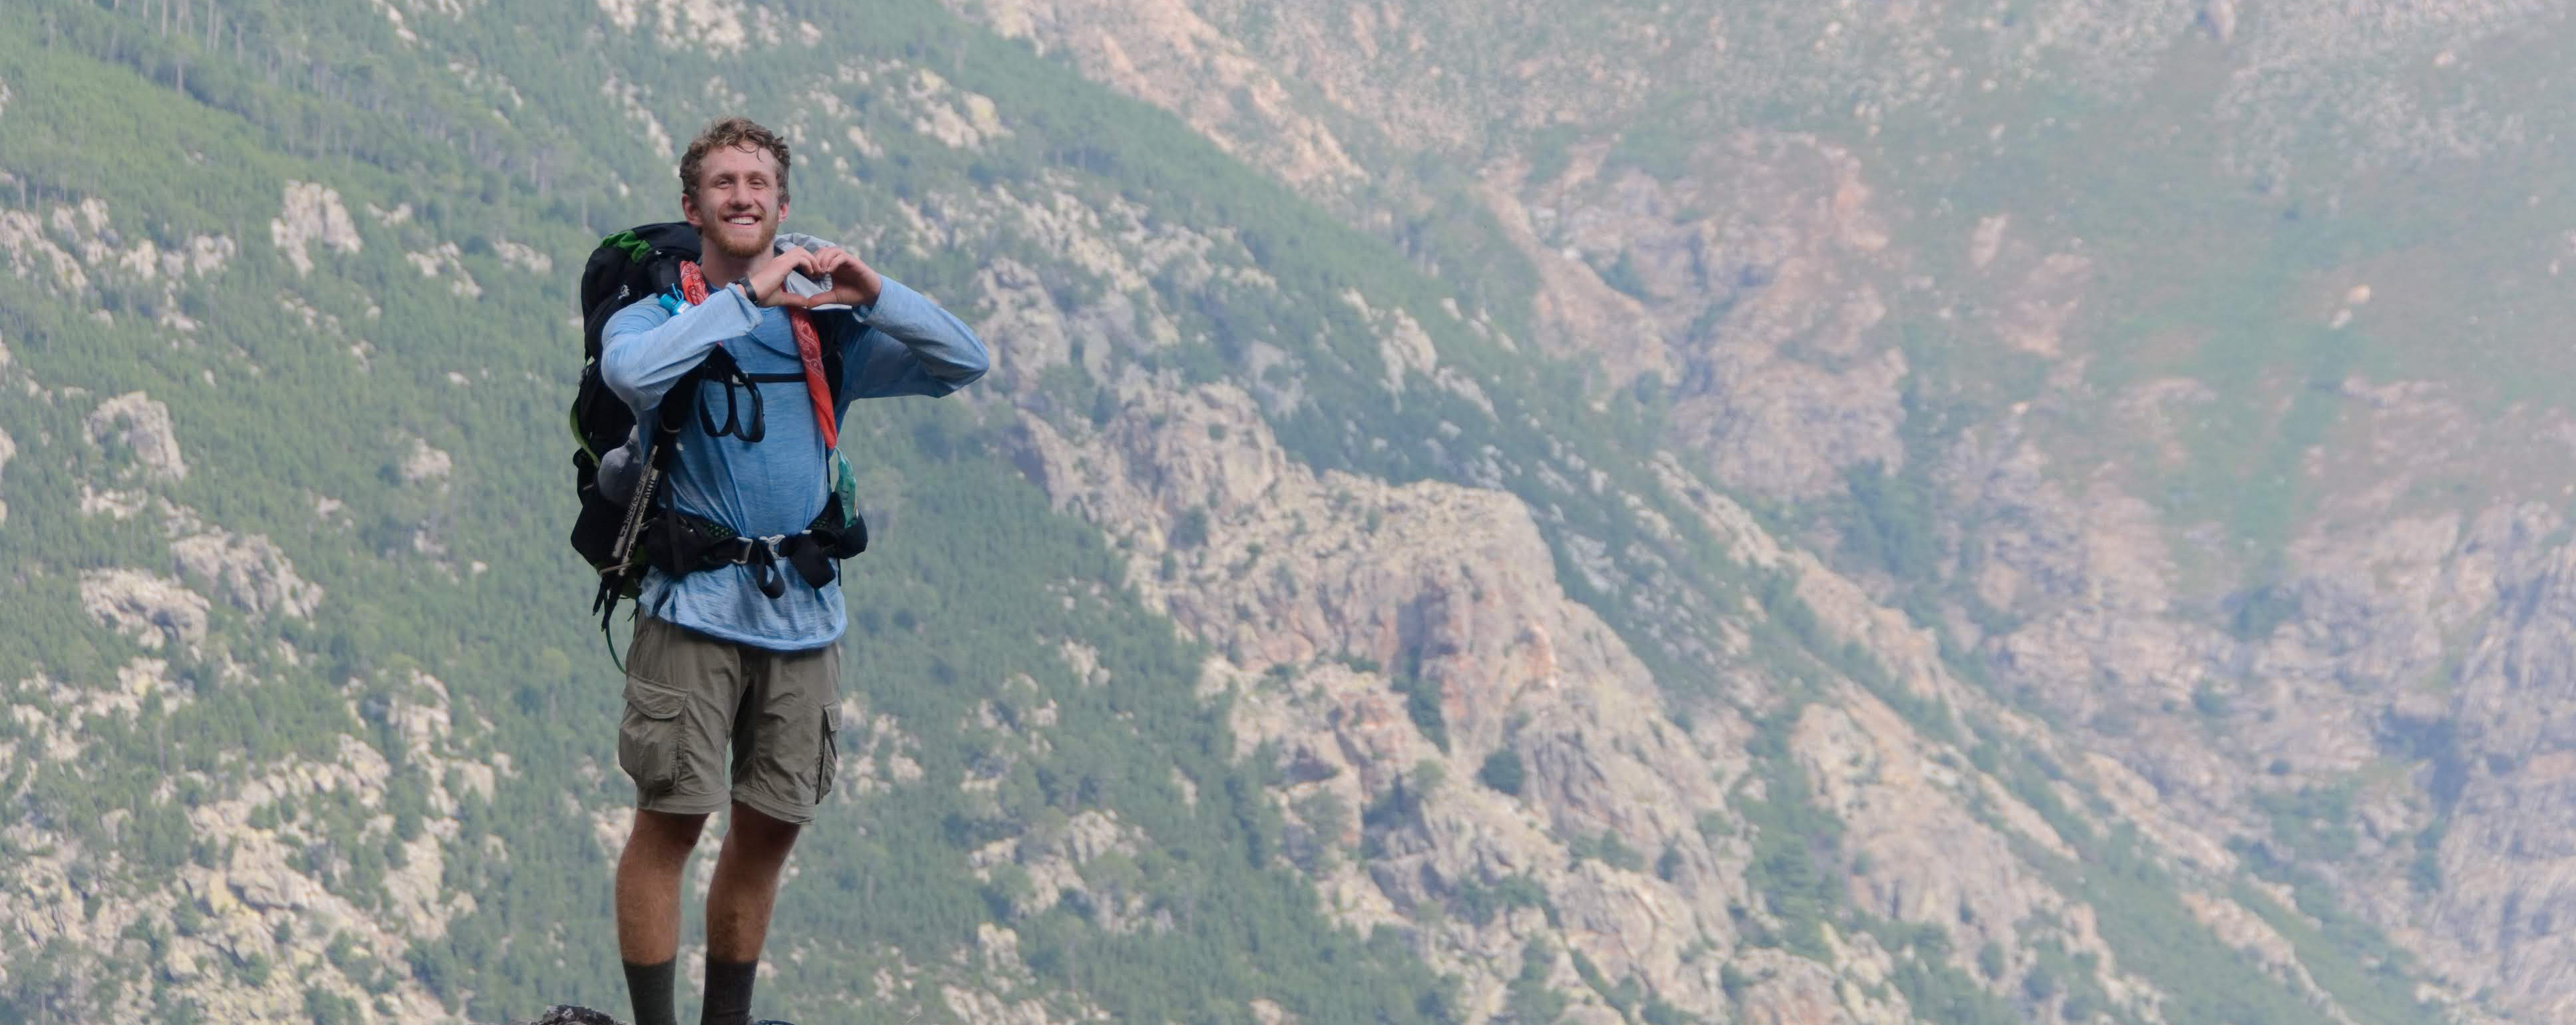
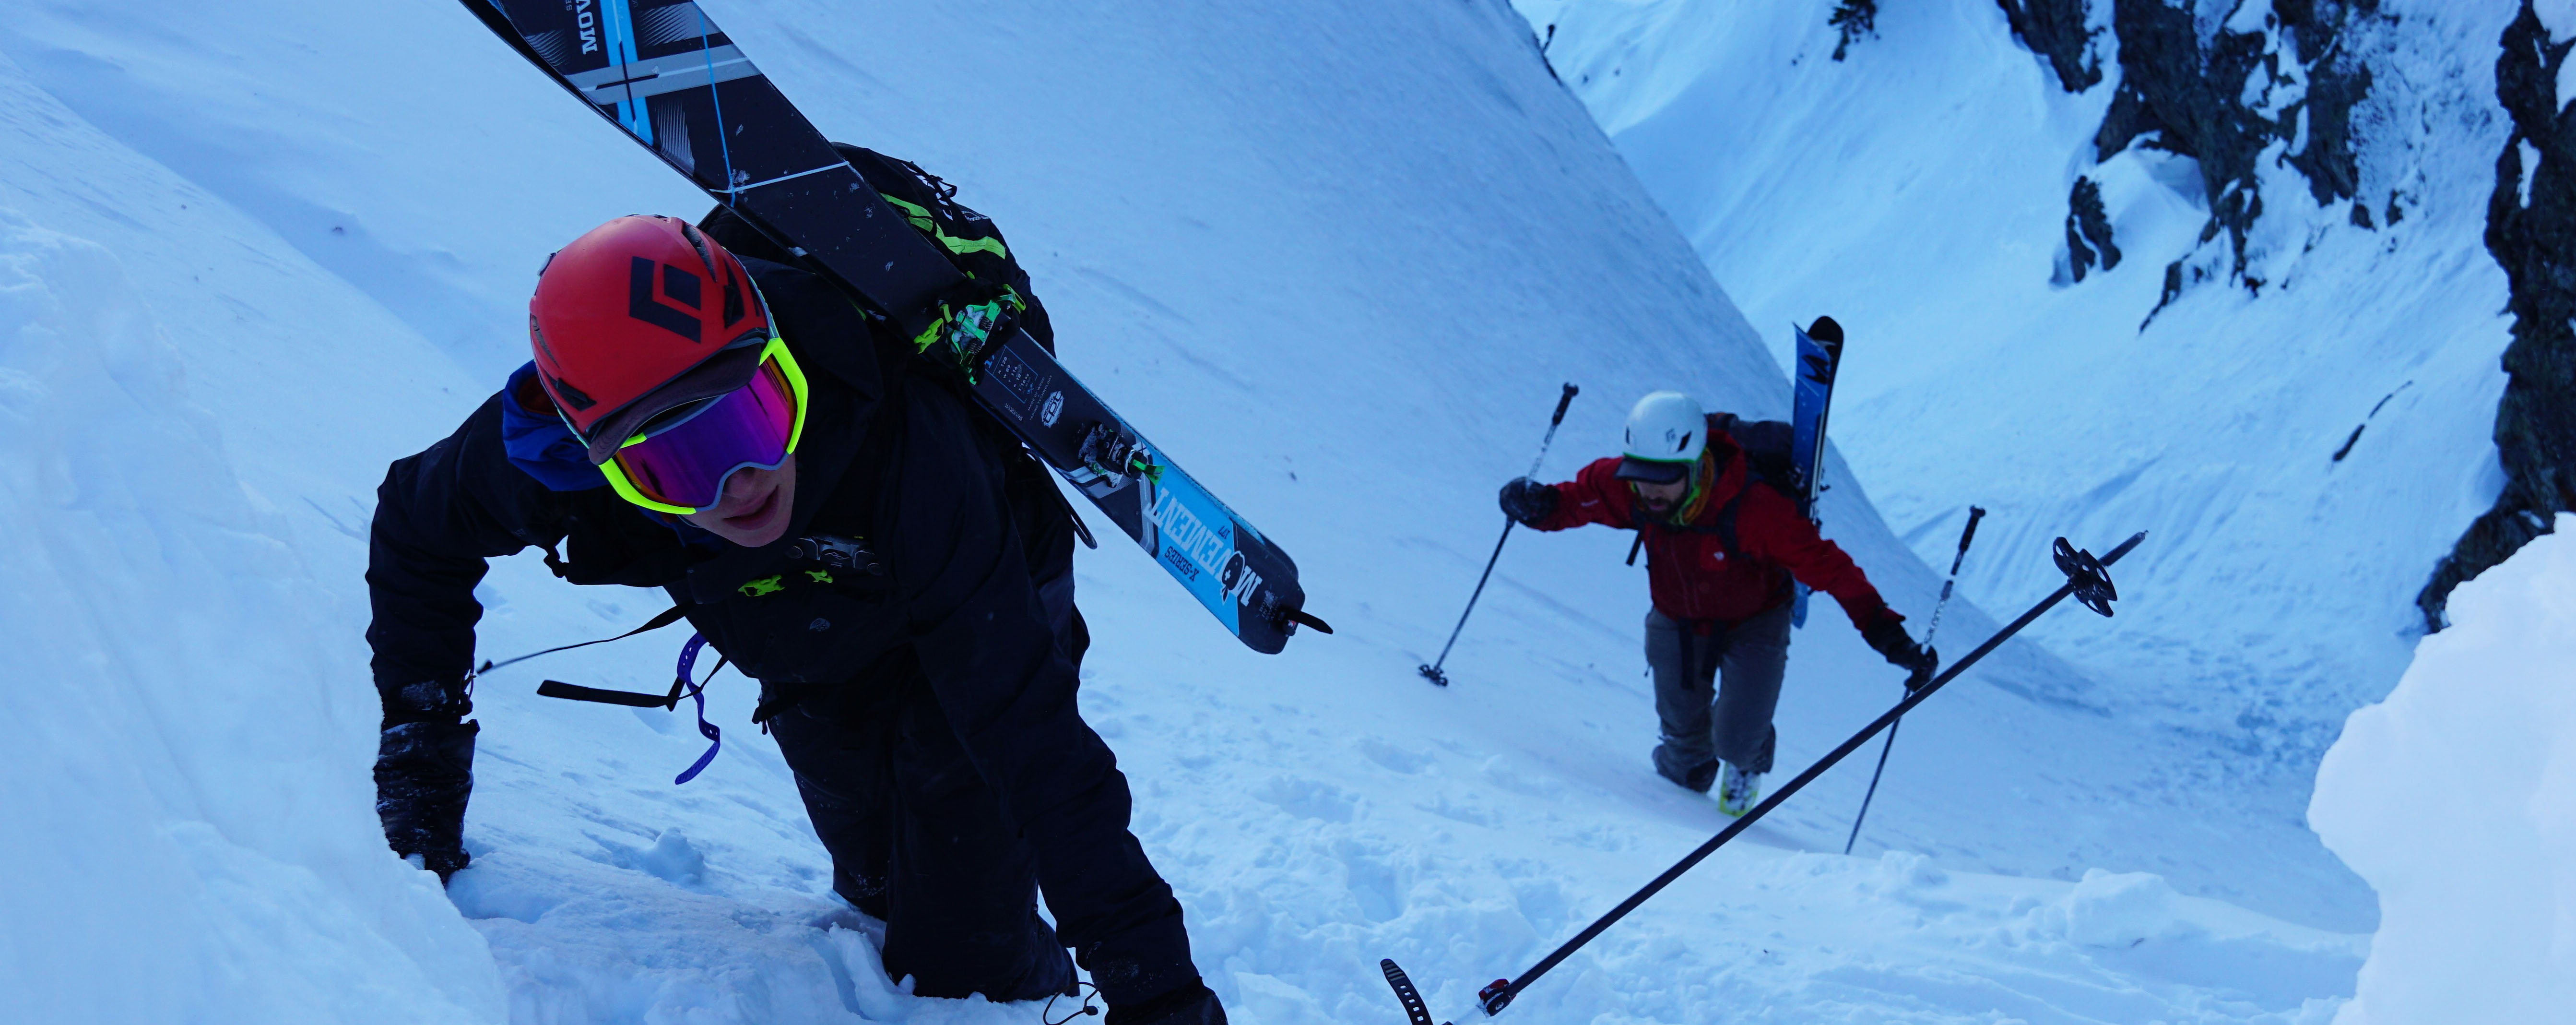
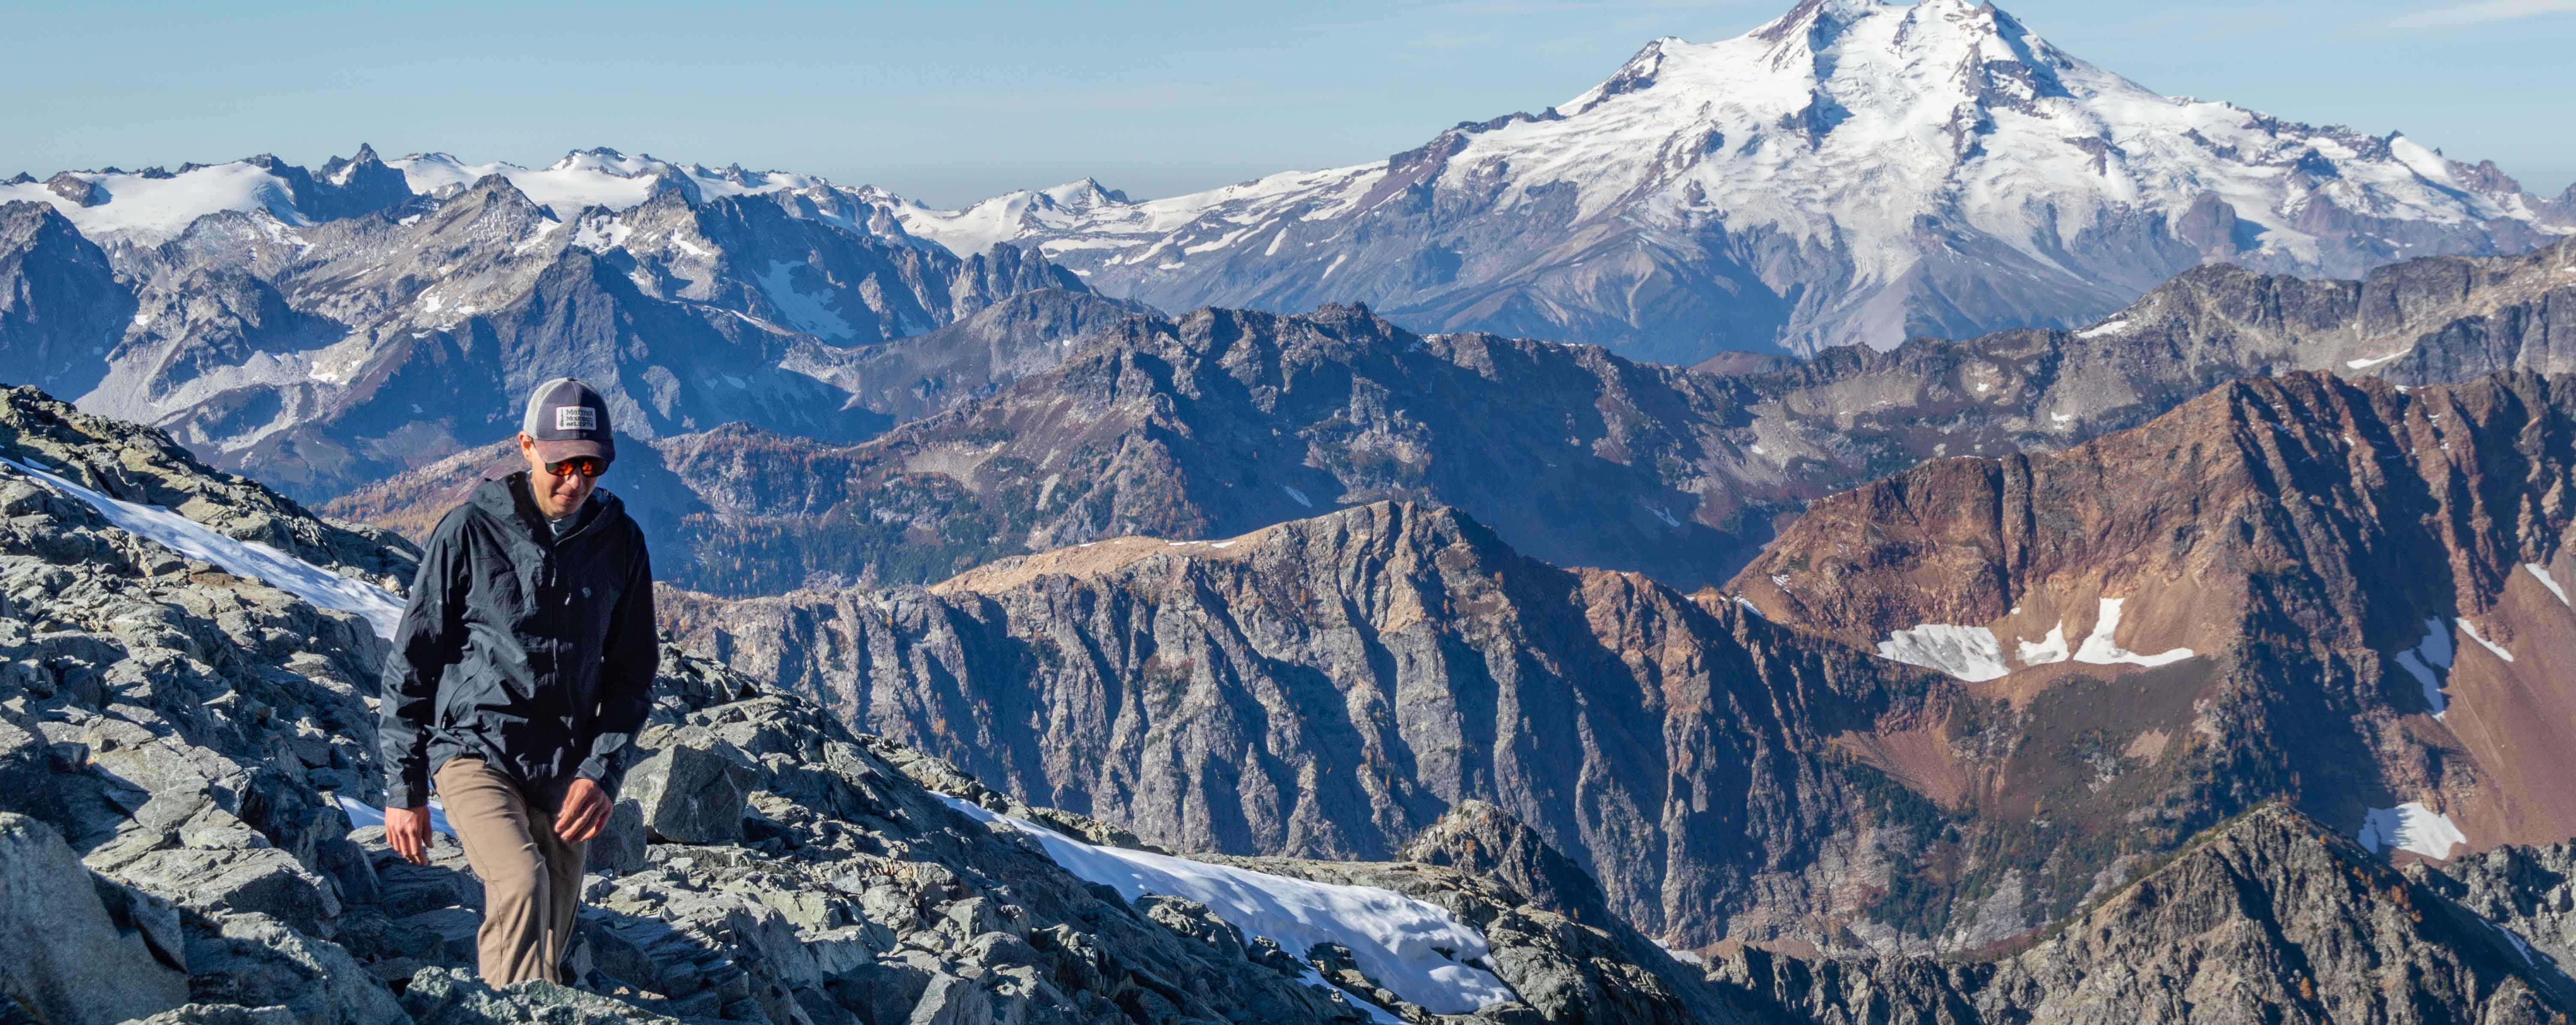
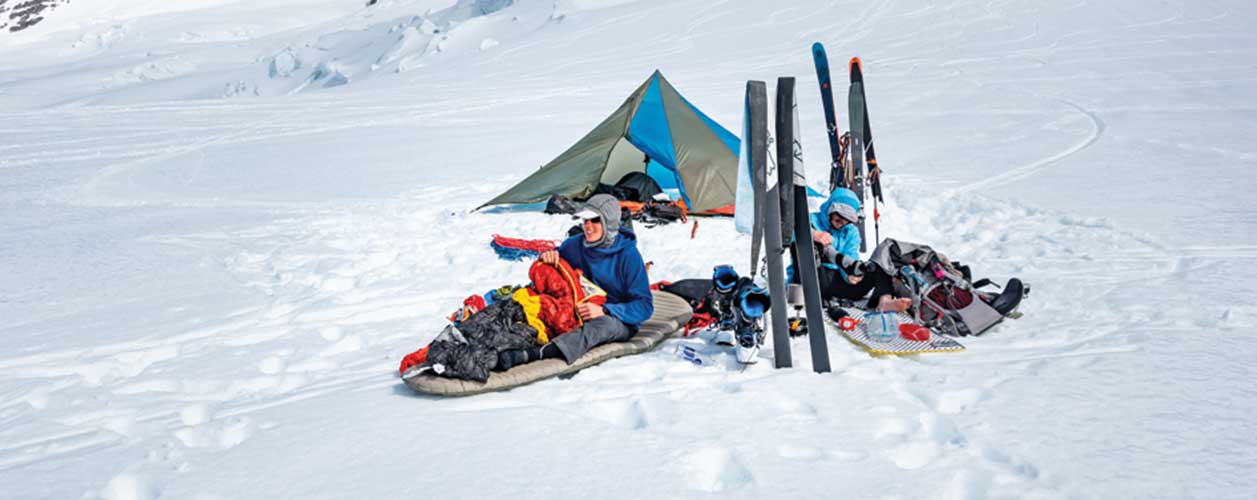
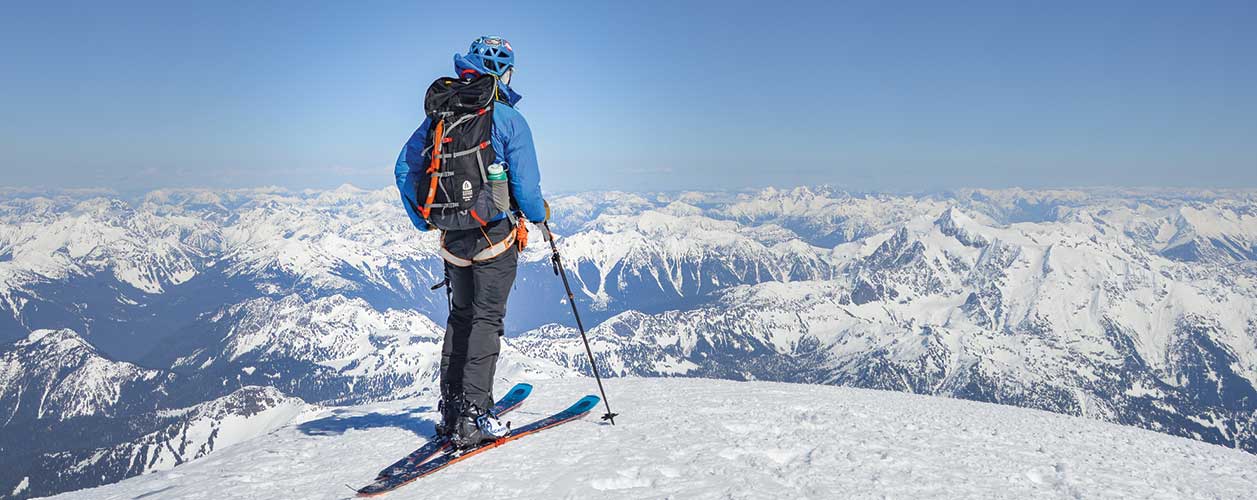
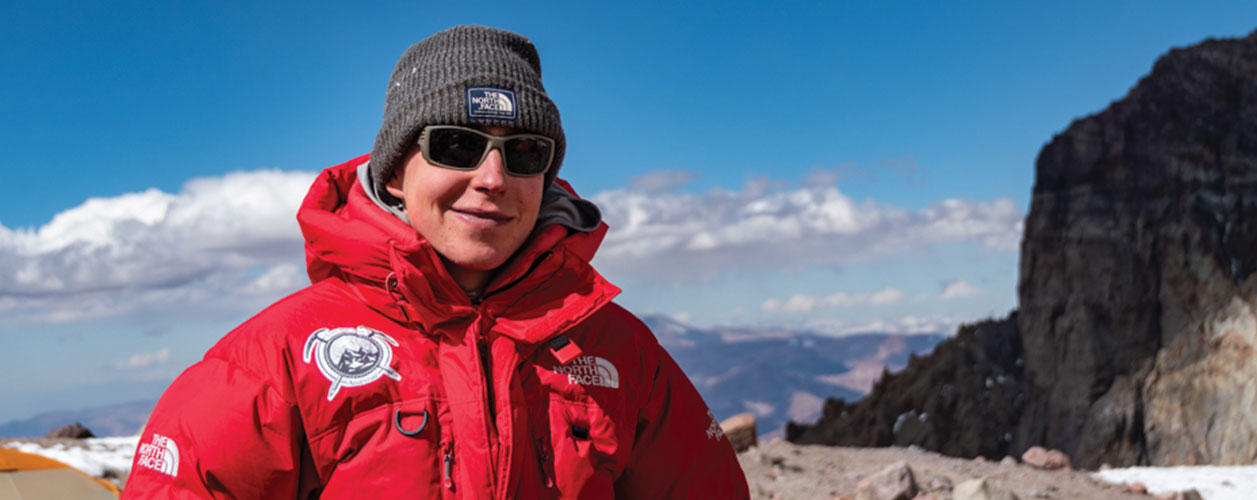
Sam Chaneles is an avid mountaineer and backpacker, climbing peaks in the Cascades, Mexico, Ecuador, and Africa, as well as hiking the John Muir Trail and off-trail routes in Colorado. He has climbed peaks such as Aconcagua, Mt. Rainier, Cotopaxi, Chimborazo, Kilimanjaro, and many more. Sam graduated with a B.S. in Mechanical Engineering from Georgia Tech. During his time there he was a Trip and Expedition Leader for the school’s Outdoor Recreation program (ORGT). He has led expeditions to New Zealand, Alaska, Corsica, France, and throughout the United States. Sam is based in Issaquah, WA just outside of the Cascade Mountains. You can follow Sam and his adventures on Instagram at @samchaneles, or on his website at www.engineeredforadventure.com.
- Sam Chaneles
- Sam Chaneles
- Sam Chaneles
- Sam Chaneles

- Sam Chaneles
- Sam Chaneles
- Sam Chaneles
- Sam Chaneles
- Sam Chaneles
- Sam Chaneles

- Sam Chaneles

- Sam Chaneles
- Sam Chaneles
- Sam Chaneles
- Sam Chaneles
- Sam Chaneles
- Sam Chaneles
- Sam Chaneles
- Sam Chaneles
- Sam Chaneles
- Sam Chaneles
- Sam Chaneles

- Sam Chaneles
- Sam Chaneles
- Sam Chaneles

- Sam Chaneles
- Sam Chaneles
- Sam Chaneles
- Sam Chaneles

- Sam Chaneles

- Sam Chaneles
- Sam Chaneles
- Sam Chaneles
- Sam Chaneles
- Sam Chaneles
- Sam Chaneles
- Sam Chaneles

- Sam Chaneles
- Sam Chaneles
- Sam Chaneles
- Sam Chaneles
- Sam Chaneles
- Sam Chaneles
- Sam Chaneles
- Sam Chaneles