A Gear Nerd’s Guide to Ice Tools
When it comes to the snowy and icy climbing sports there can be an overwhelming amount of gear to choose from, and all with a hefty price tag. Your ice axe can be one of the more important gear choices, as it often represents our primary method of security or safety when progressing in these types of terrain. Hopefully this review provides any newcomers with enough gear overview to make some educated purchases and get the best tool for the job. I don’t hope to capture every intricacy of how to swing an ice tool for perfect sticks, or the proper technique to self arrest with a piolet, but inevitably some level of technique has to be discussed to understand usage of this gear. Although to get started, we should probably define the differences in the tools we are using so that we can better chat about which one you might need.
Ice axe? Ice tool? Piolet? What is this long sharp thing in my hand and how do I use it? This guide should help break down the differences in the many different tools and axes you might use over your winter climbing career. To get started, we should probably figure out what kind of gear we are talking about.
Types of Tools
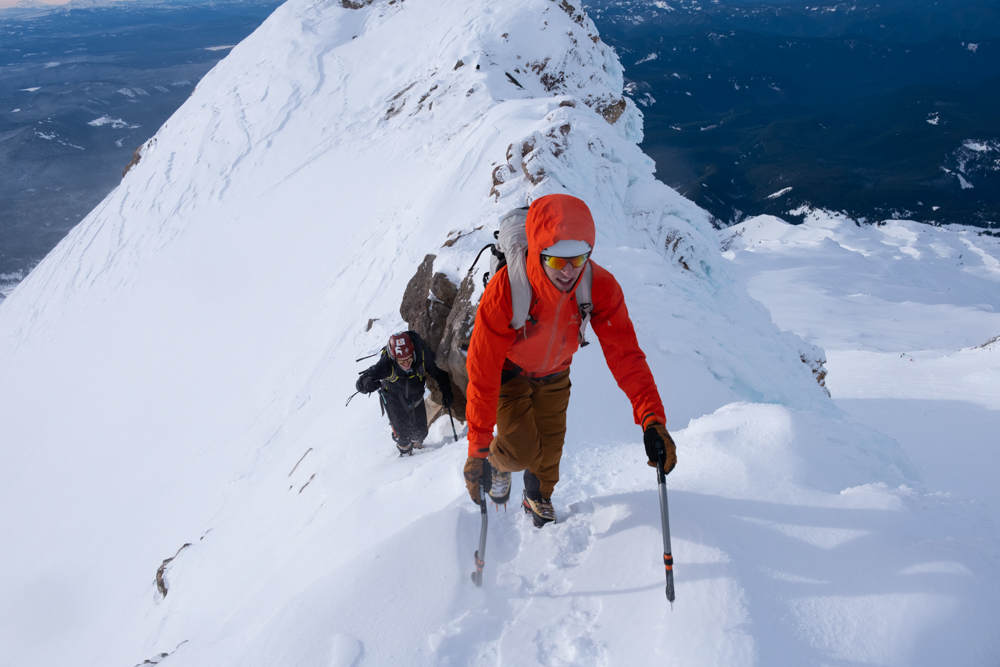
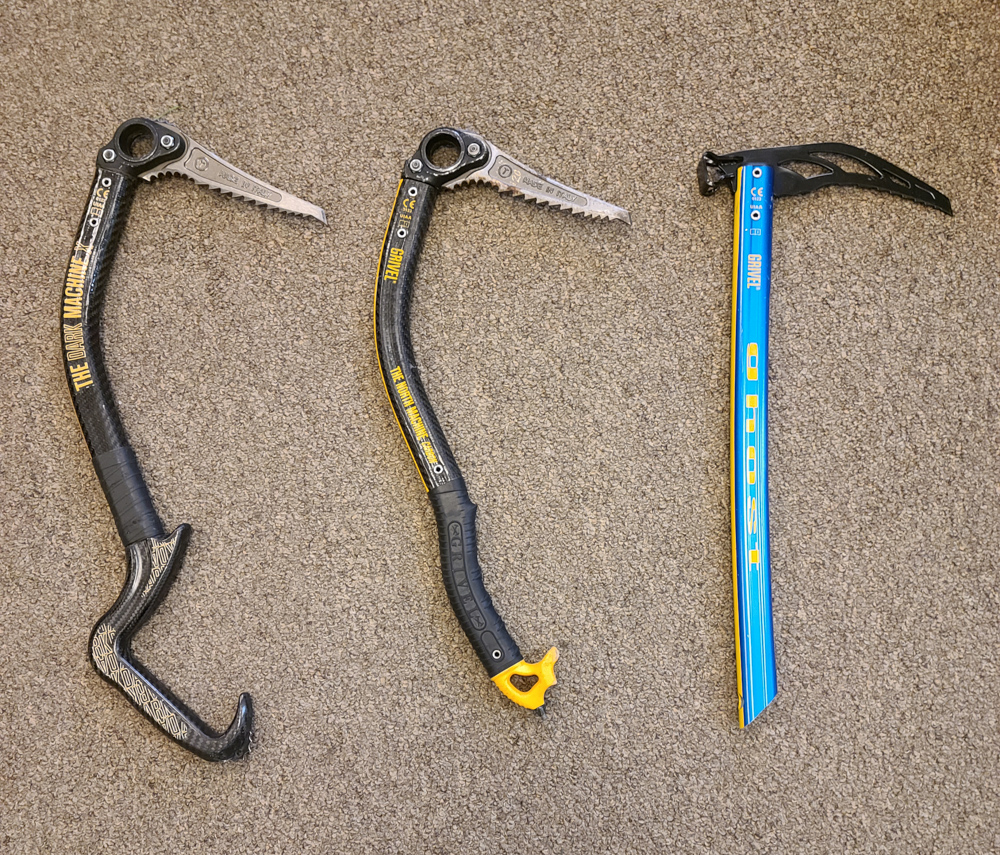
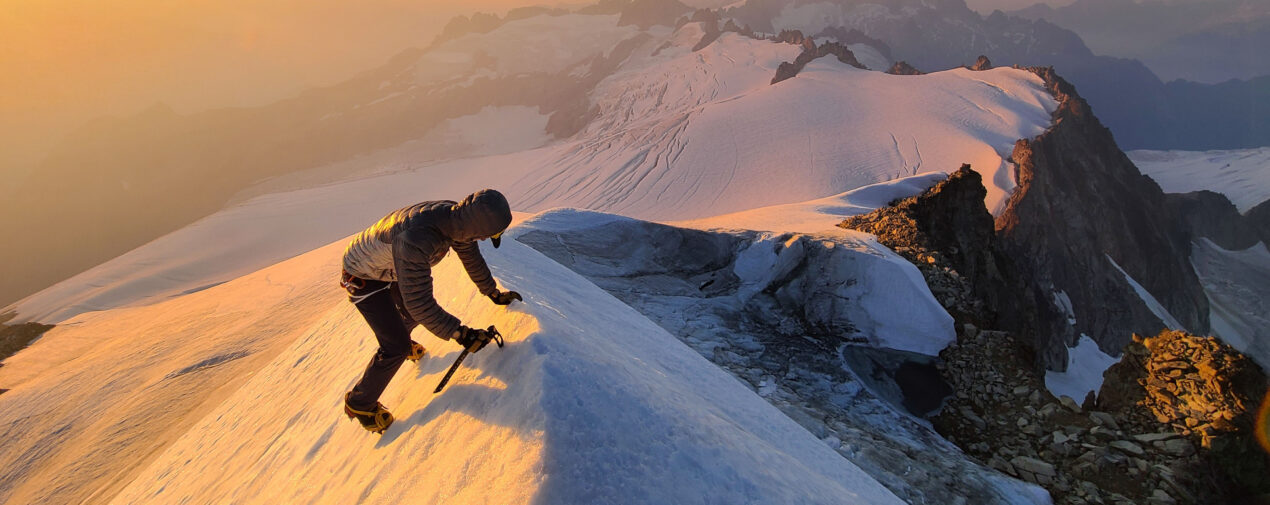
For most winter climbers, the first weapon they carry into battle has a long, straight shaft with a simple blade at the top and an adze (a chopping/digging tool) on the back. While design on these has changed little over the past hundred years, ice axes still remain popular for their simple, rugged design and their effectiveness in self arresting a fall (a technique I won’t dive into now). For clarification’s sake, “ice axe” can sometimes be used as a term that encompasses more than just what we are talking about here, so I prefer to stick with the French term and call them a “piolet”. It seems far too fancy of a word for such a simple tool, but for us commoners it’s a much more specific term.
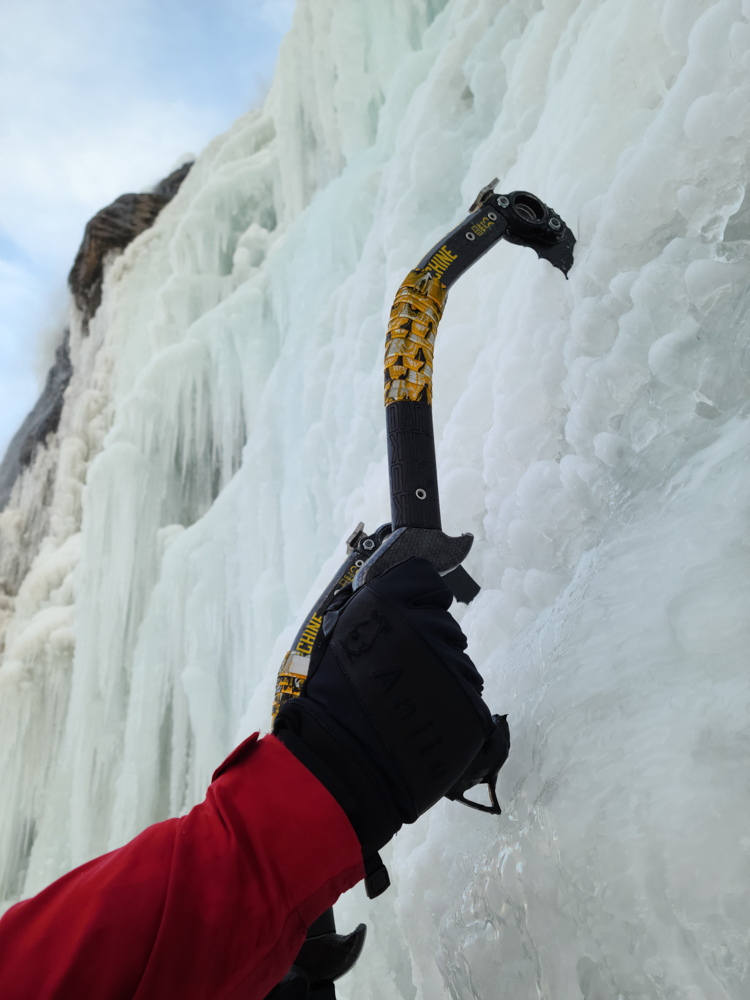
On the other end of the spectrum from our spiky walking sticks are the technical or steep ice climbing tools. As far as I can tell, no one can quite decide on a definitive name for the more curved variety of tools. I am of course referring to the curved tools with a setback handle that are used for steep ice climbing, mixed climbing, or dry tooling. I’ve heard them called everything from “steep tools” to “aggressive tools”, but technically all of those are wrong. The first company to design a tool like this coined the style “z-tools” for its set back handle, although I am pretty sure that name died out decades ago. For distinguishing sake, I like to refer to them as “steep ice tools”, as “ice tool” tends to put your mind in the category, and the word “steep” tends to distinguish it from the next category we will cover.
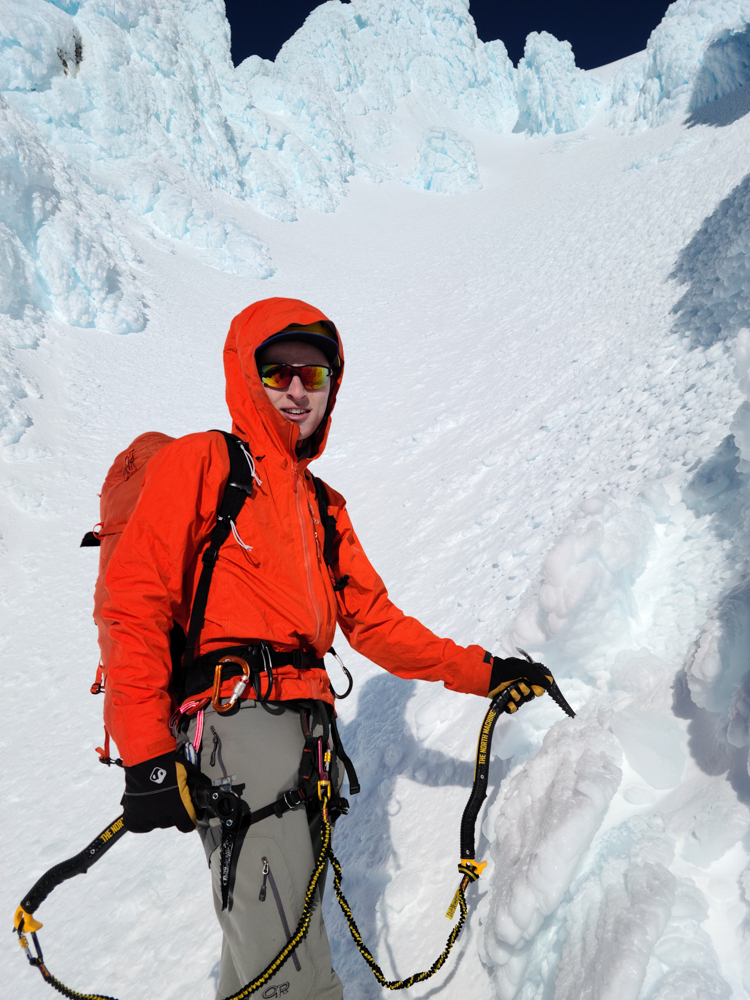
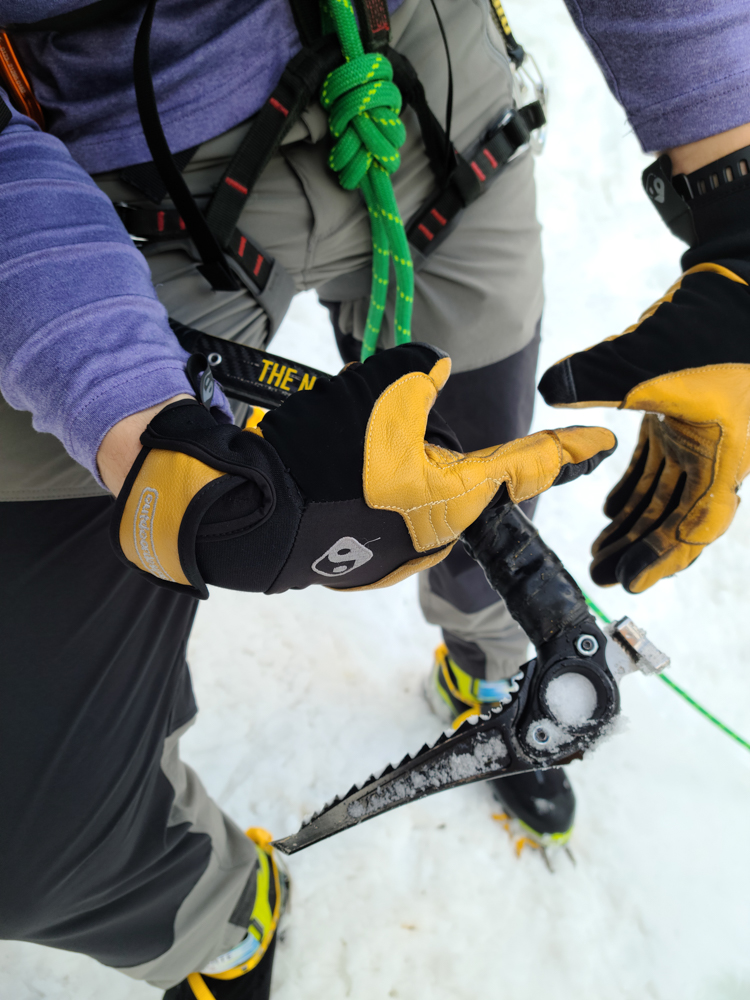
Somewhere between the rugged piolet and the wacky steep ice tool is the happy medium of the “mountain tool”. I prefer to stick with this name because it describes the terrain they are best used on. Mountain tools have the technical bits and pieces of their steeper cousins, but don’t have the aggressive curve and instead favor a moderate curve that puts them in a sweet spot of uses somewhere between the two. With this jack of all trades rounding out the family, we should chat about how to use these sharp and shinies.

Caning
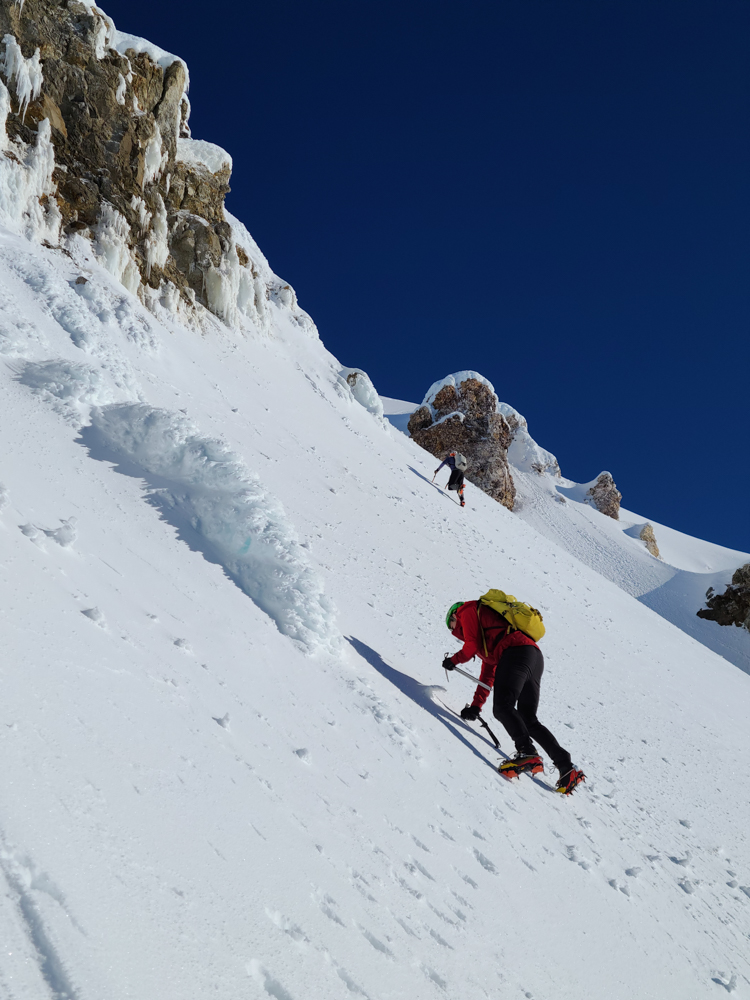
Cane position is perhaps the first way most people learn to hold their piolet. With a hand wrapped around the head and the spike downward you can easily support yourself hiking uphill on steeper terrain, and your hand is in ready position to switch to self-arresting if you begin to slide. Cane position is often employed with all styles of ice axes/tools, as stabilizing yourself on medium angle terrain is very important to prevent a fall. However piolets are decidedly better in this position, as their straight shafts allow for a more direct application of force in your desired downward direction. Aggressively curved ice tools move the shaft away from the downward force-axis, which can cause awkward twisting that provides less support. While this curve does work against ice tools when caning, it helps them a lot while climbing steeper ice.

Swinging
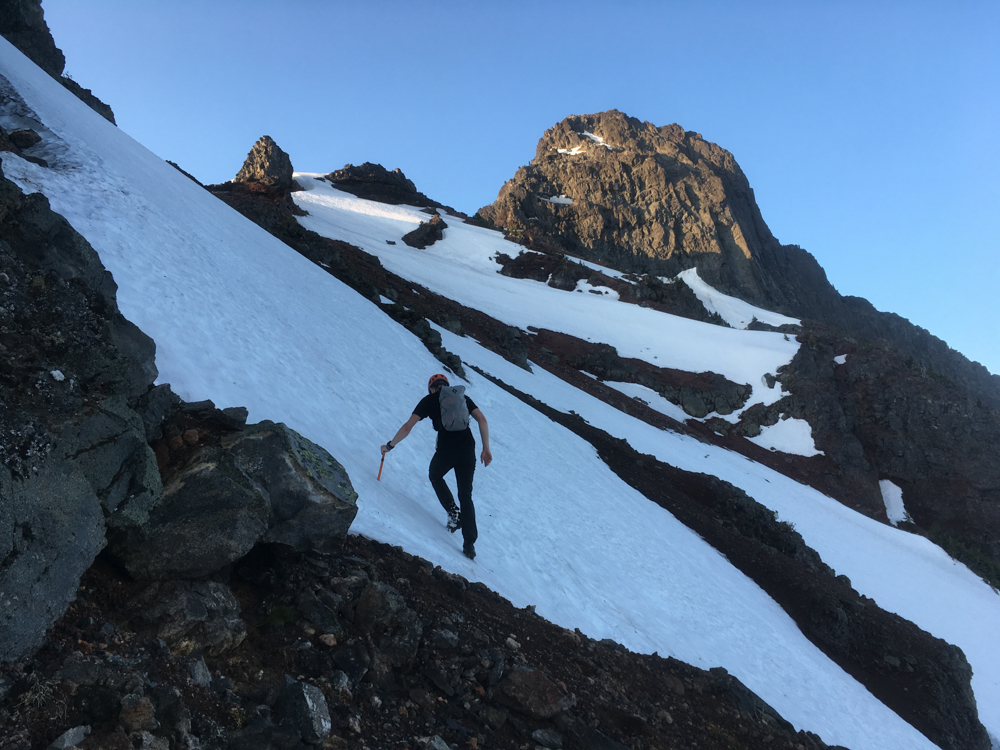
The Hollywood position for carrying and using tools, swinging is a pretty easy one to describe. With your hand at the bottom of the shaft, you swing the tool over your head to plant it in the snow or ice to pull yourself upwards for progress. This is why tools meant more for climbing have supportive pommels, grip tape, and handles on the bottom of the shaft, and curved shaft designs to facilitate a better swing and clearance over bulgy ice. Piolets don’t have any of these features to help their performance while swinging, so chances are if you find yourself swinging your piolet at the snow you have probably brought the wrong tool. While swinging is the only way to progress on steep ice and sometimes snow, it is the most energy intensive and other techniques can help save energy if the slope isn’t so steep.
Daggering
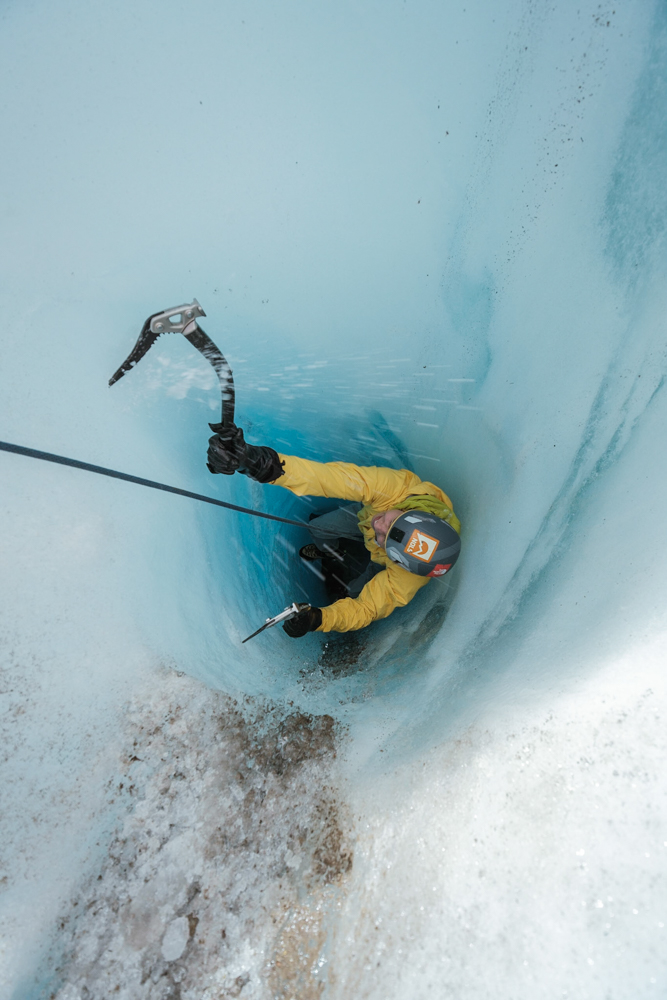
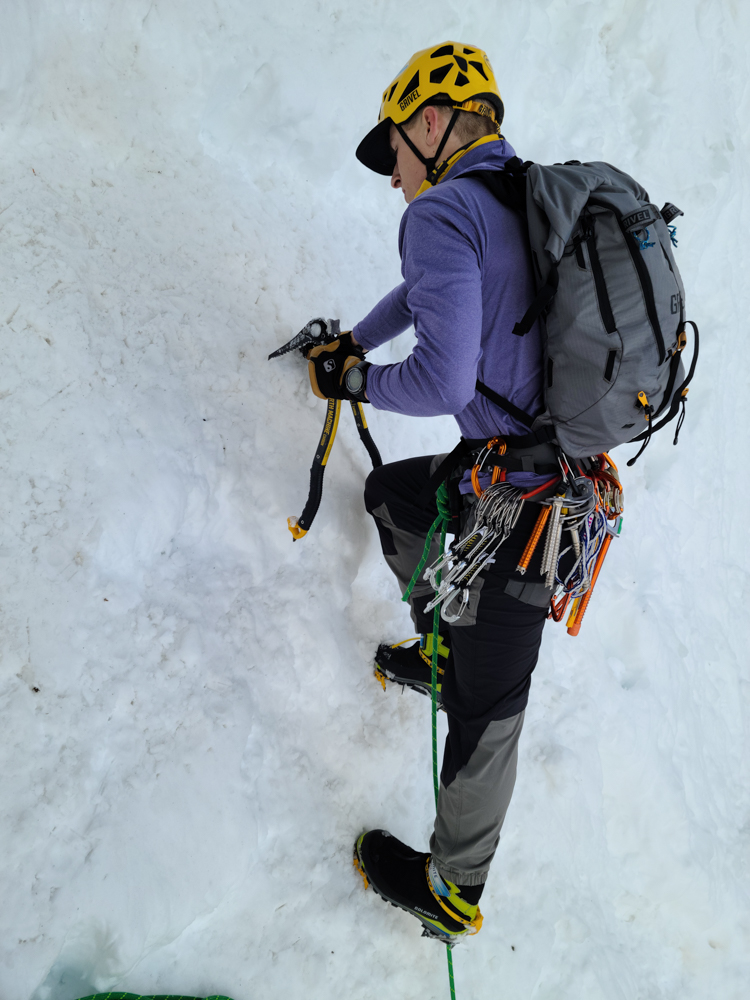
Daggering is the efficient in-between technique for the climber looking to save time and energy on a slope where caning might not be supportive enough and swinging might be too much. Daggering on an ice axe/tool involves choking your grip up on the shaft all the way to just beneath the head of the tool. From this position you can easily stab the blade in and out of the surface you are on with ease, holding the tools more or less at shoulder height and pushing with body weight to get them into the surface. This method is fairly dependent on the medium you are climbing on as you will not be able to penetrate into hard ice like this, and pushing just your blade into soft snow will not provide much security as the blade slices down through it. Where this method is best employed is the firm, styrofoam like snow often in the spring after sun and heat have compacted the snowpack. Daggering position in firm snow that is moderate to steep angle can allow you to quickly insert and remove your blades for efficient travel, and having your body leaning into a daggered axe/tool is also a very supportive and safe stance that is difficult to be dislodged from.
Which Tool for Which Job?
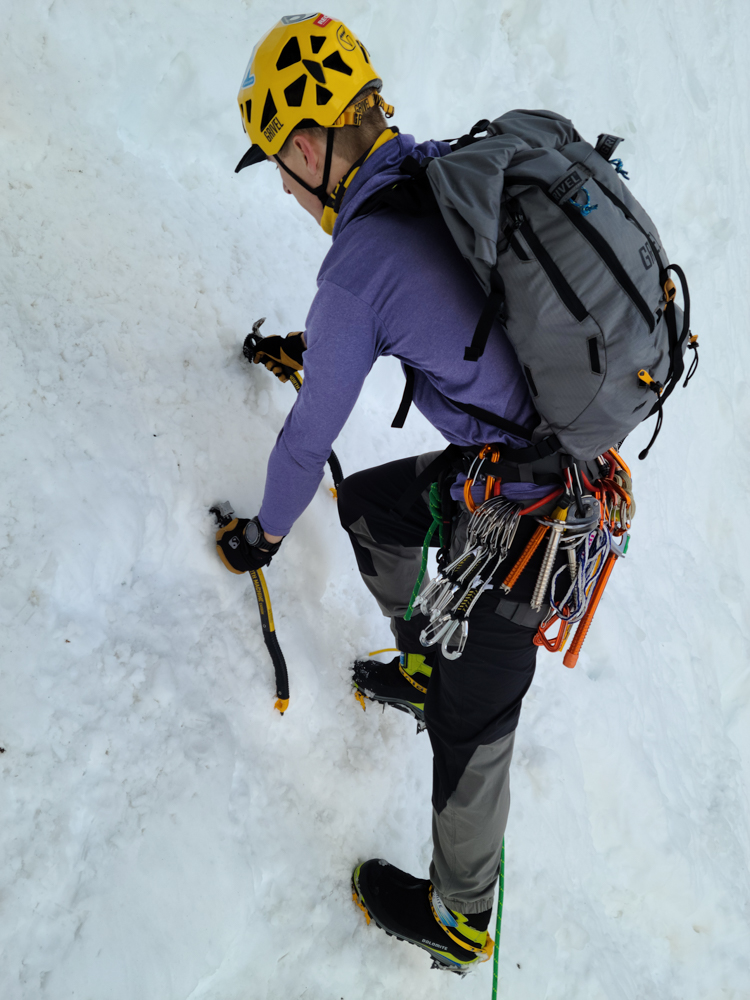
So with all this information, hopefully you can finally start to piece together which tool you will need for specific terrains, and how to use it. Piolets are great for classical mountaineering, where you encounter anything from glacier walking to moderately steep snow. Their simple design and lack of interchangeable hardware make them the ideal choice when looking to save weight on simple climbs. Mountain tools bridge the gap between lightly technical mountaineering, all the way up to the moderate grades of ice and mixed climbing. They provide all the adaptability a tool needs to excel with an arsenal of blades, tool attachments, and a slightly curved shaft that works in any position. And steep ice tools excel in the vertical, when ice or mixed grades go from moderate to advanced. Aggressive curves and secondary grip positions promote a good swing and easy hanging when at the highest of angles.
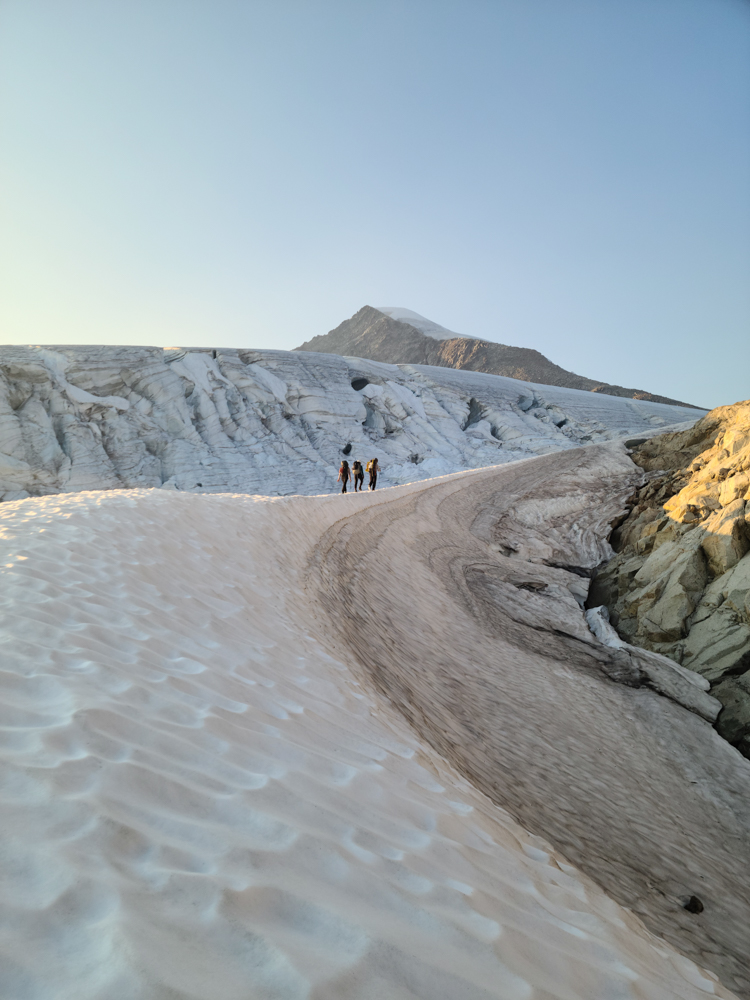
But which tool should you get? Well if you live in a place with great ice climbing nearby, like Ouray or Bozeman, you should probably get a steep ice tool for the technical ice climbing that is done in those locations. If you are just looking to climb up some volcanoes in the Pacific Northwest, spring 14’ers in Colorado, or snowy Sierras you can probably start out with just a single piolet to get you through most of the routes you are looking at. Once you start eying the more technical climbs in the higher mountains, it might be a good idea to snag a couple mountain tools. This way you can comfortably climb the steep snow and moderate ice in your local area, and still use your tools for the occasional steep ice climbing trip. The mountain tool really is the most versatile of the bunch, and can find its home just about anywhere there is something frozen and snowy.
The Final Word
And now, when you are out in the frozen and snowy, you can show all your friends the fancy new tools you have that fit your goals and objectives. Ultimately the right answer for, “what do I need to get” might be the dreaded, “all of them” but at least this guide will give you the info you need to get started. From the simple and classic weight saver, to the advanced and expensive designer piece, you can choose the tool best suited to your current level in the sport.

Recommended Gear by Name
- Grivel G1 – just about anything works for a beginner piolet, but this one has cool color options and a good price.
- Cassin Corsa Nanotech – an amazing ultralight piolet for saving weight when necessary.
- Grivel North Machine Carbon – An incredible mountain tool. The carbon wrapped shaft helps insulate against cold and vibrations when swinging, leading to happy hands. The low weight makes your back and arms happy, and a high center of gravity gives it “best in class” swinging. Check out this review by a fellow Outdoor Prolink Pro.
- Petzl Nomic – The unequivocal best overall tool for steep ice climbing. Incredible swing, comfortable handle, amazing blade options. I dare you to say otherwise.
- Grivel Dark Machine – The go-to tool for long days of ice climbing, where the low weight of a carbon composite tool saves your arm over the course of hundreds of swings. This low weight also makes it a serious contender when dry-tooling.
- Cassin X-Dream – The angle adjustment on this tool allows it to better adapt to the angle of ice or rock that you are climbing, perhaps making it a true quiver of one tool for ice and dry-tooling. Check out this review by a fellow Outdoor Prolink Pro.
About the Gear Tester

Evan Watts
Evan grew up in the small hometown of Boring, Oregon, where he cut his teeth hiking and backpacking in the local Cascades. He now enjoys ice climbing, backcountry skiing, and trail running around in the Western States, and manages to fight off permanent employment despite an environmental engineering degree and perturbed parents.

